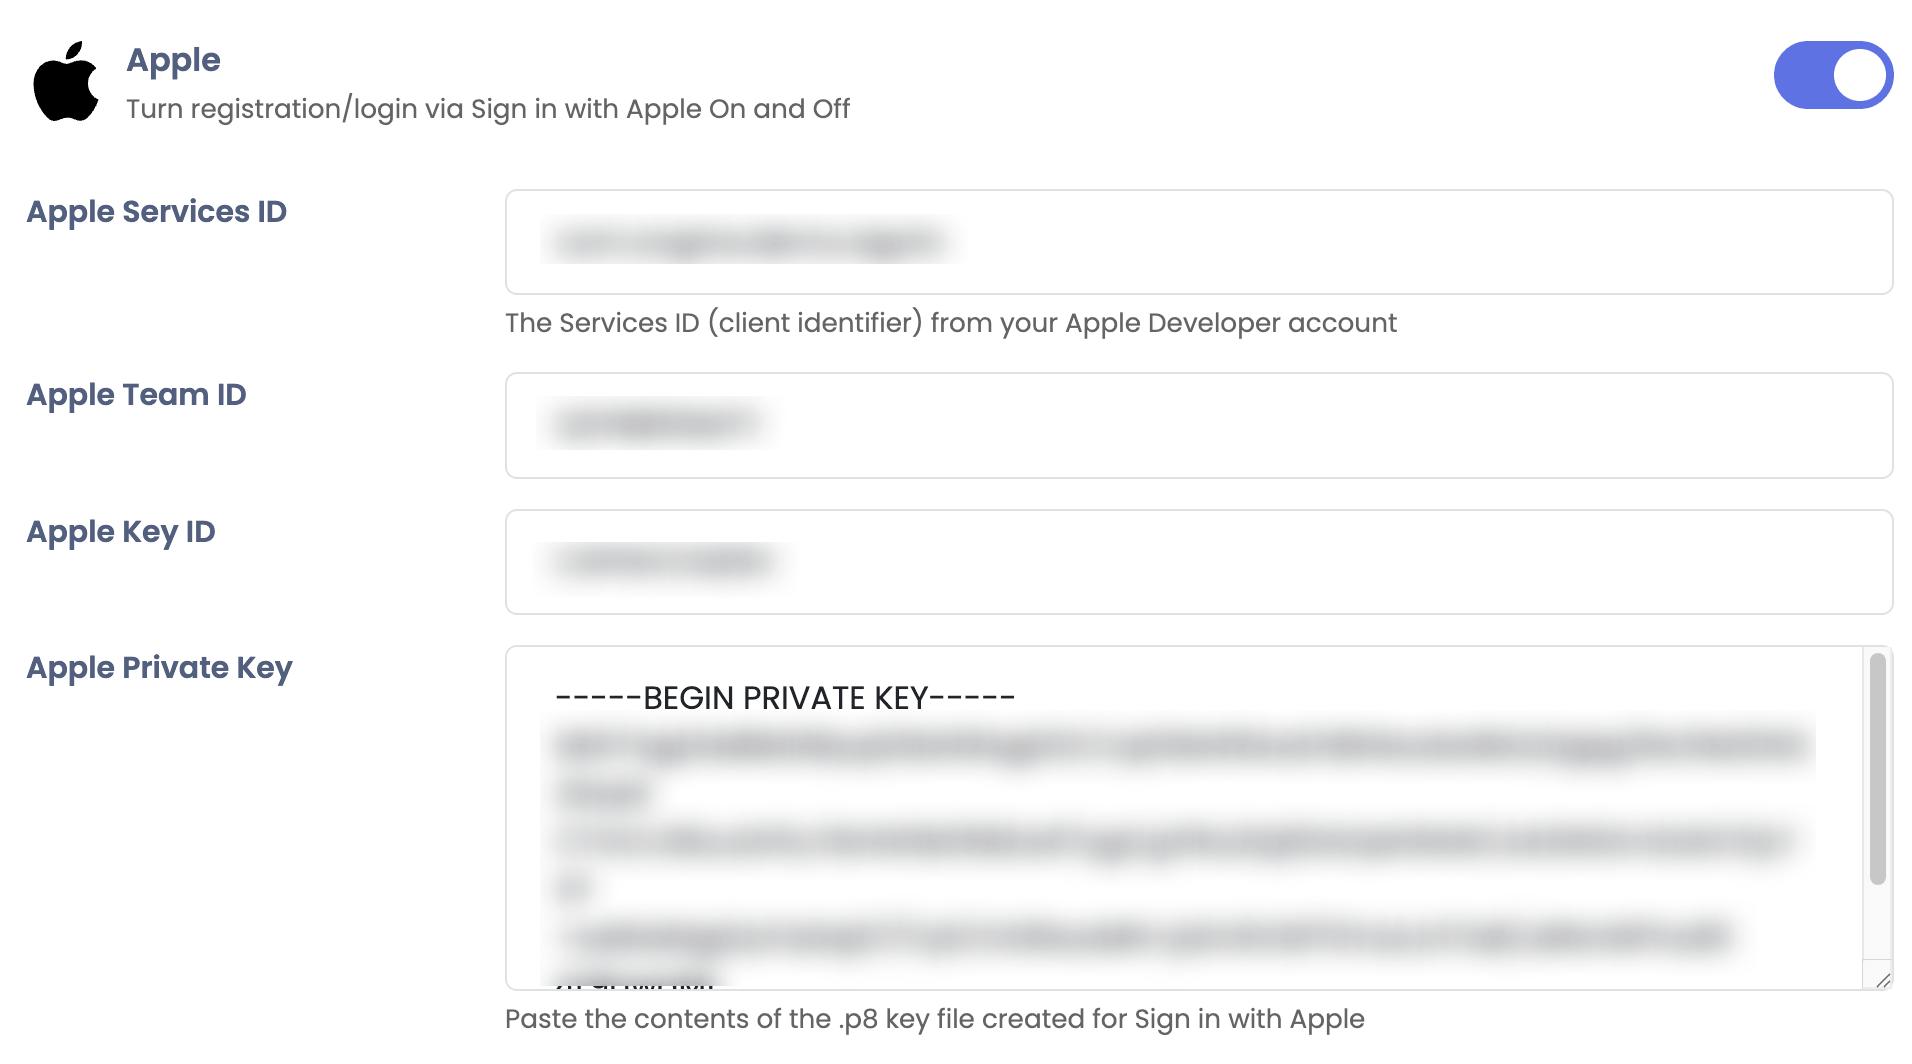


Apple
Integrate Sign In with Apple with Sngine in a few easy steps to let your users log in with their Apple accounts.
Step 1 — Create an App ID
-
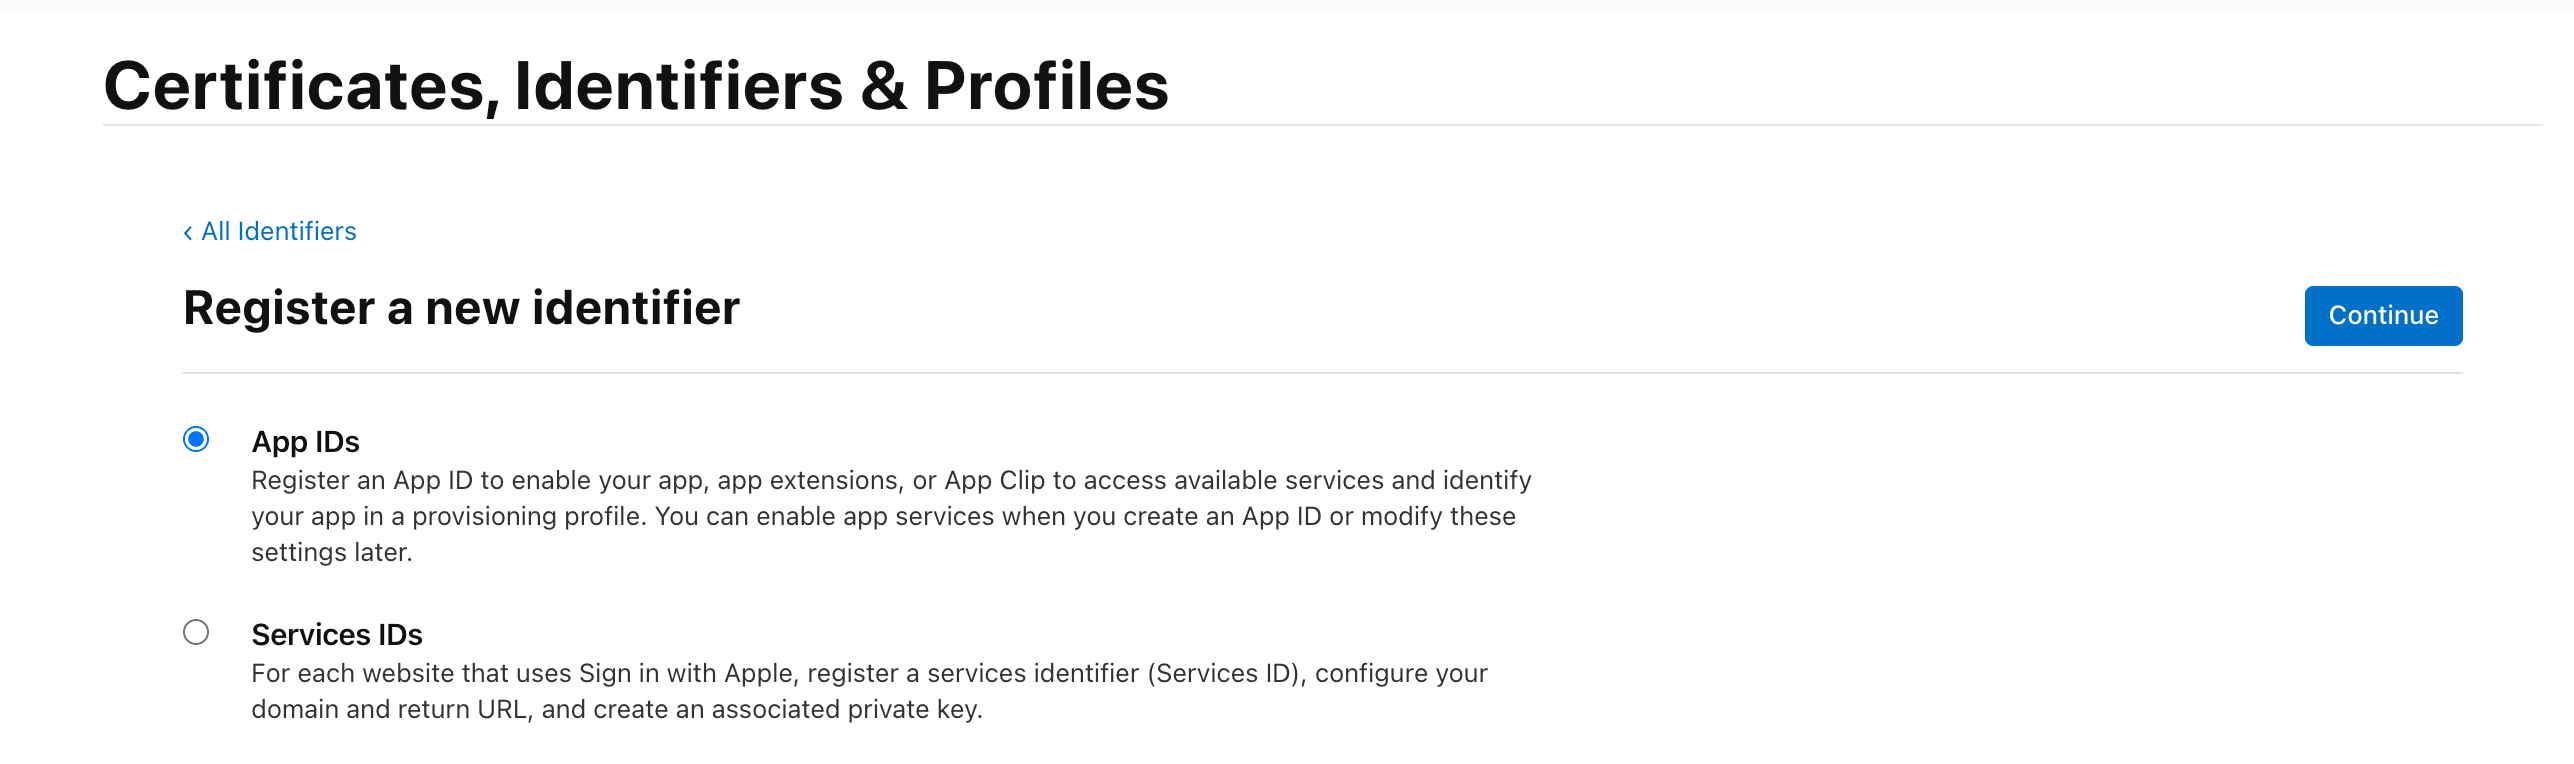
Go to https://developer.apple.com/account/resources/identifiers/list and sign in with your Apple Developer account. Click the + button next to Identifiers, select App IDs and click Continue
-
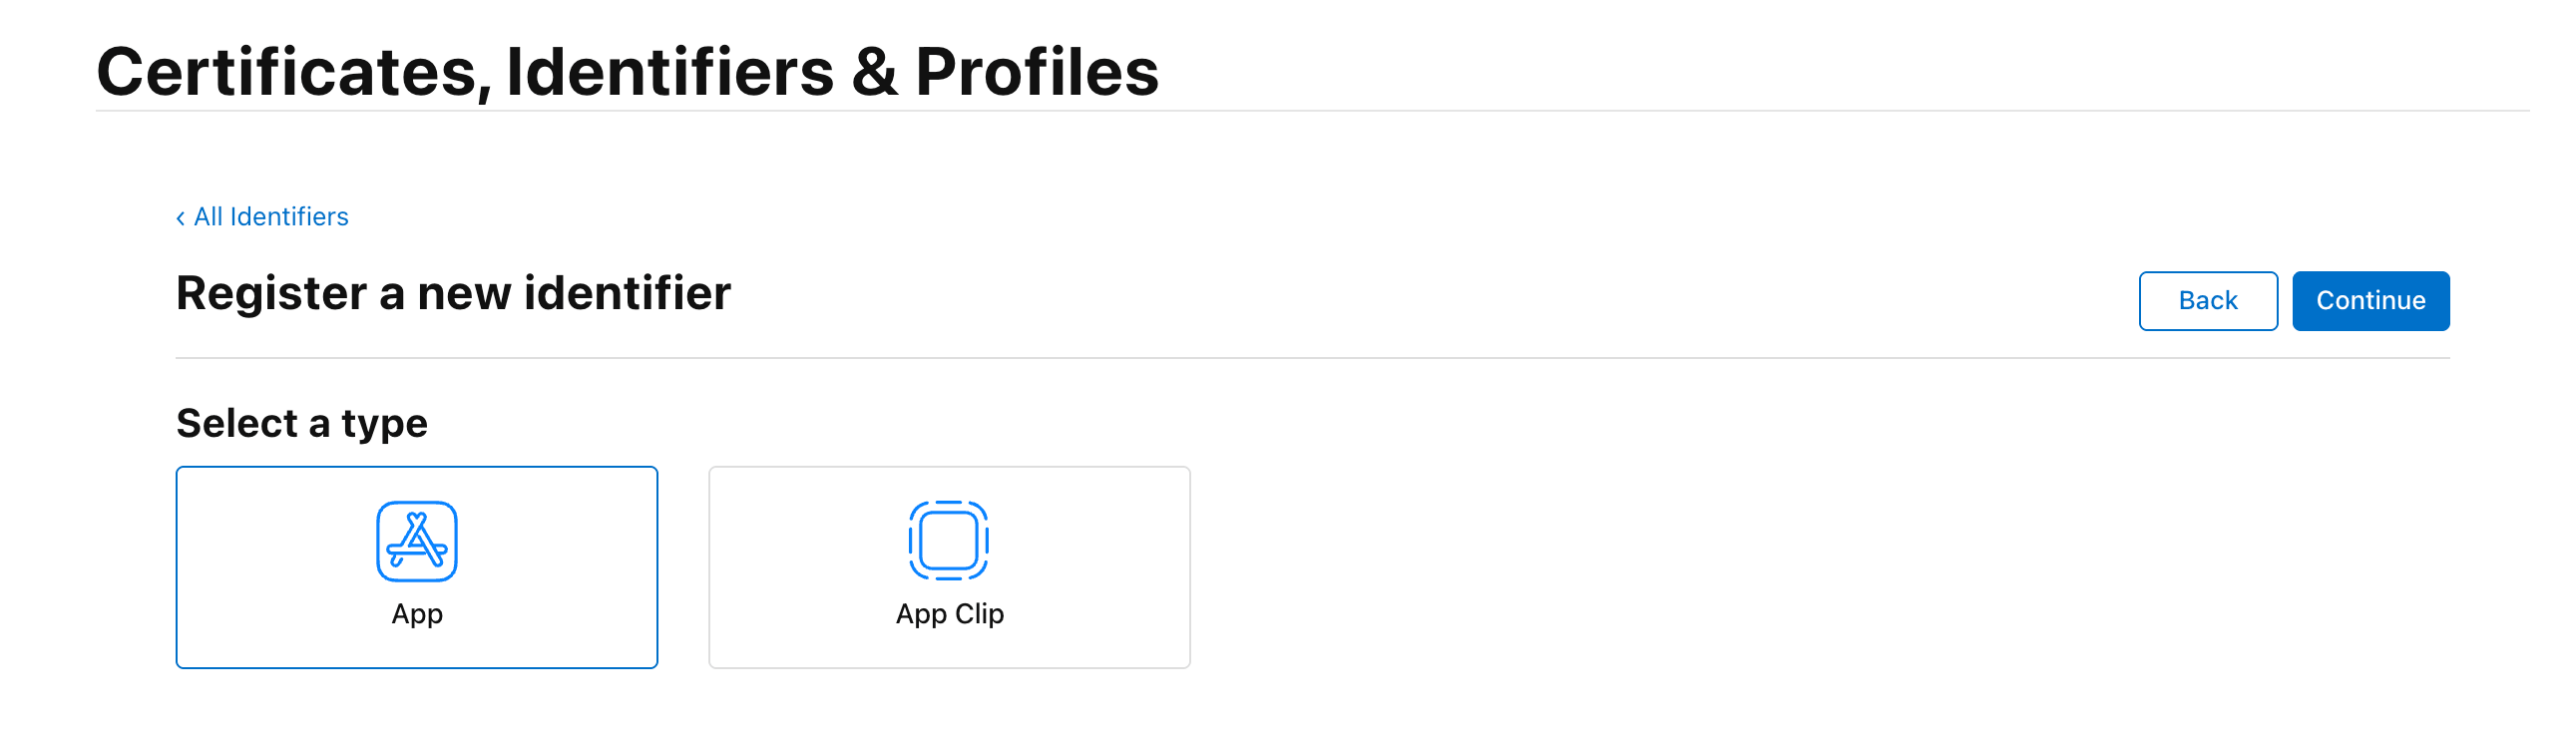
Select App as the type and click Continue
-
Fill in a Description and a reverse-domain Bundle ID (e.g.
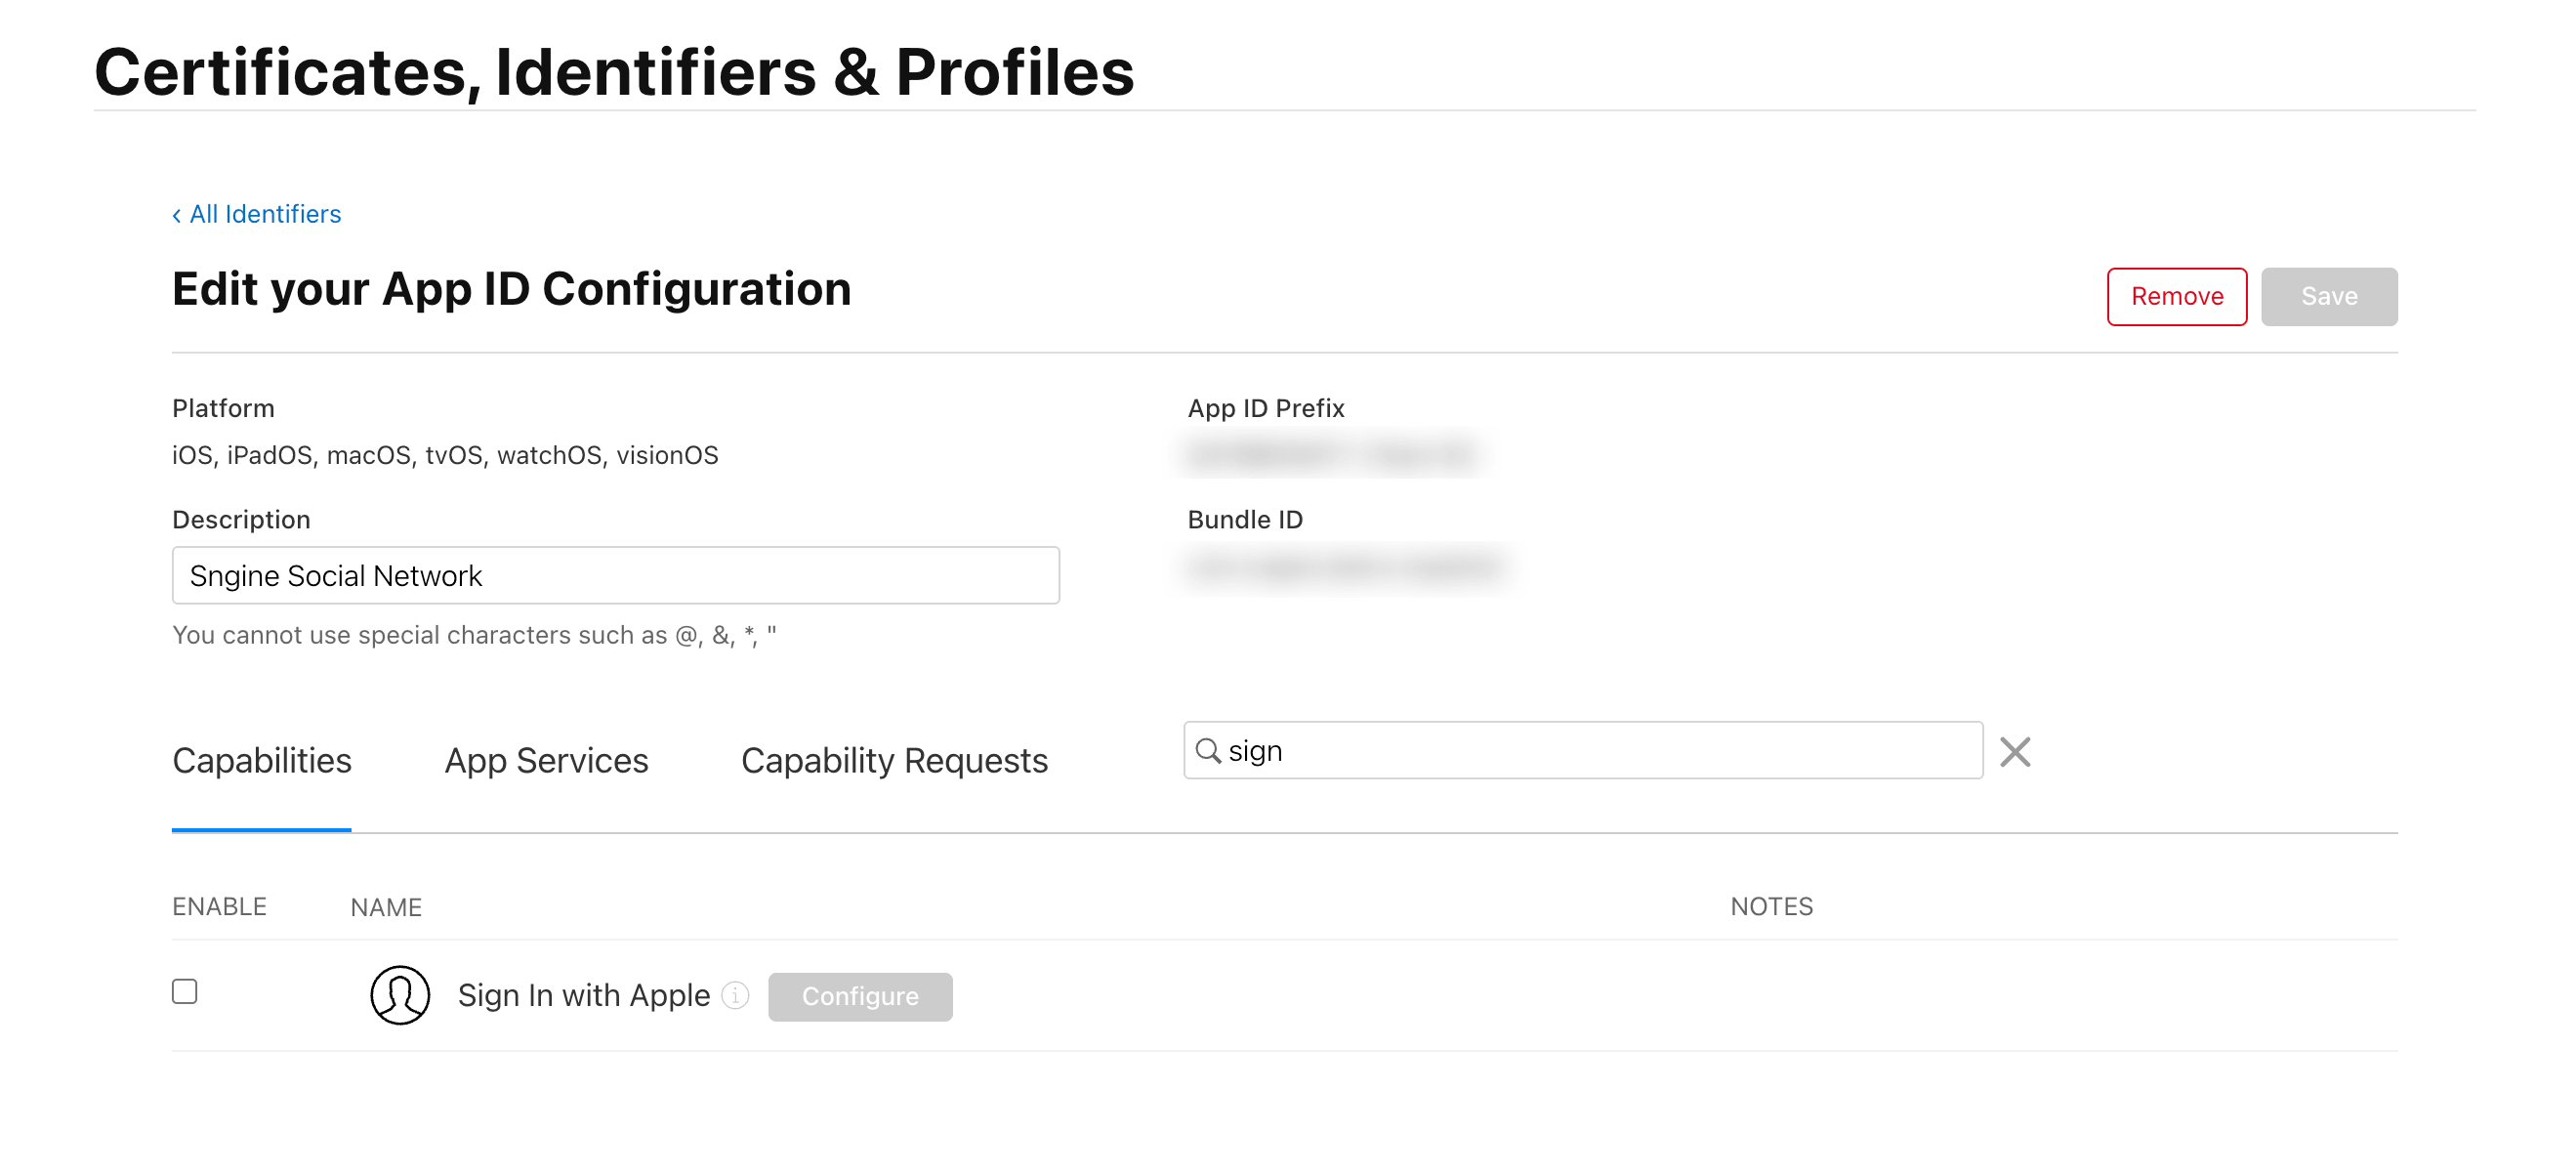
com.yourdomain.sngine). Under Capabilities search for Sign In with Apple, enable it and click Continue then Register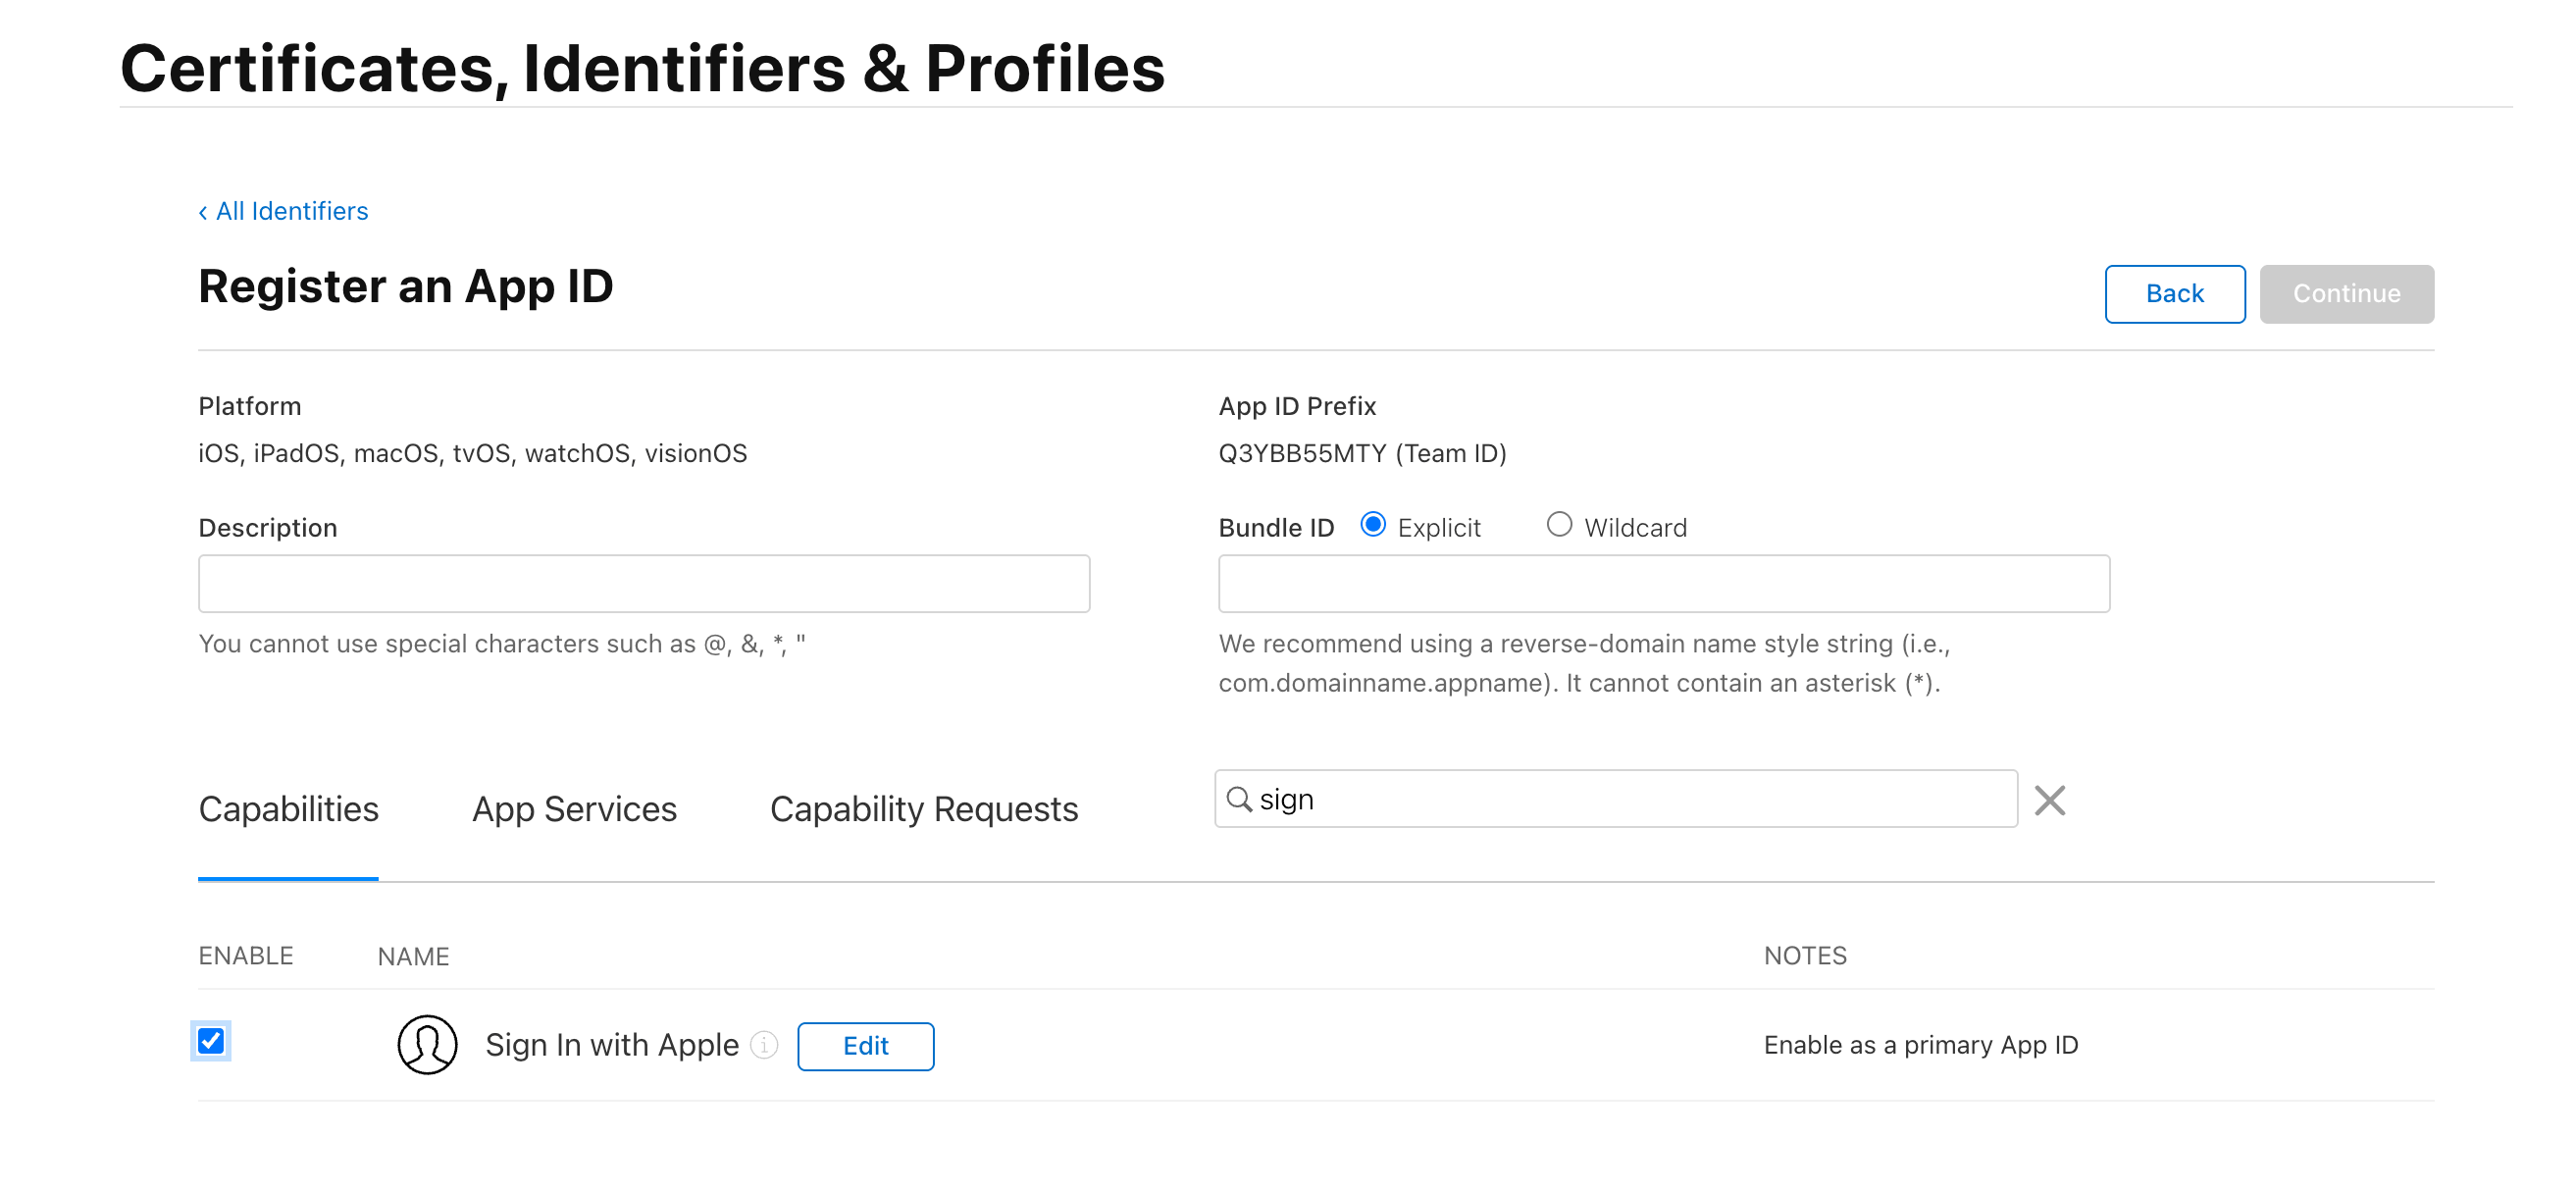
-
Open the newly created App ID, find Sign In with Apple in the Capabilities list and click Edit
-
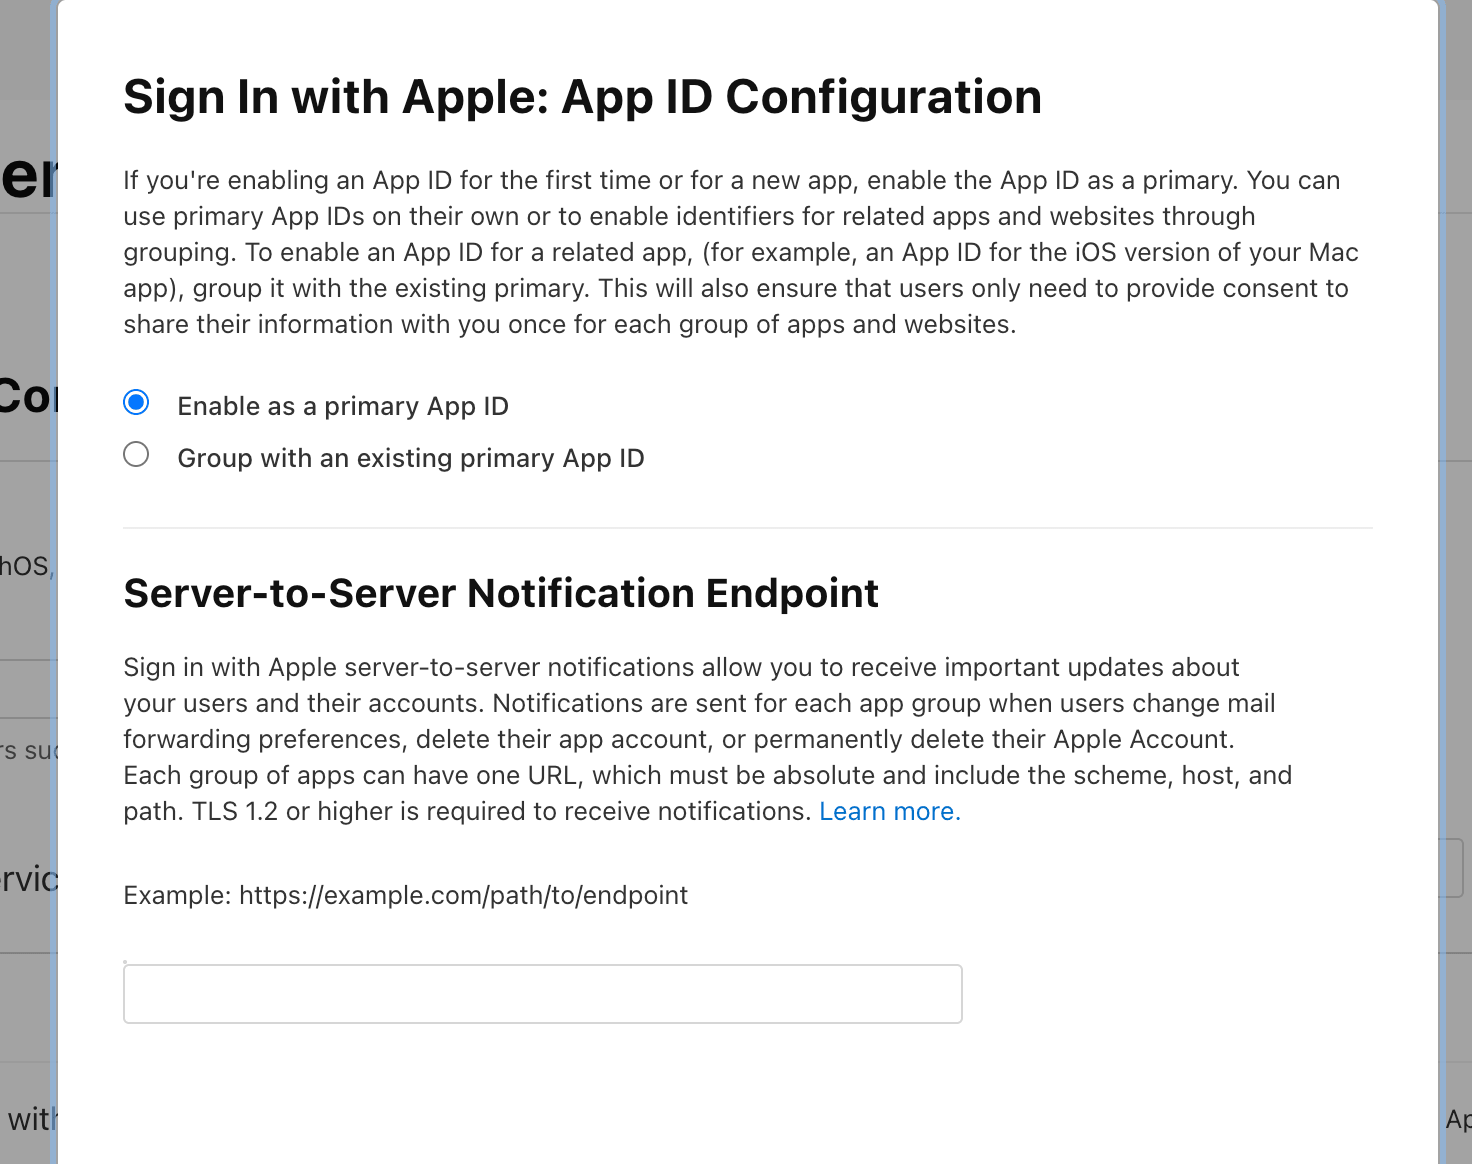
Select Enable as a primary App ID and click Save
Step 2 — Create a Services ID
-
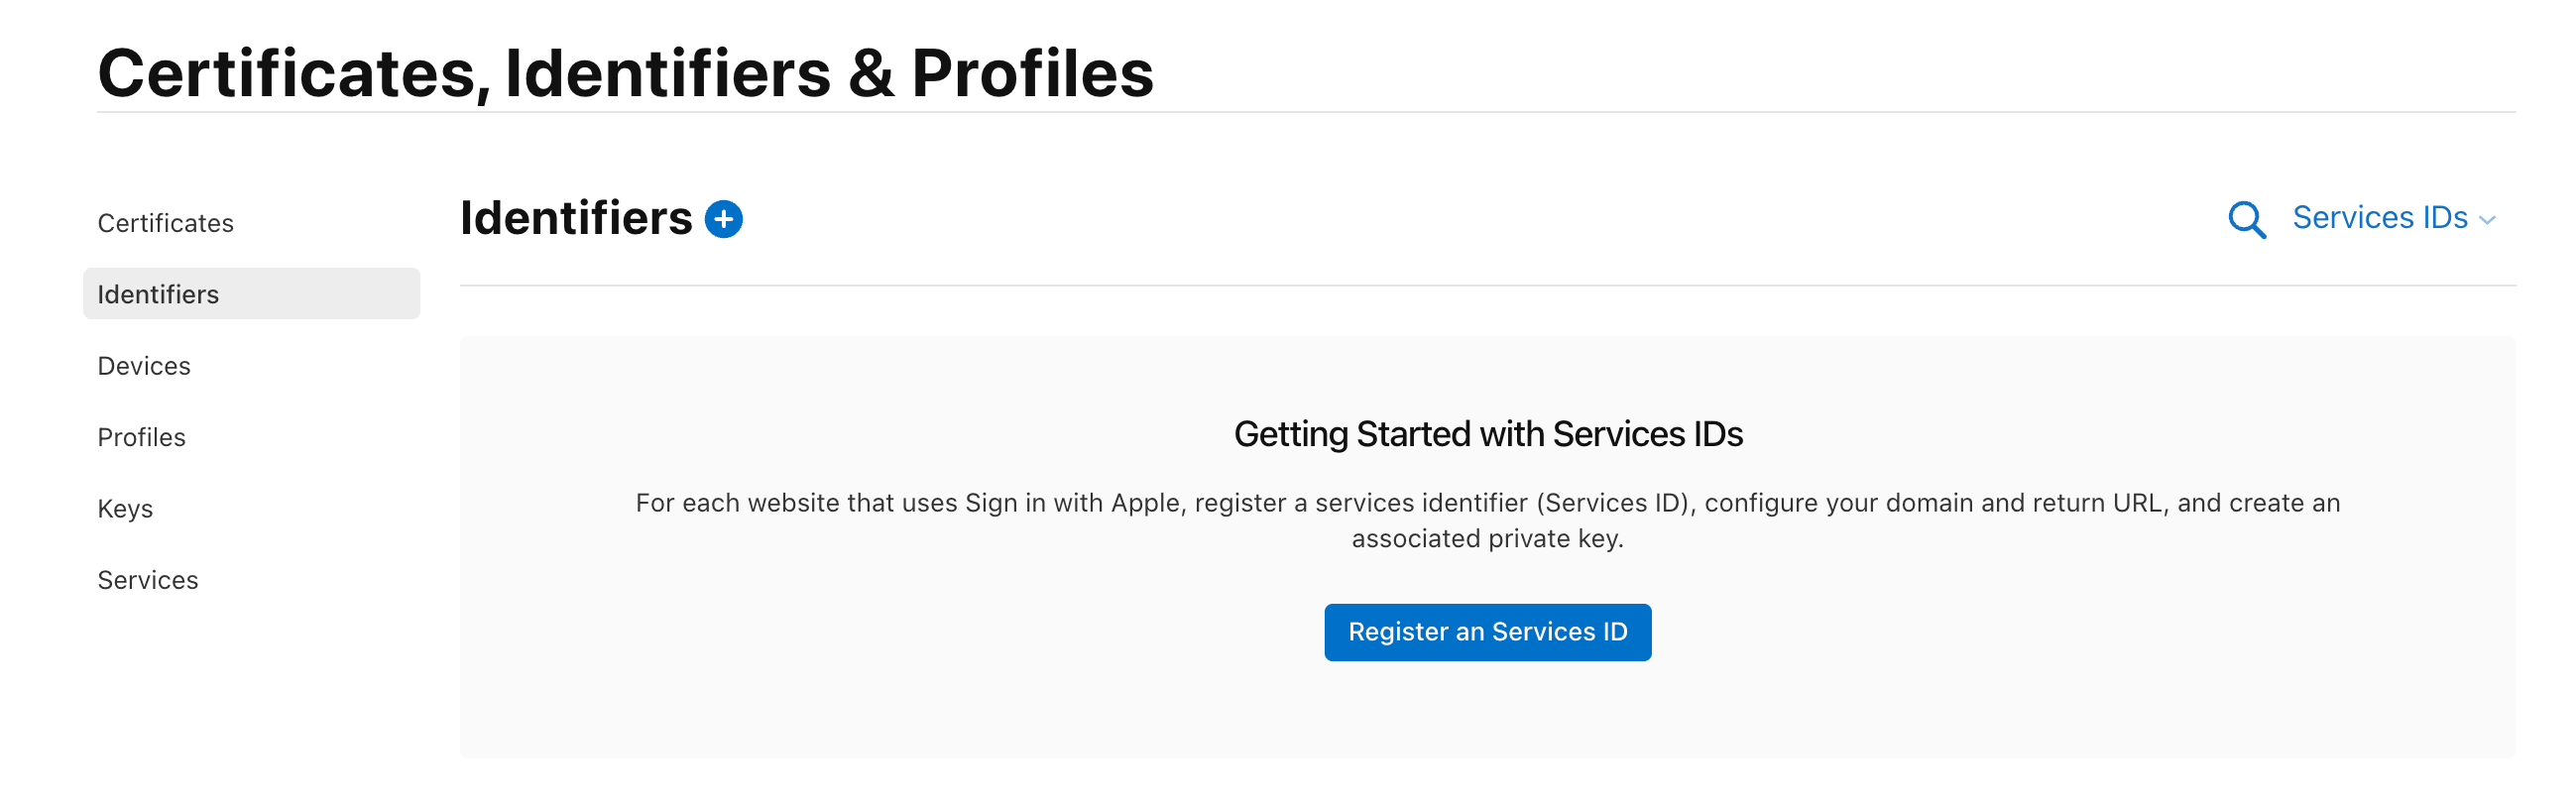
Go back to Identifiers, switch the filter to Services IDs and click Register a Services ID
-
Select Services IDs and click Continue. Fill in a Description and a unique Identifier (e.g.
com.yourdomain.sngine.siwa) then click Continue and Register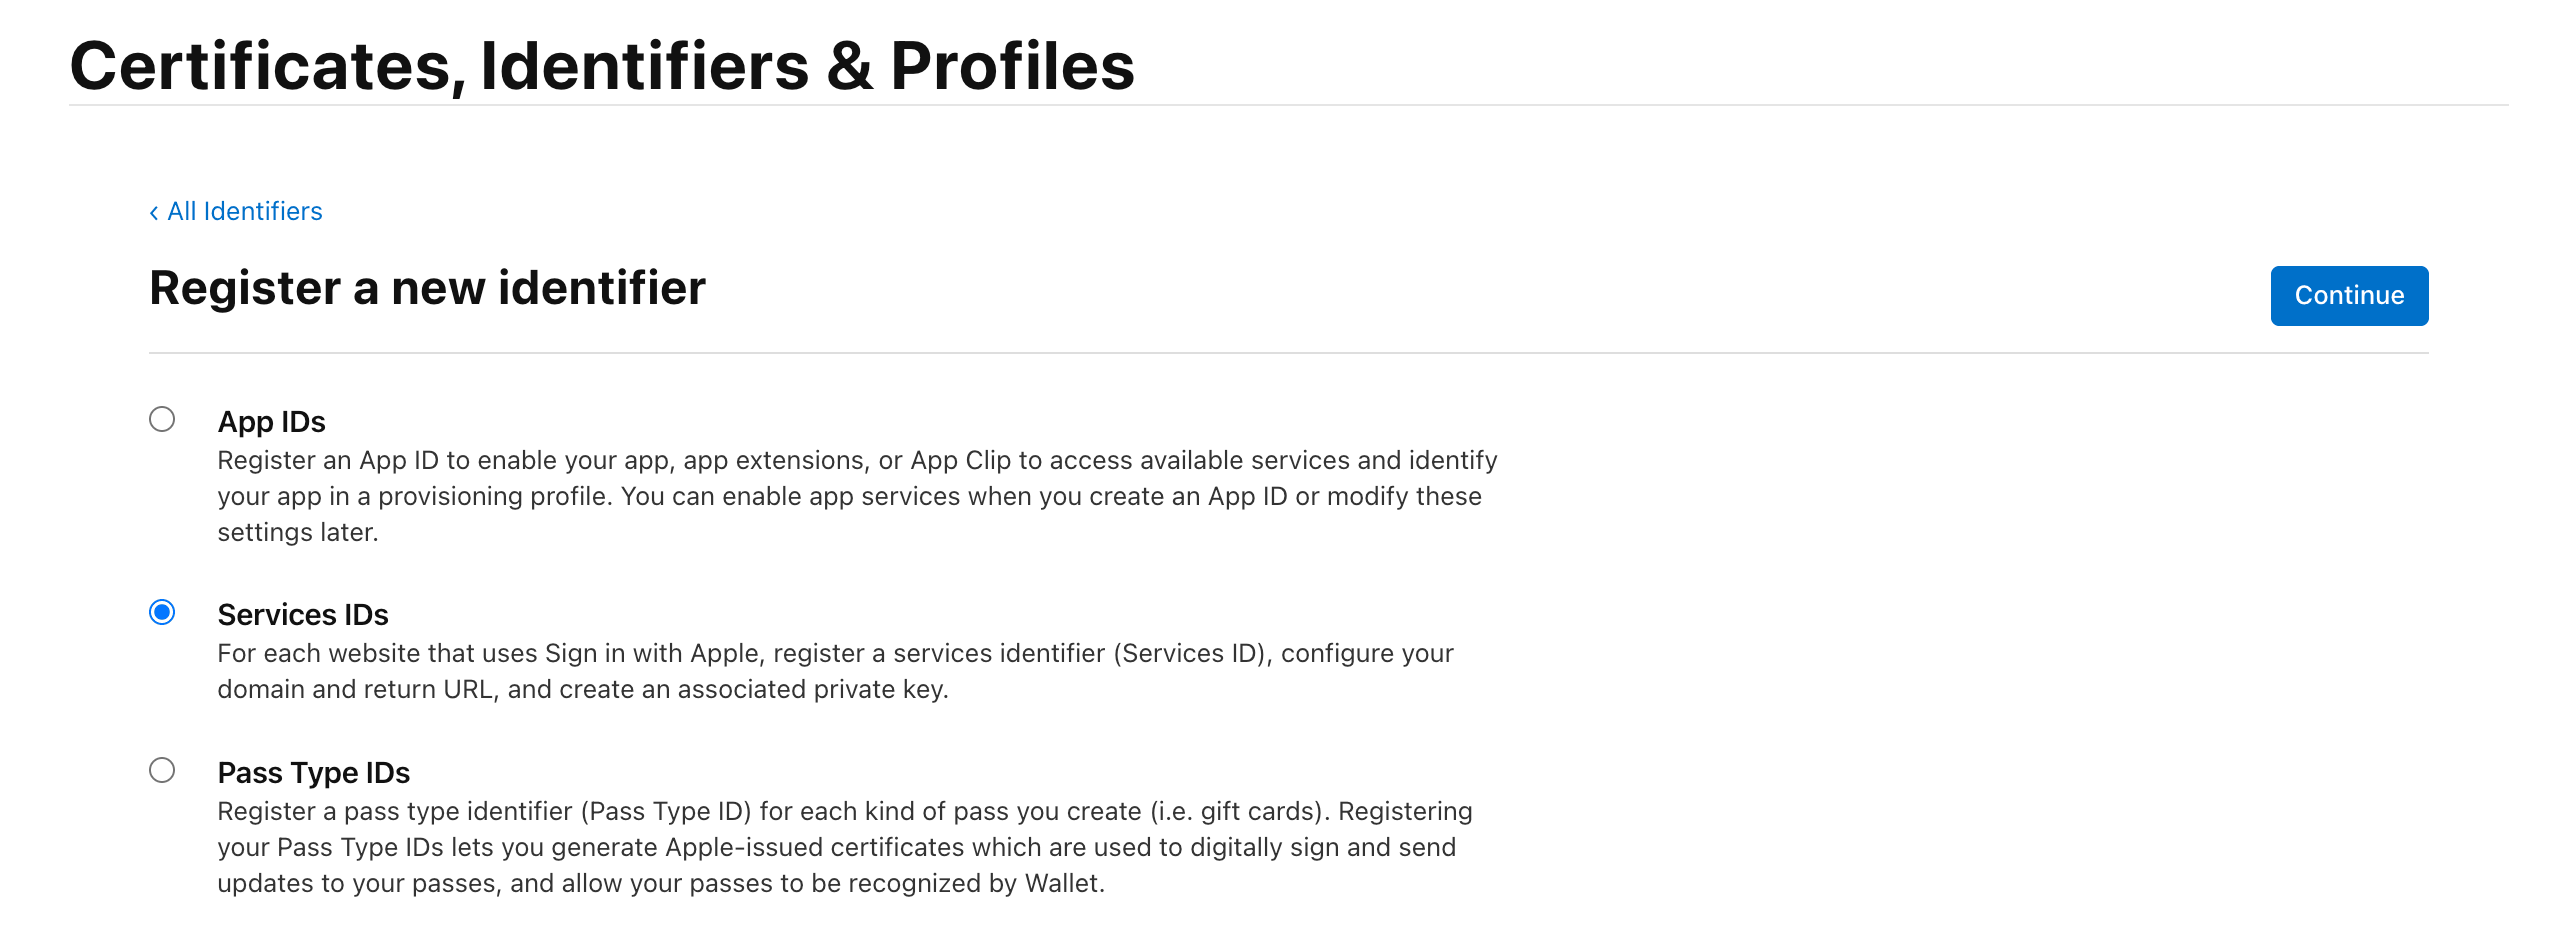
-
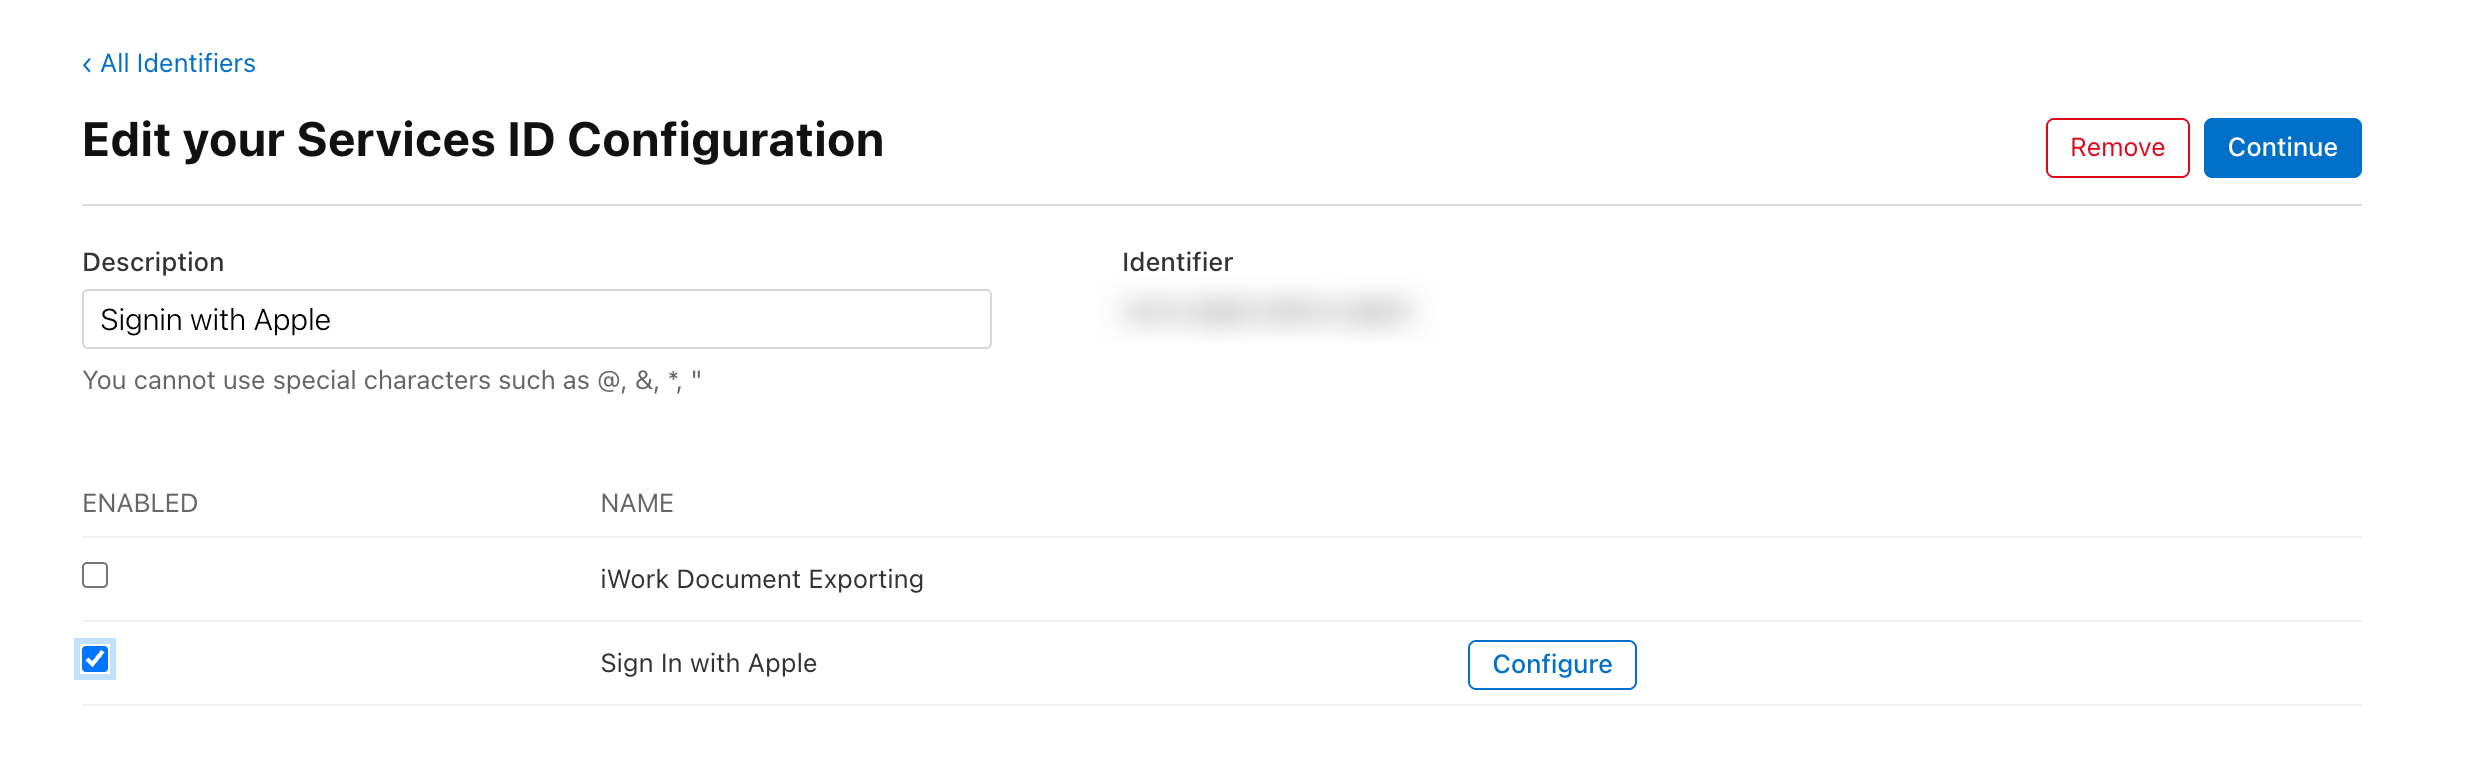
Click on the newly created Services ID to edit it

-
Enable Sign In with Apple and click Configure
-
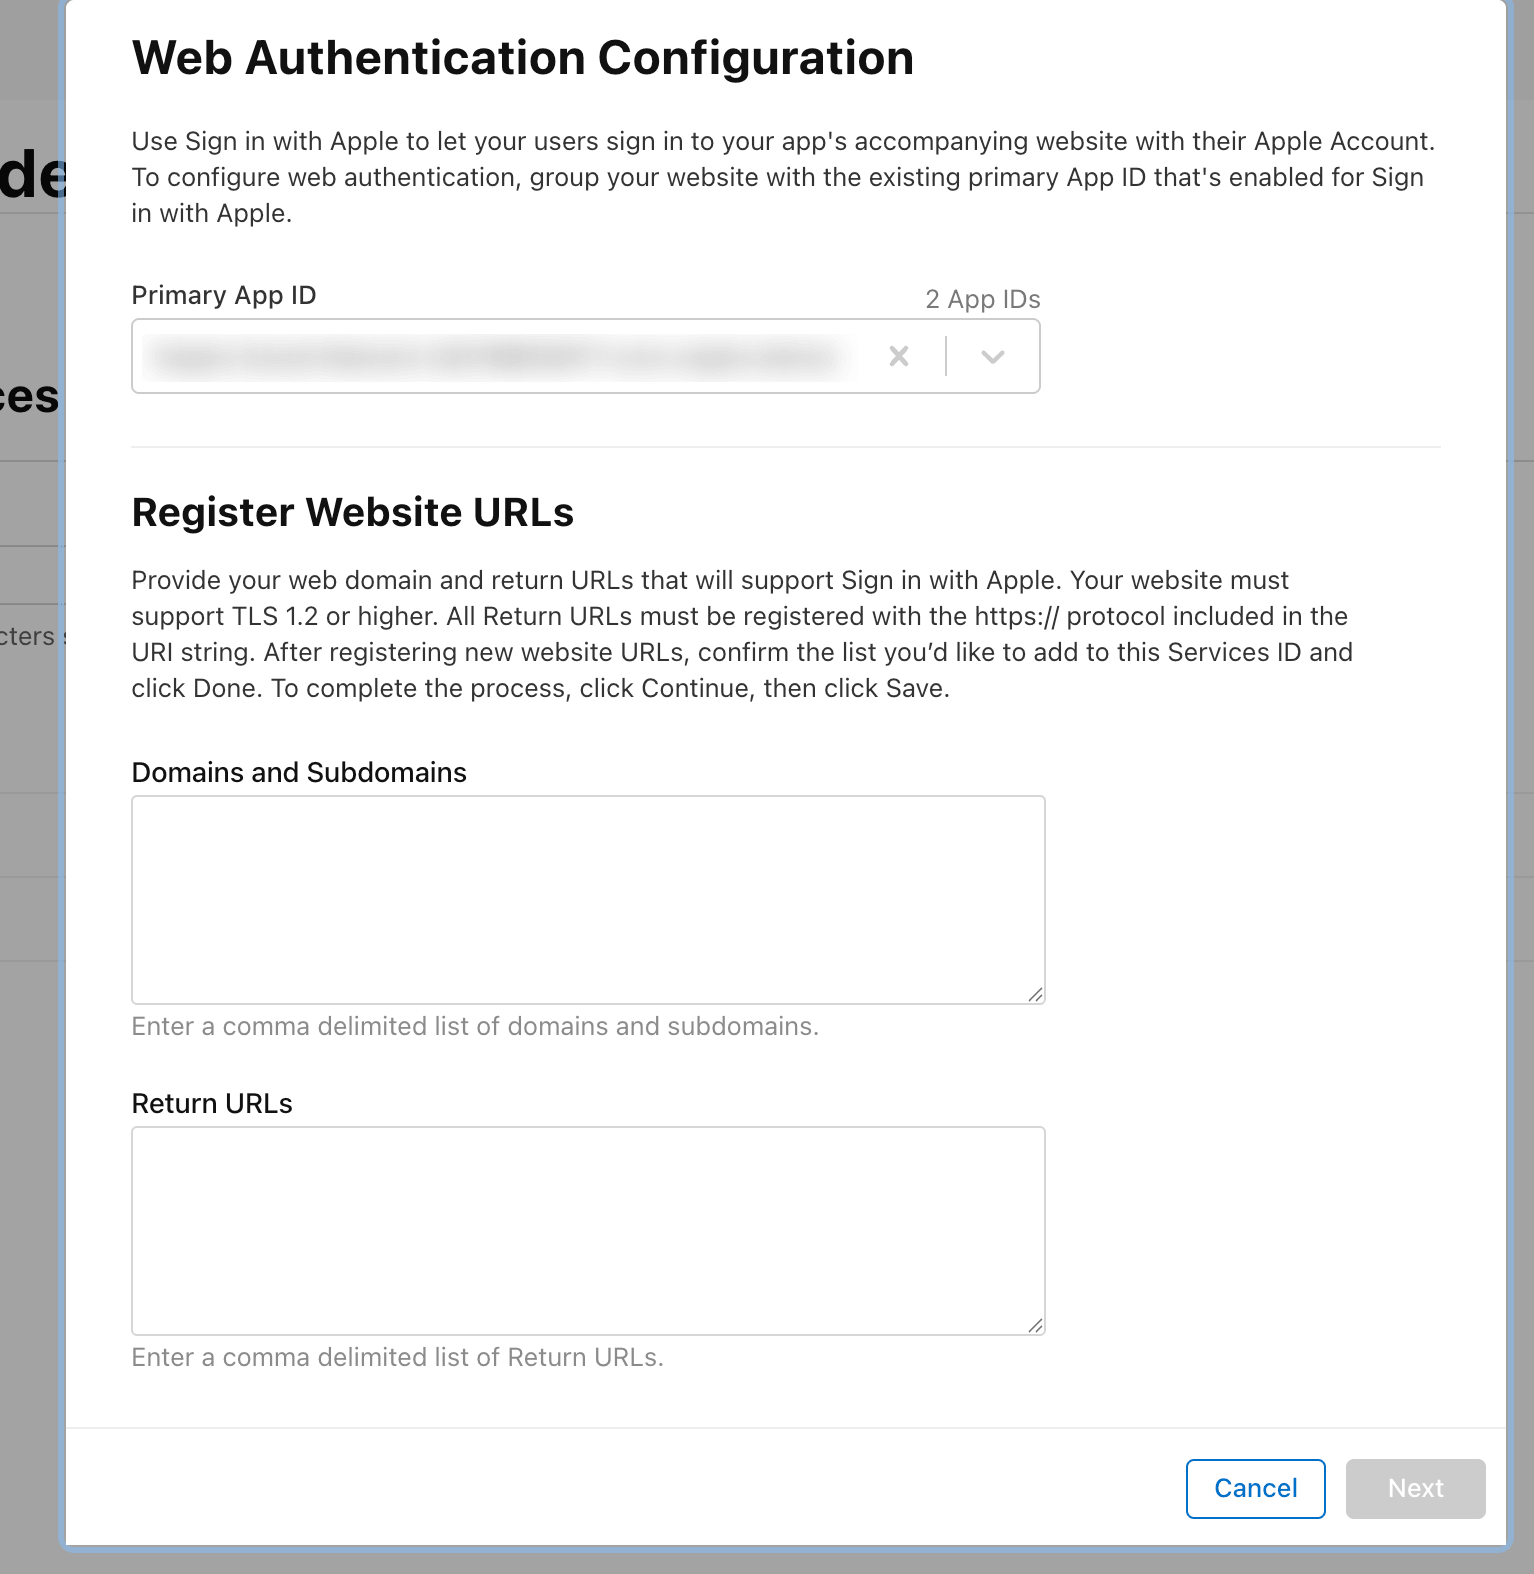
In the Web Authentication Configuration panel, select your Primary App ID created in Step 1. Then add your domain under Domains and Subdomains and add the callback URL under Return URLs as follows:
If you installed Sngine in your domain directly like domain.com the Return URL should be:
https://www.domain.com/connect/appleIf you installed Sngine without
www:
https://domain.com/connect/appleIf you installed Sngine in a sub-domain like sub.domain.com:
https://sub.domain.com/connect/appleIf you installed Sngine in a directory like domain.com/directory:
https://www.domain.com/directory/connect/appleClick Next then Done, then click Continue and Save
Step 3 — Create a Private Key
-
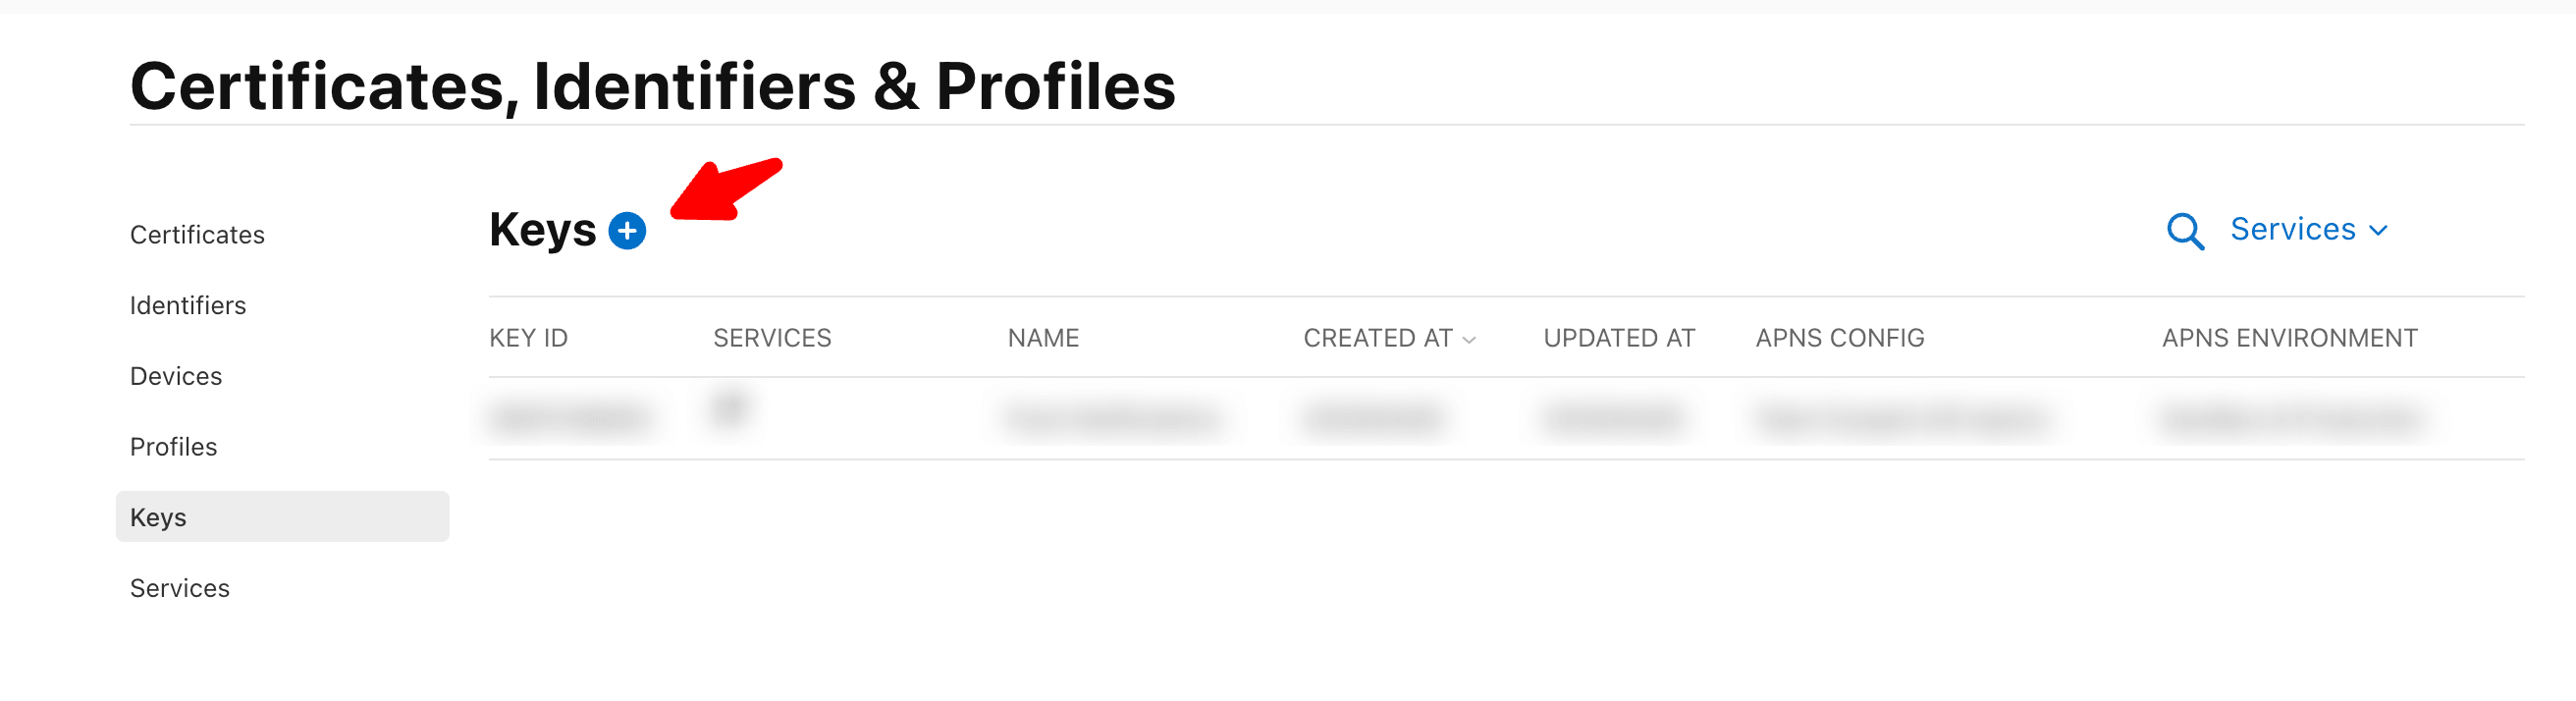
Go to Keys in the left sidebar and click the + button to register a new key
-
Enter a Key Name, enable Sign In with Apple and click Edit to associate it with the App ID created in Step 1. Click Continue then Register. Download the
.p8key file and note the Key ID — the file can only be downloaded once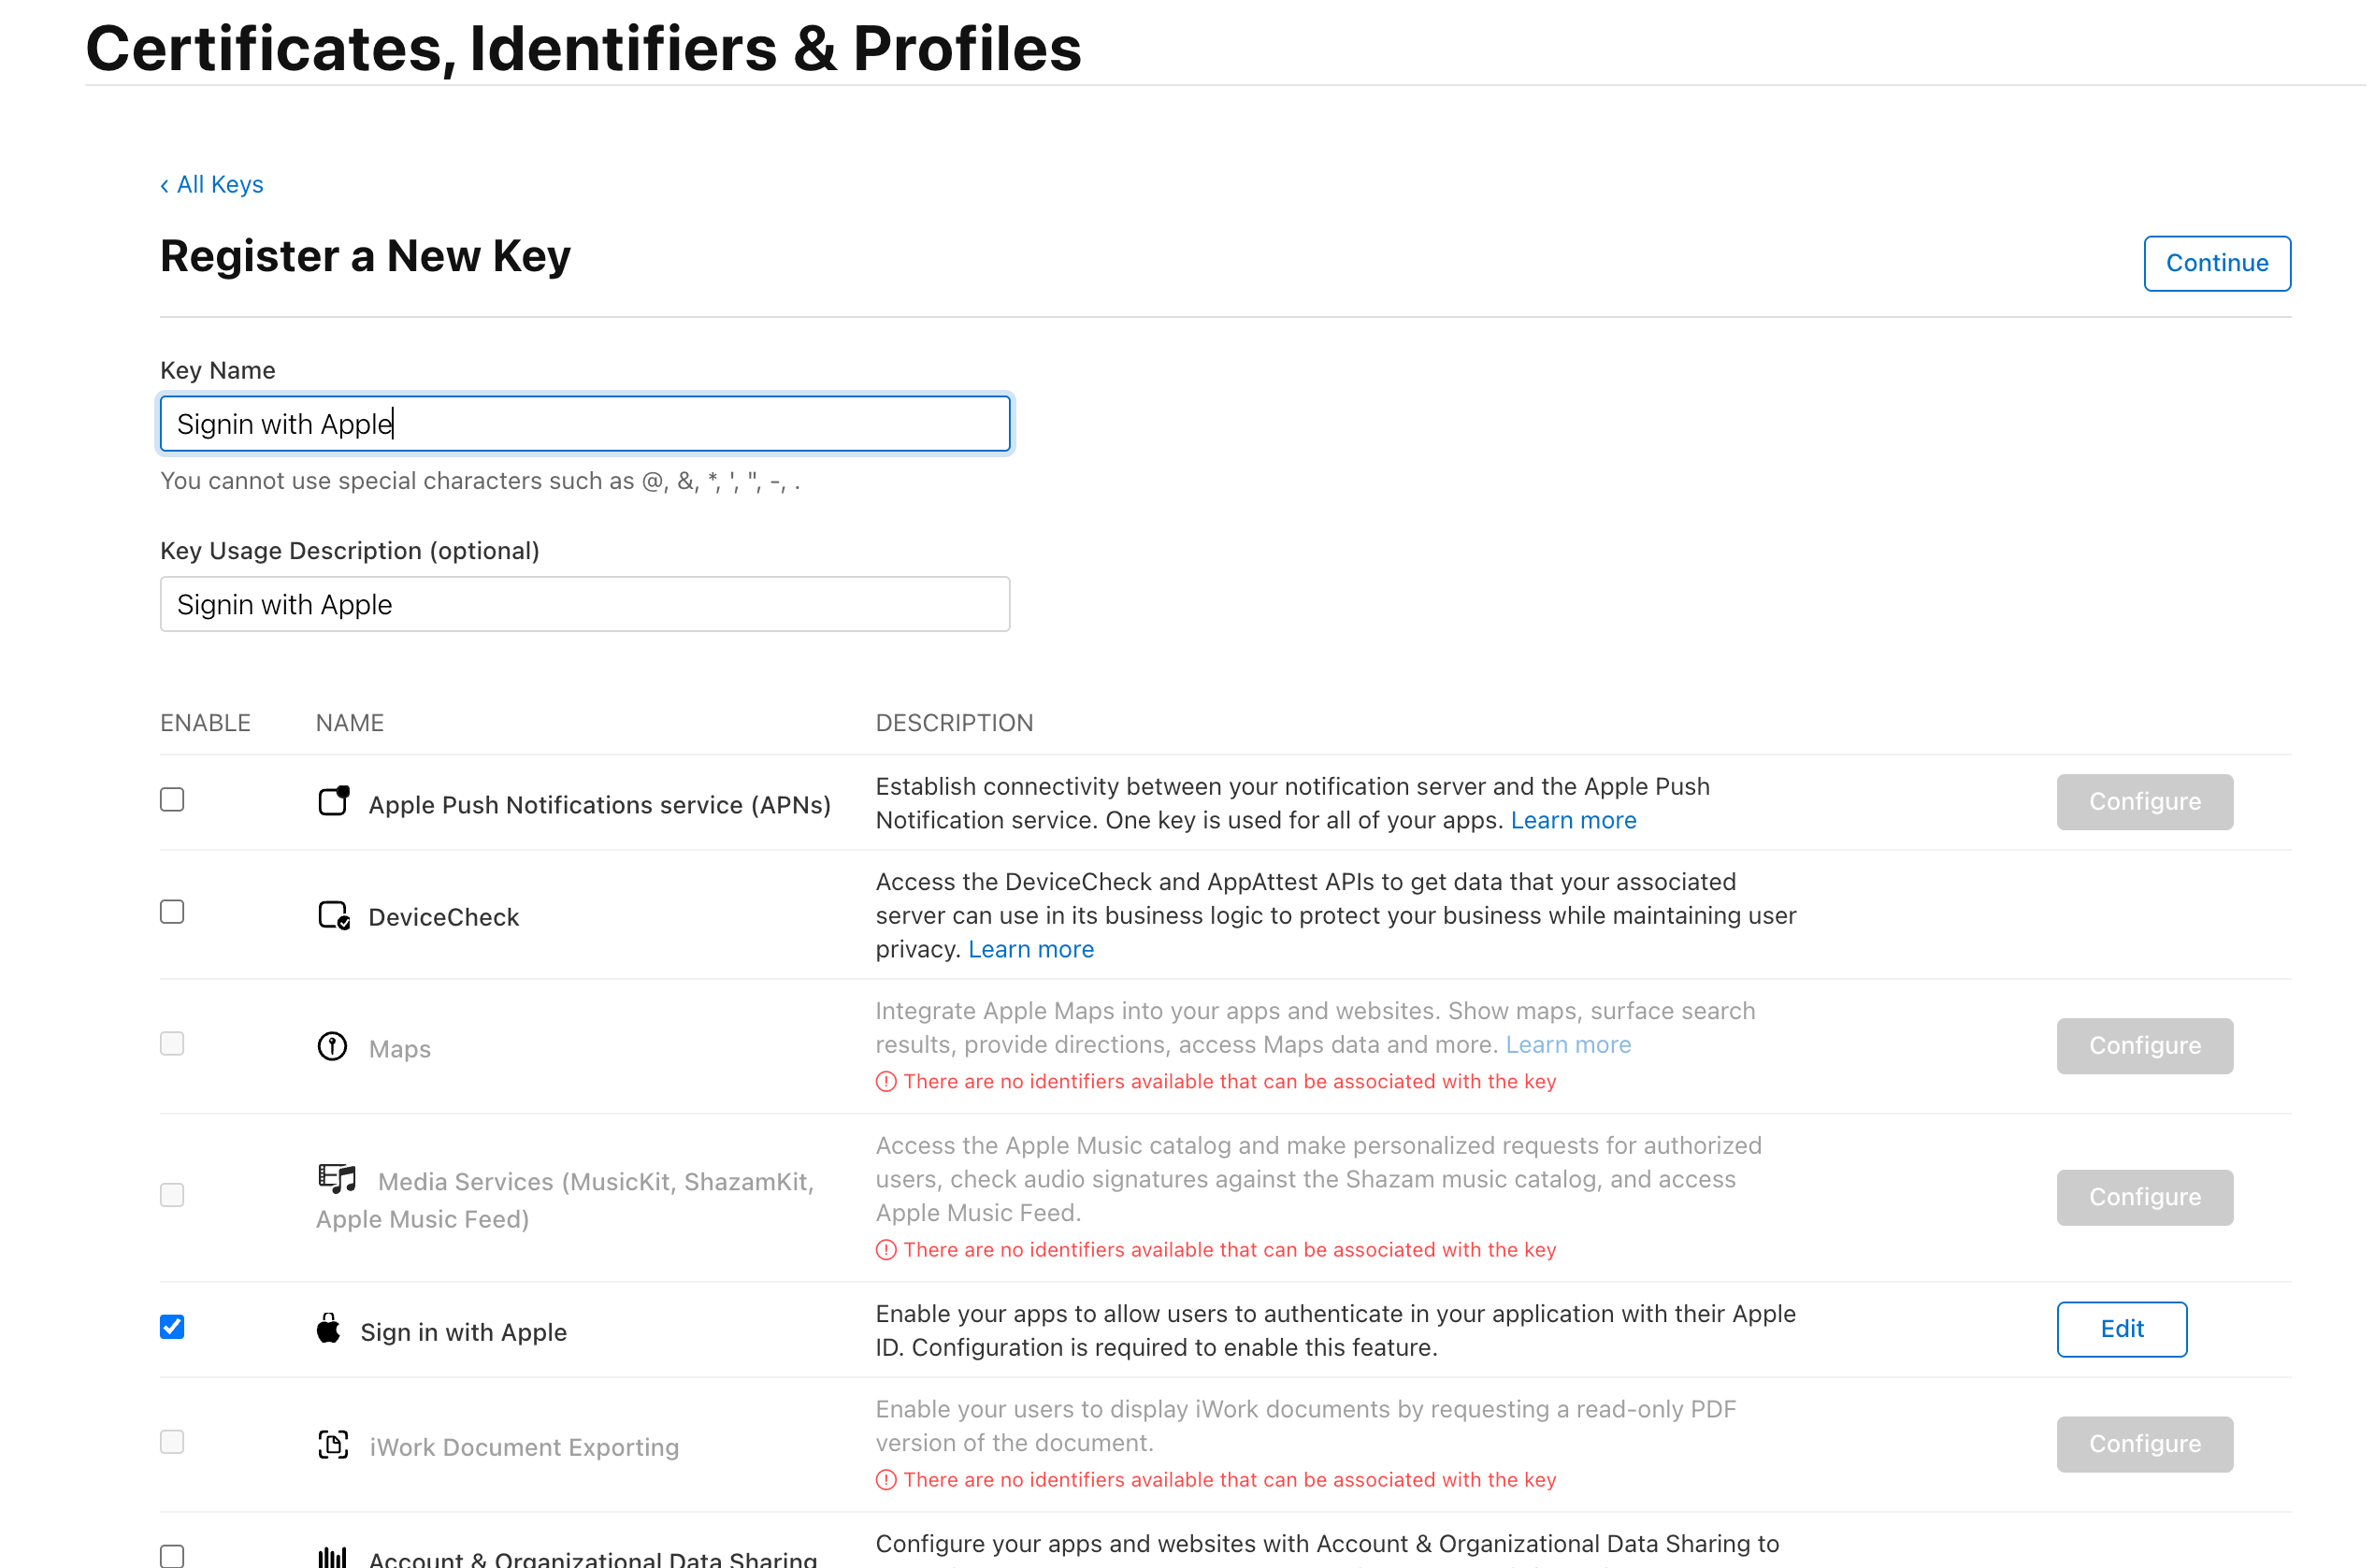
Step 4 — Configure Sngine
-
Go to Sngine Admin Panel → Settings → Registration Settings → Social Login and fill in the following fields:
- Services ID — the Identifier of the Services ID created in Step 2
- Team ID — your 10-character Apple Developer Team ID (visible in the top-right of the Developer portal)
- Key ID — the Key ID noted when downloading the .p8 file
- Private Key — the contents of the downloaded
.p8file