

Skip to content

Wasabi

Integrate Wasabi with Sngine in a few easy steps.

Create the bucket and access key

  1. Go to https://console.wasabisys.com/ and sign in with your Wasabi account

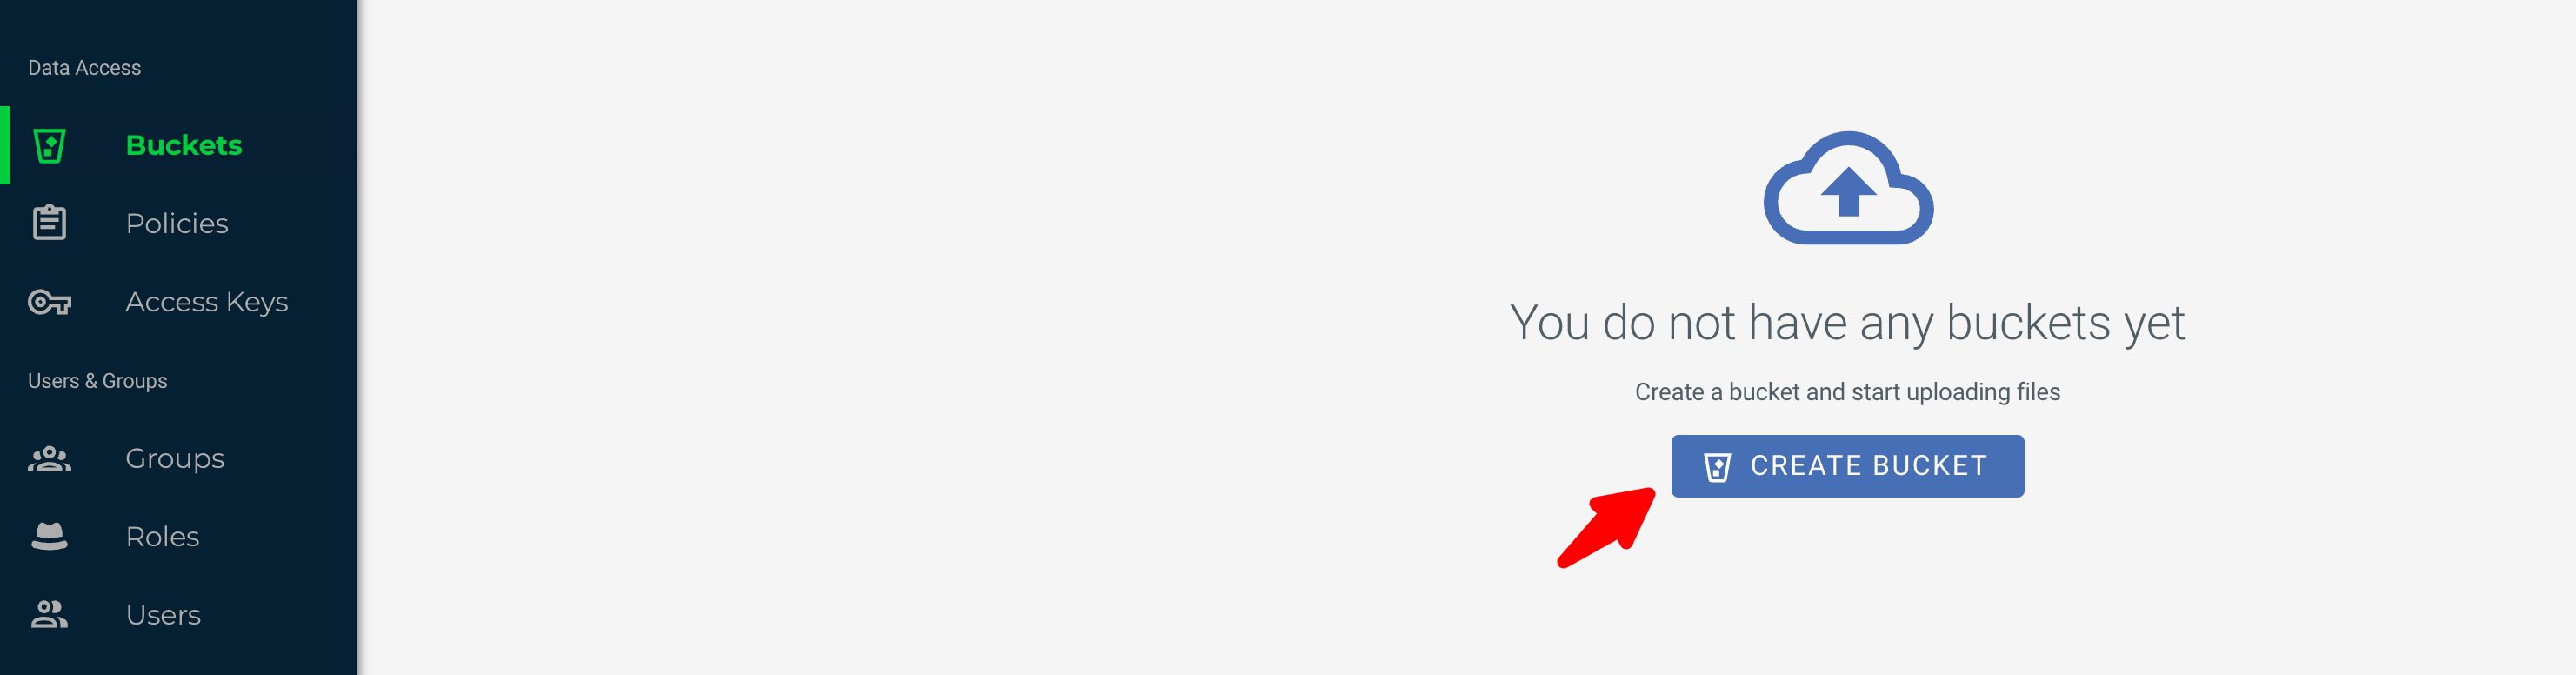
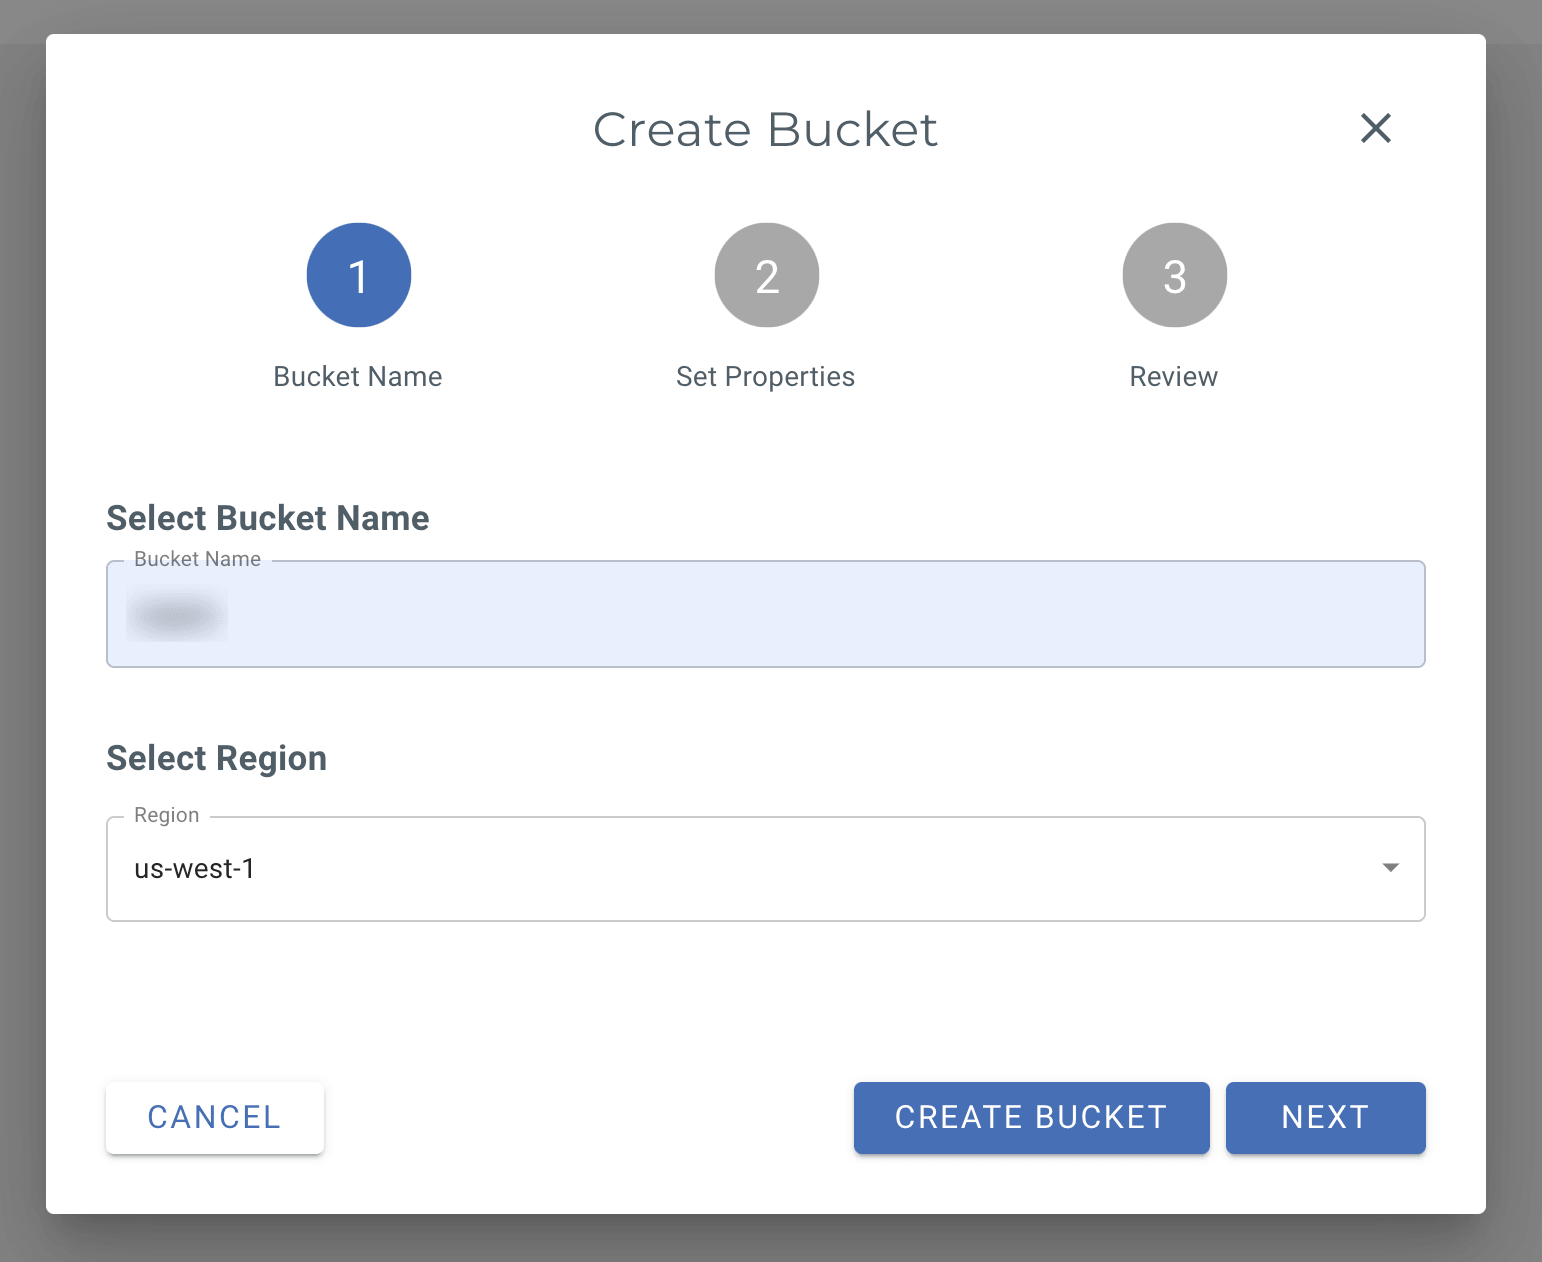
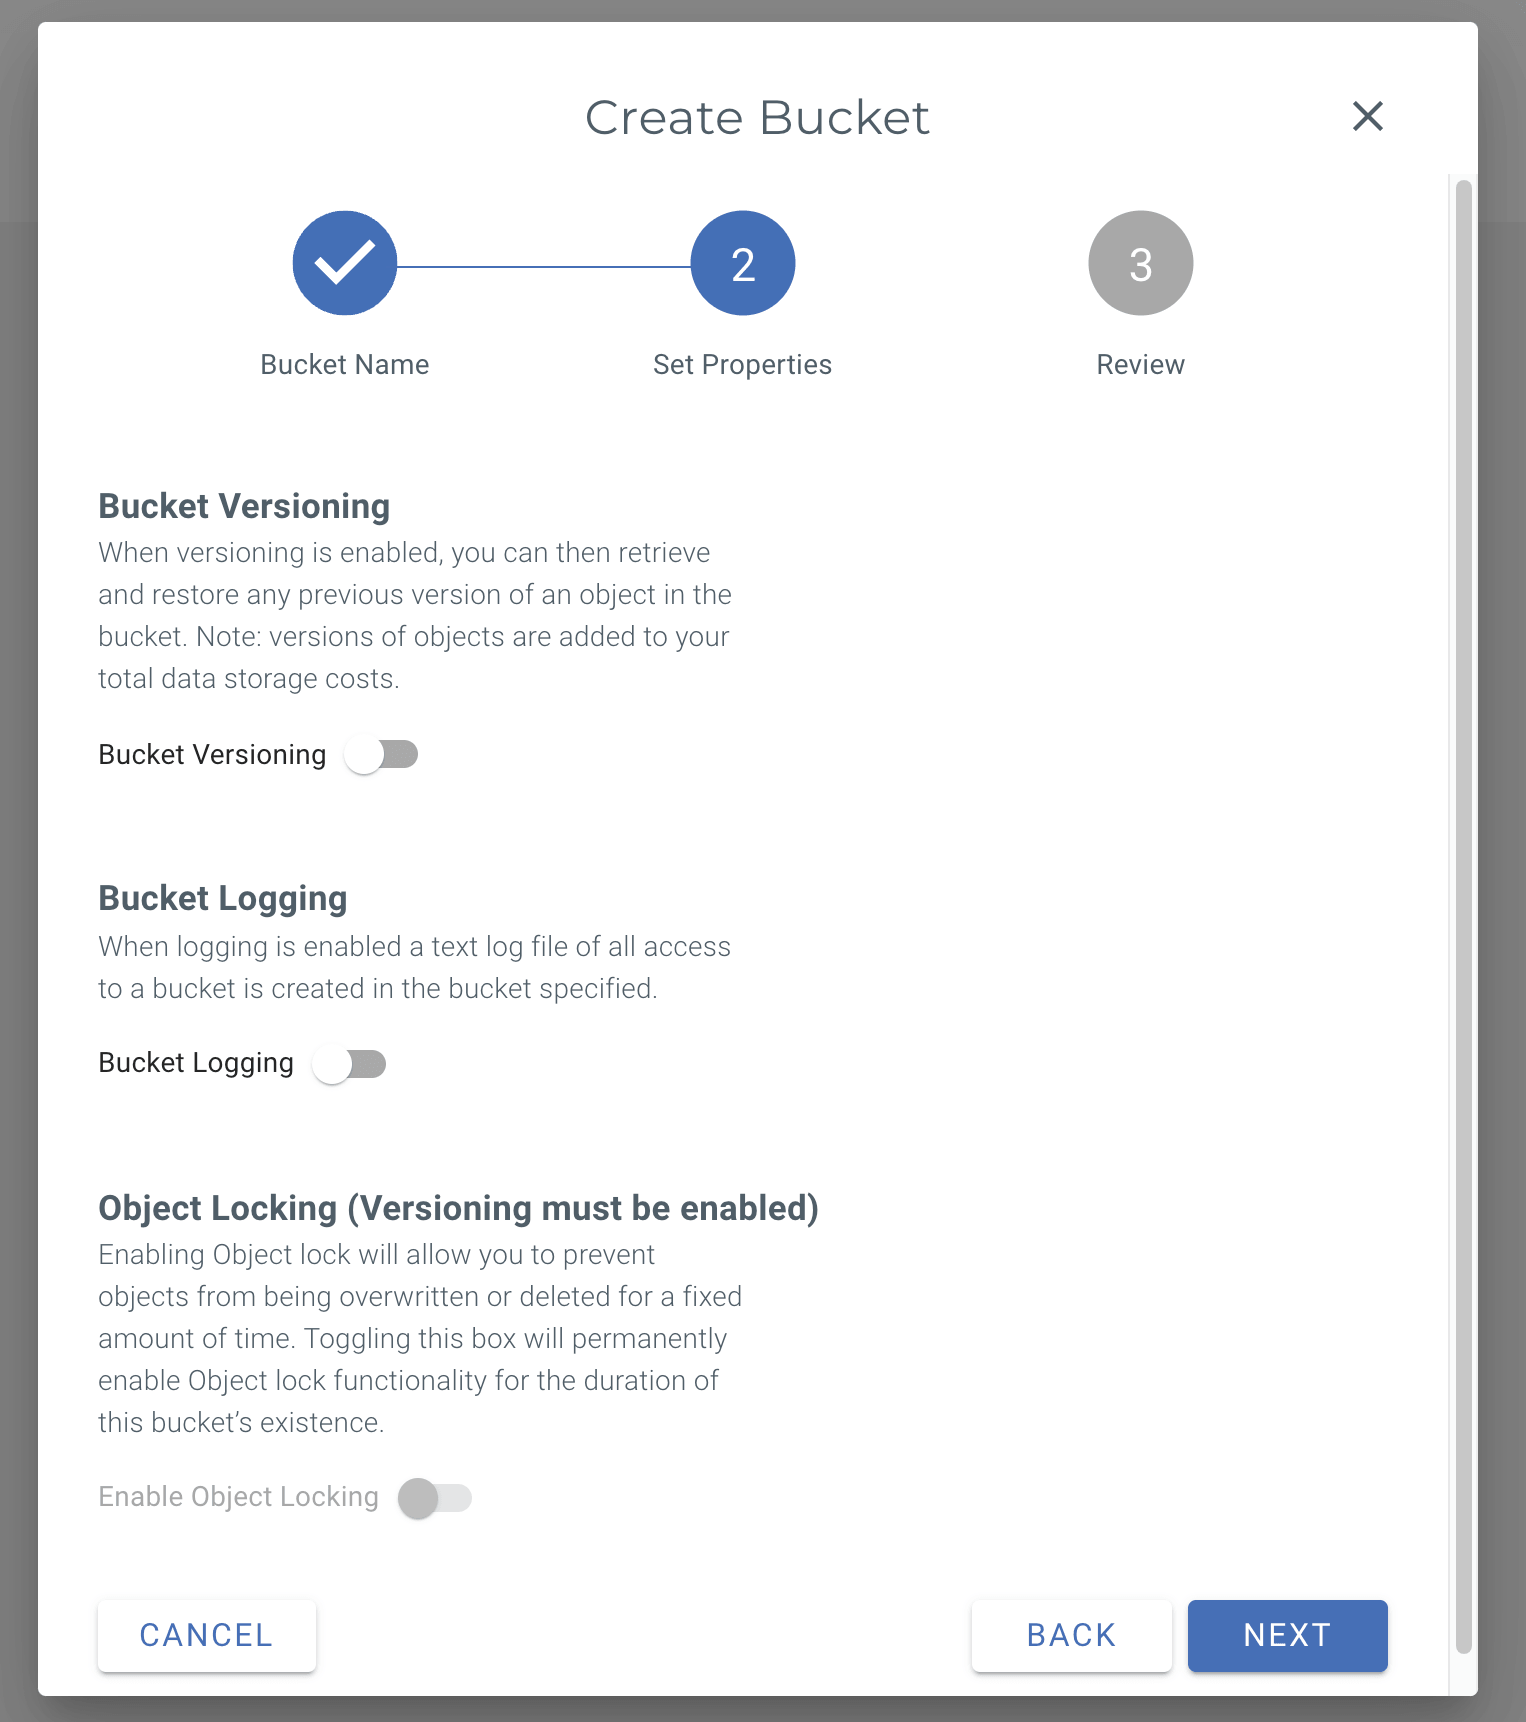
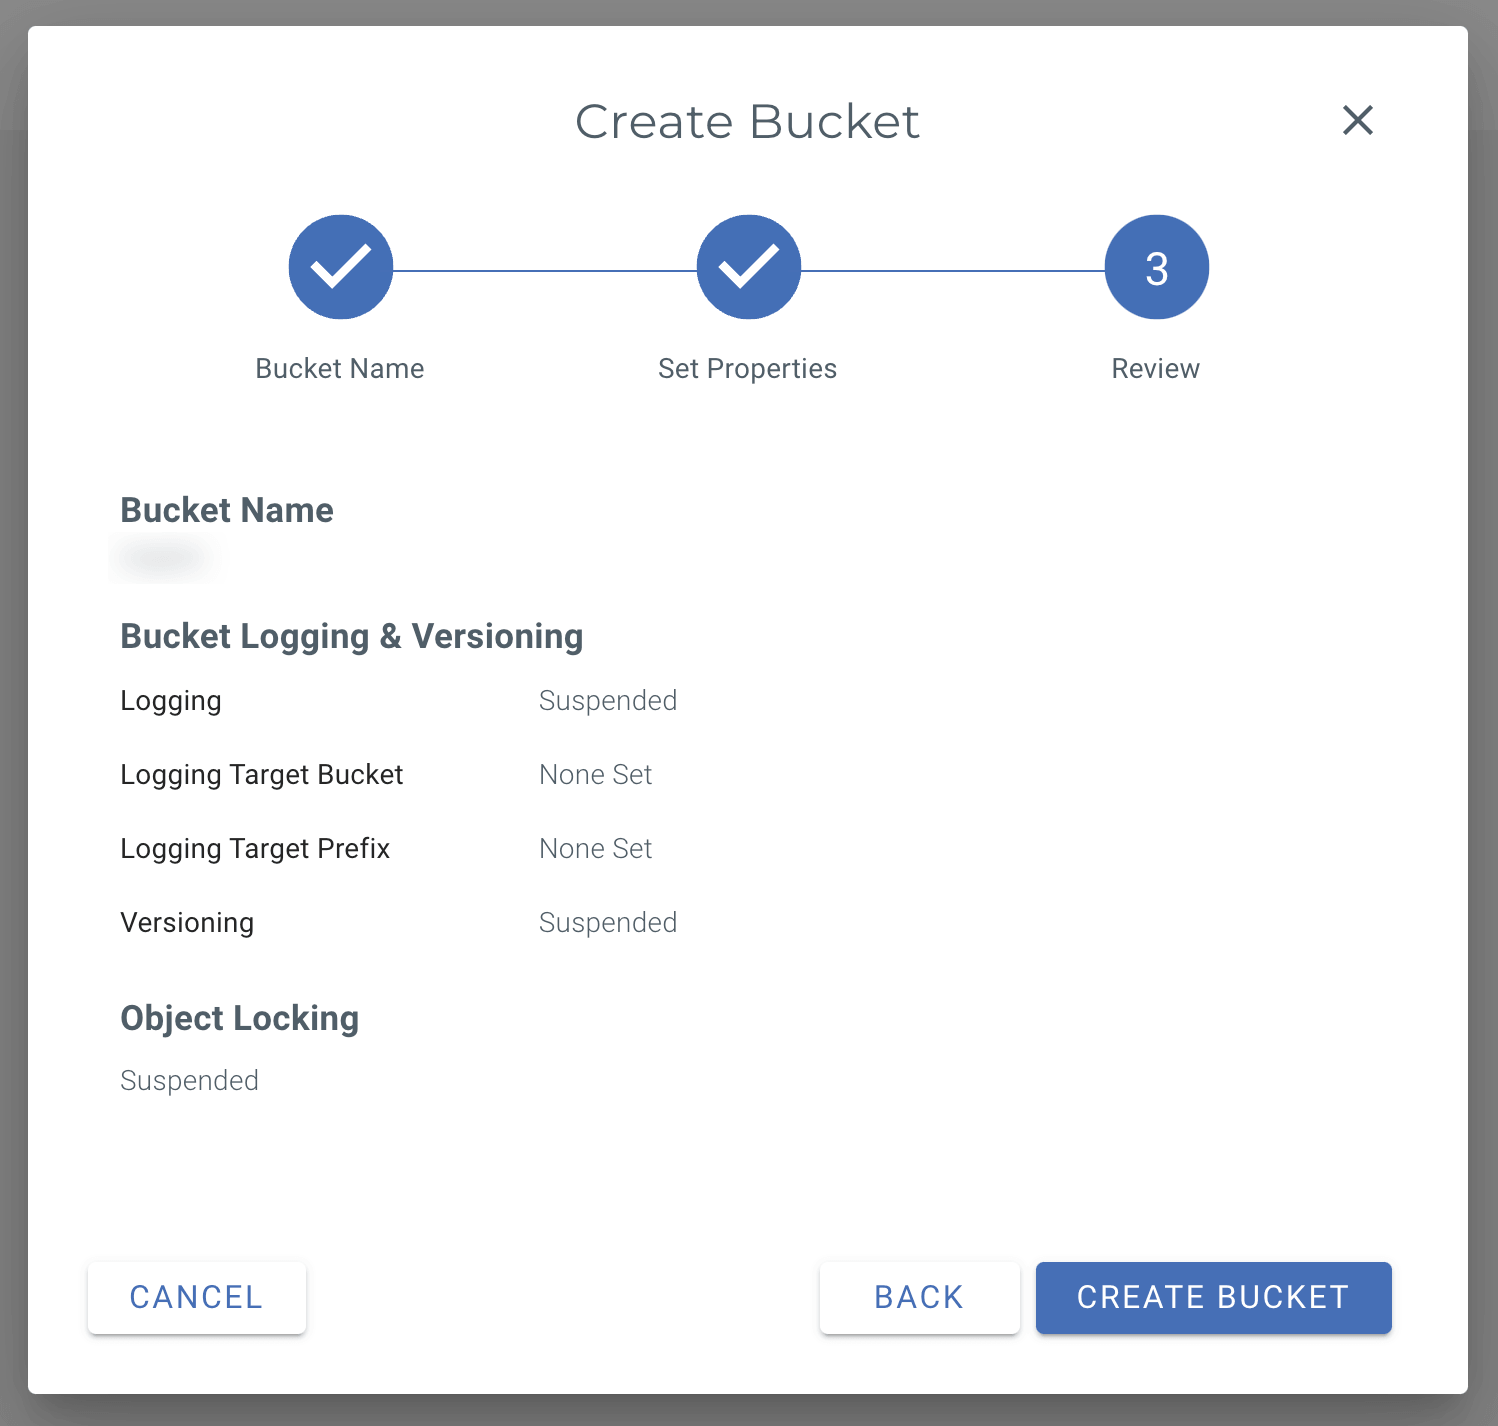
  2. Click Buckets and click Create Bucket
    Click Buckets and click Create Bucket
    Click Buckets and click Create Bucket
    Click Buckets and click Create Bucket

    Click Buckets and click Create Bucket

  3. Go to Access Keys and Create a new Access Key
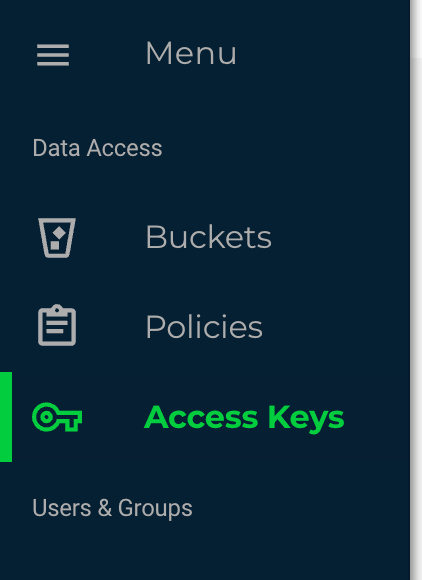
    Go to Access Keys and Create a new Access Key
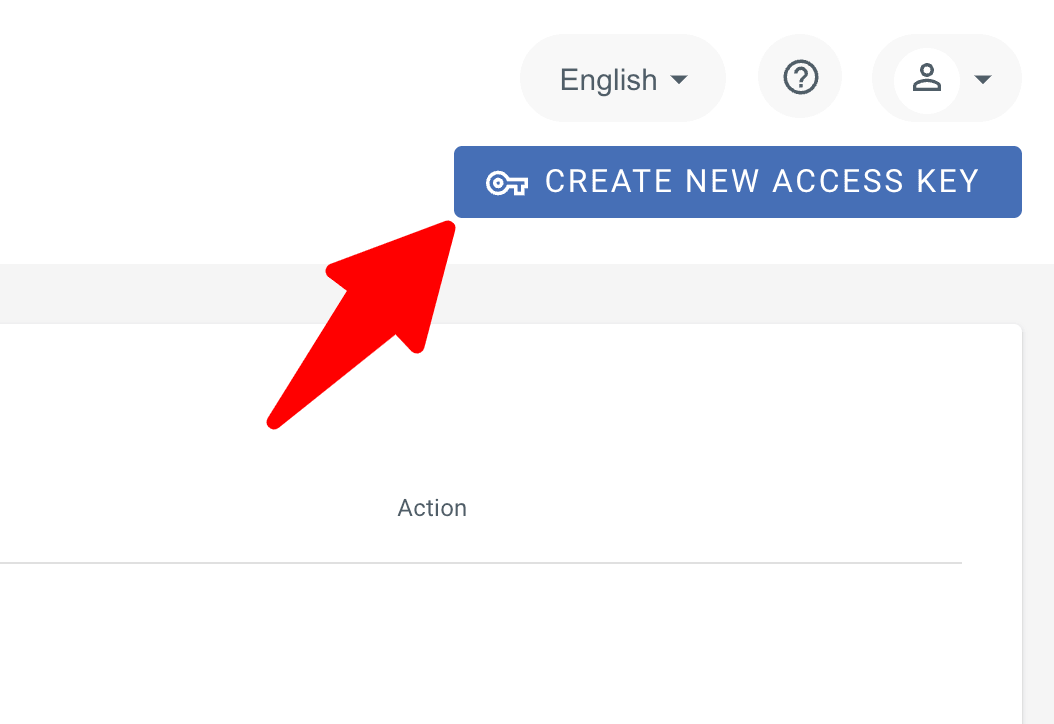
    Go to Access Keys and Create a new Access Key
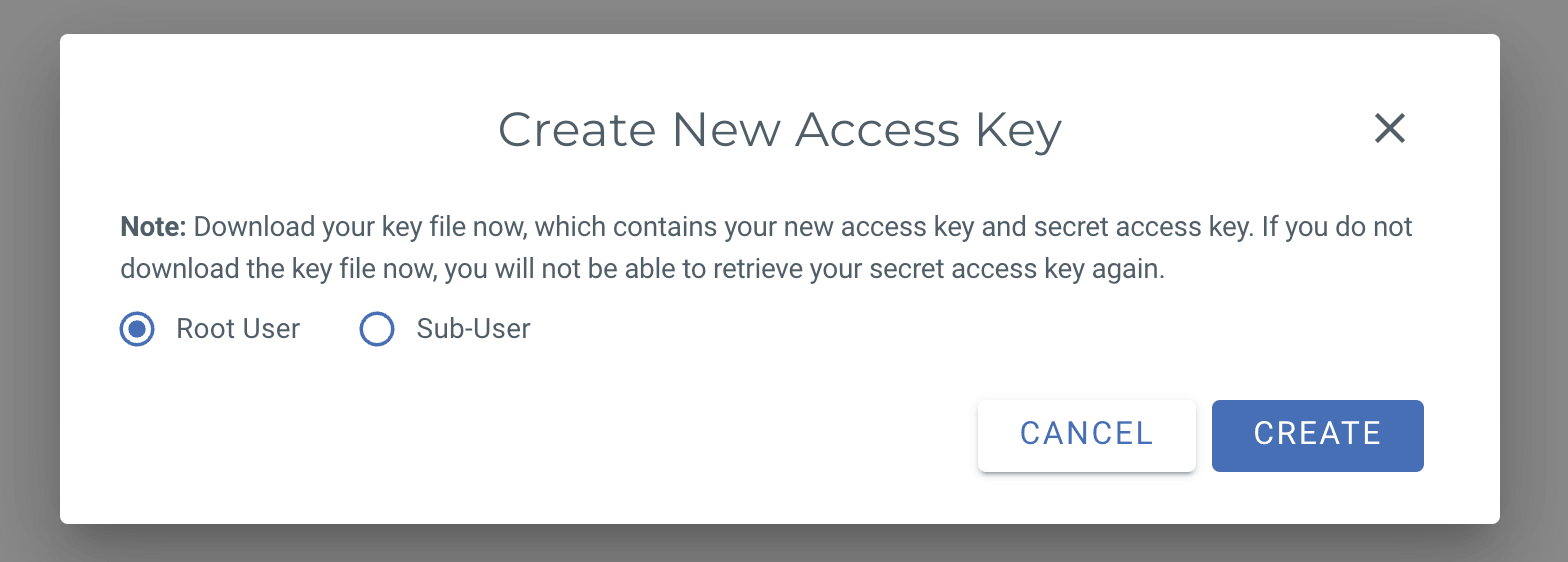
    Go to Access Keys and Create a new Access Key
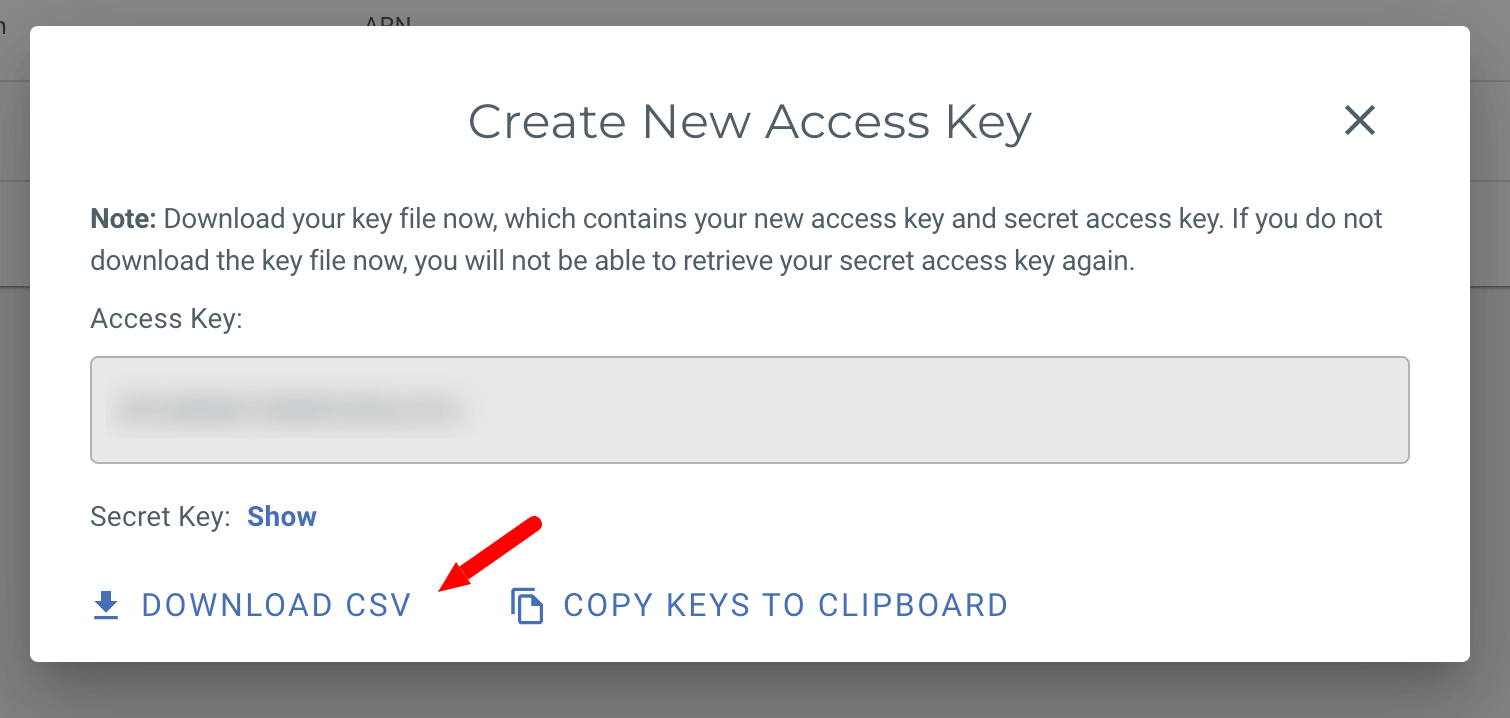
    Go to Access Keys and Create a new Access Key

Make the bucket public

  1. You need to make sure that your bucket is public so go to buckets and click settings

    You need to make sure that your bucket is public so go to buckets and click settings
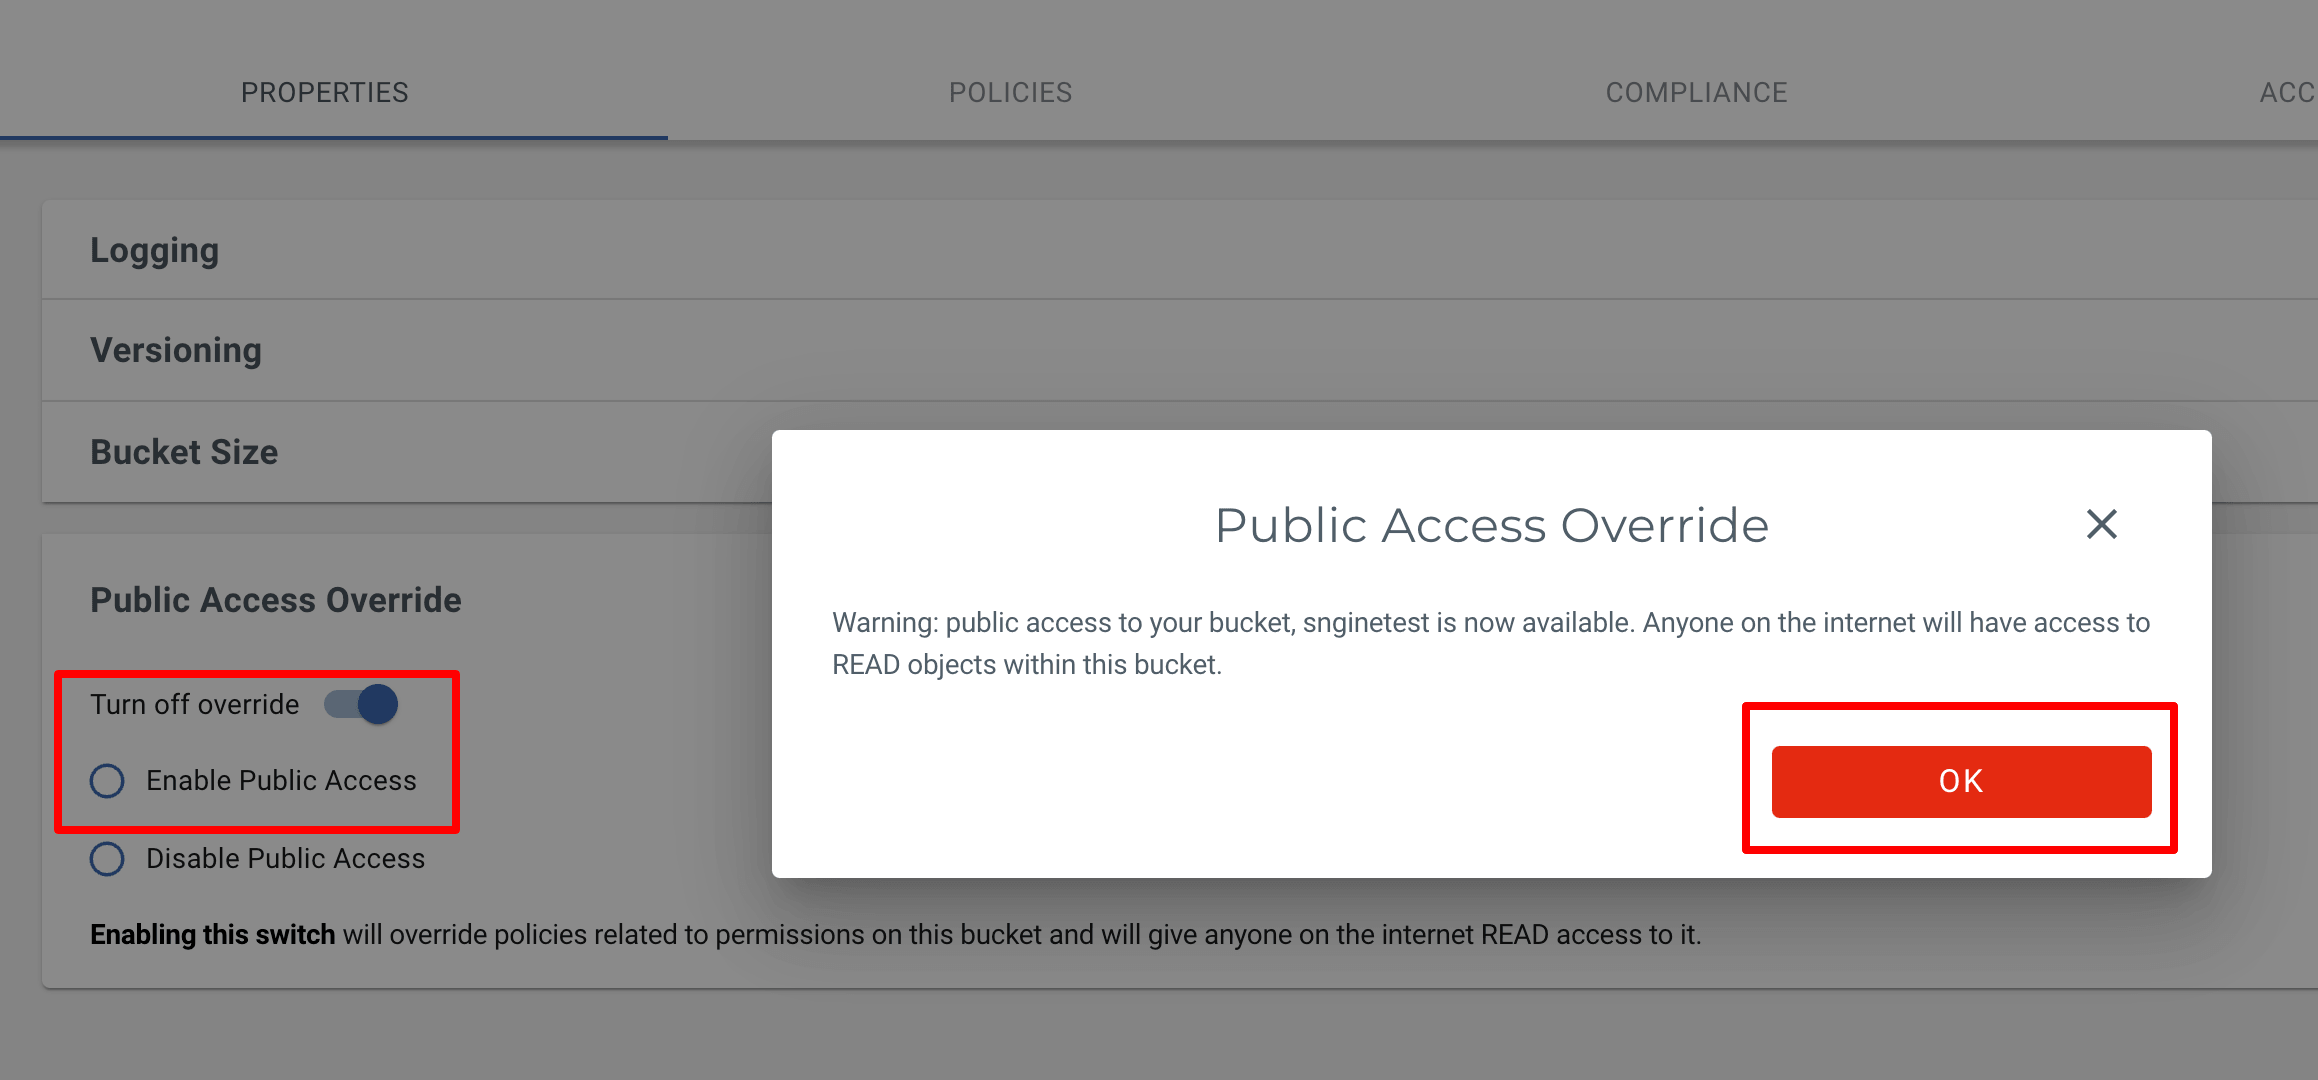
    You need to make sure that your bucket is public so go to buckets and click settings

  2. Also make sure you added the Bucket Policy by adding this JSON code in Bucket Policy. You'll need to replace YOUR-BUCKET-NAME with your full bucket name

    {
      "Version": "2012-10-17",
      "Statement": [
        {
          "Sid": "AllowPublicRead",
          "Action": [
            "s3:GetObject"
          ],
          "Effect": "Allow",
          "Principal": "*",
          "Resource": "arn:aws:s3:::snginetest/*"
        }
      ]
    }
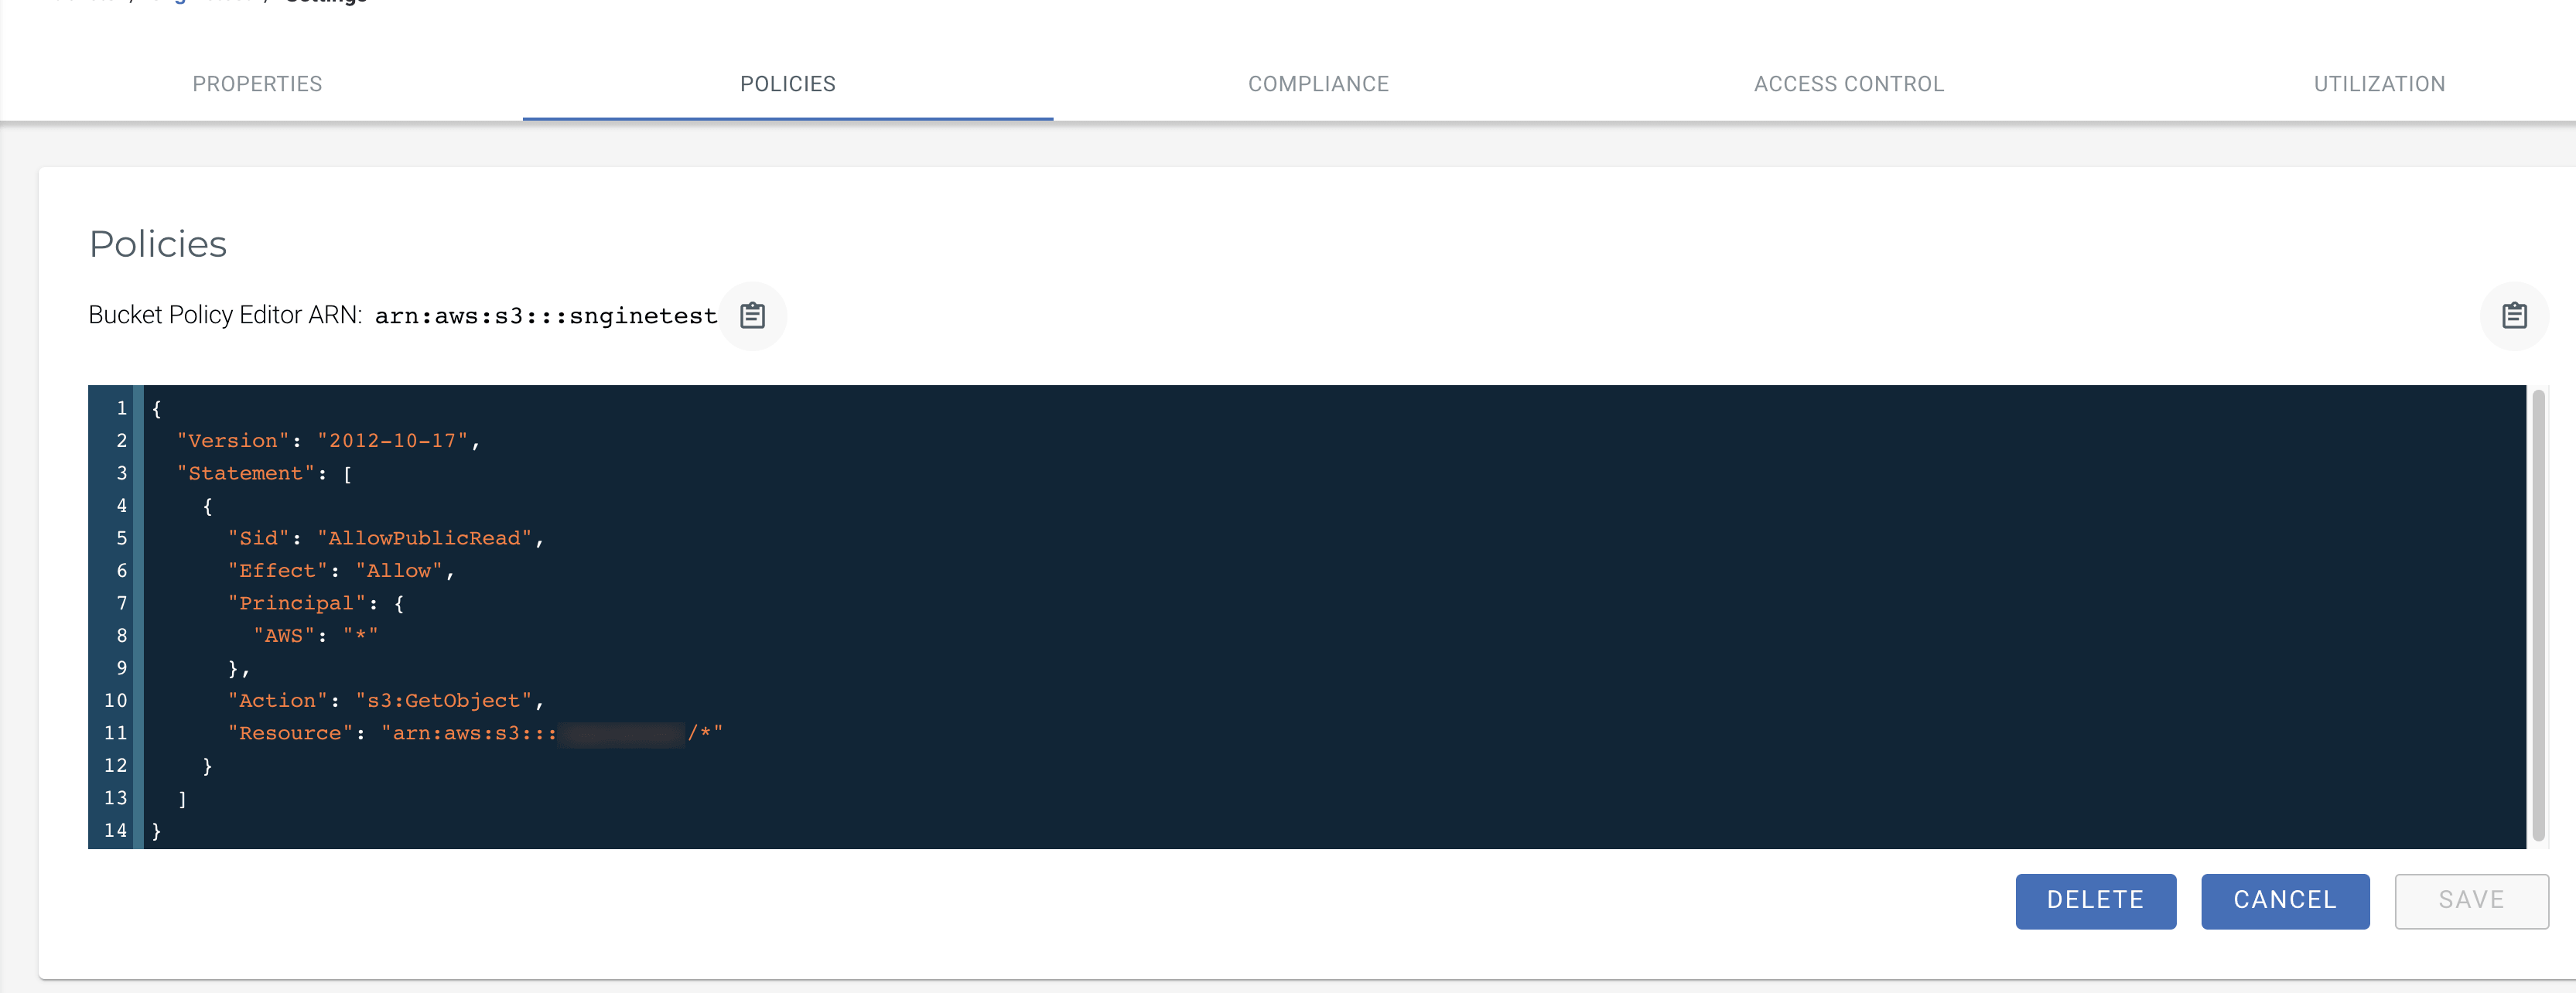
                      

    Also make sure you added the Bucket Policy by adding this JSON code in Bucket Policy. You'll need to replace…

Add the credentials to Sngine

  1. Go to your Sngine Admin Panel → Settings → Upload Settings and paste both Keys and your bucket name and location and after click Save Changes click Test Connection
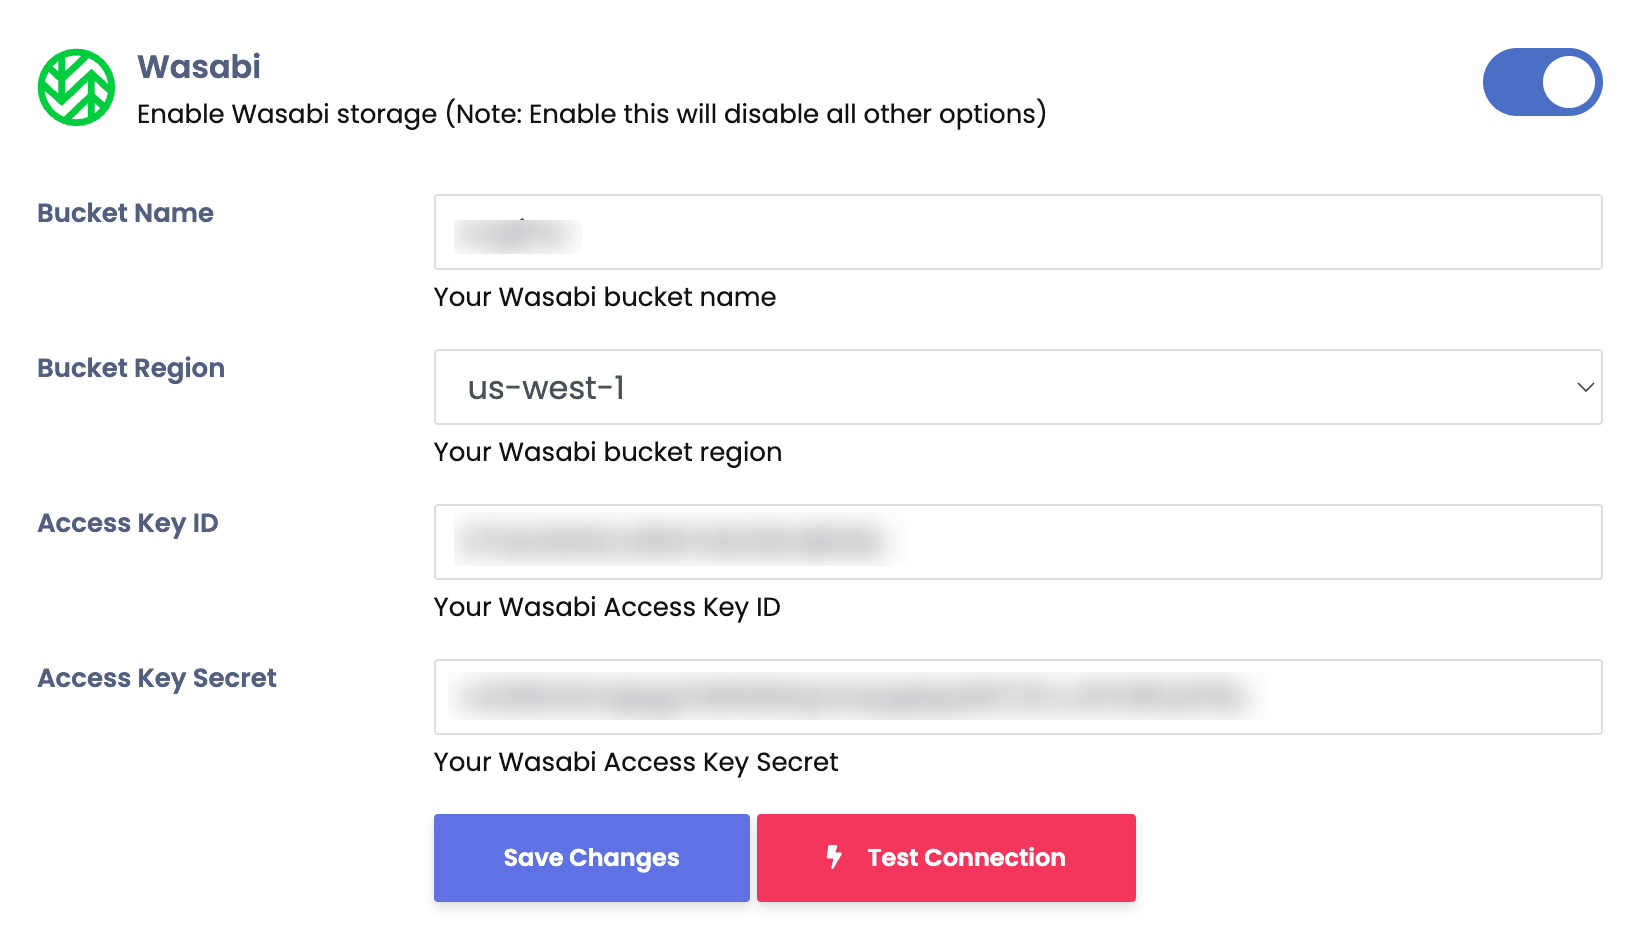
    Go to your Sngine Admin Panel → Settings → Upload Settings and paste both Keys and your bucket name and location and after…