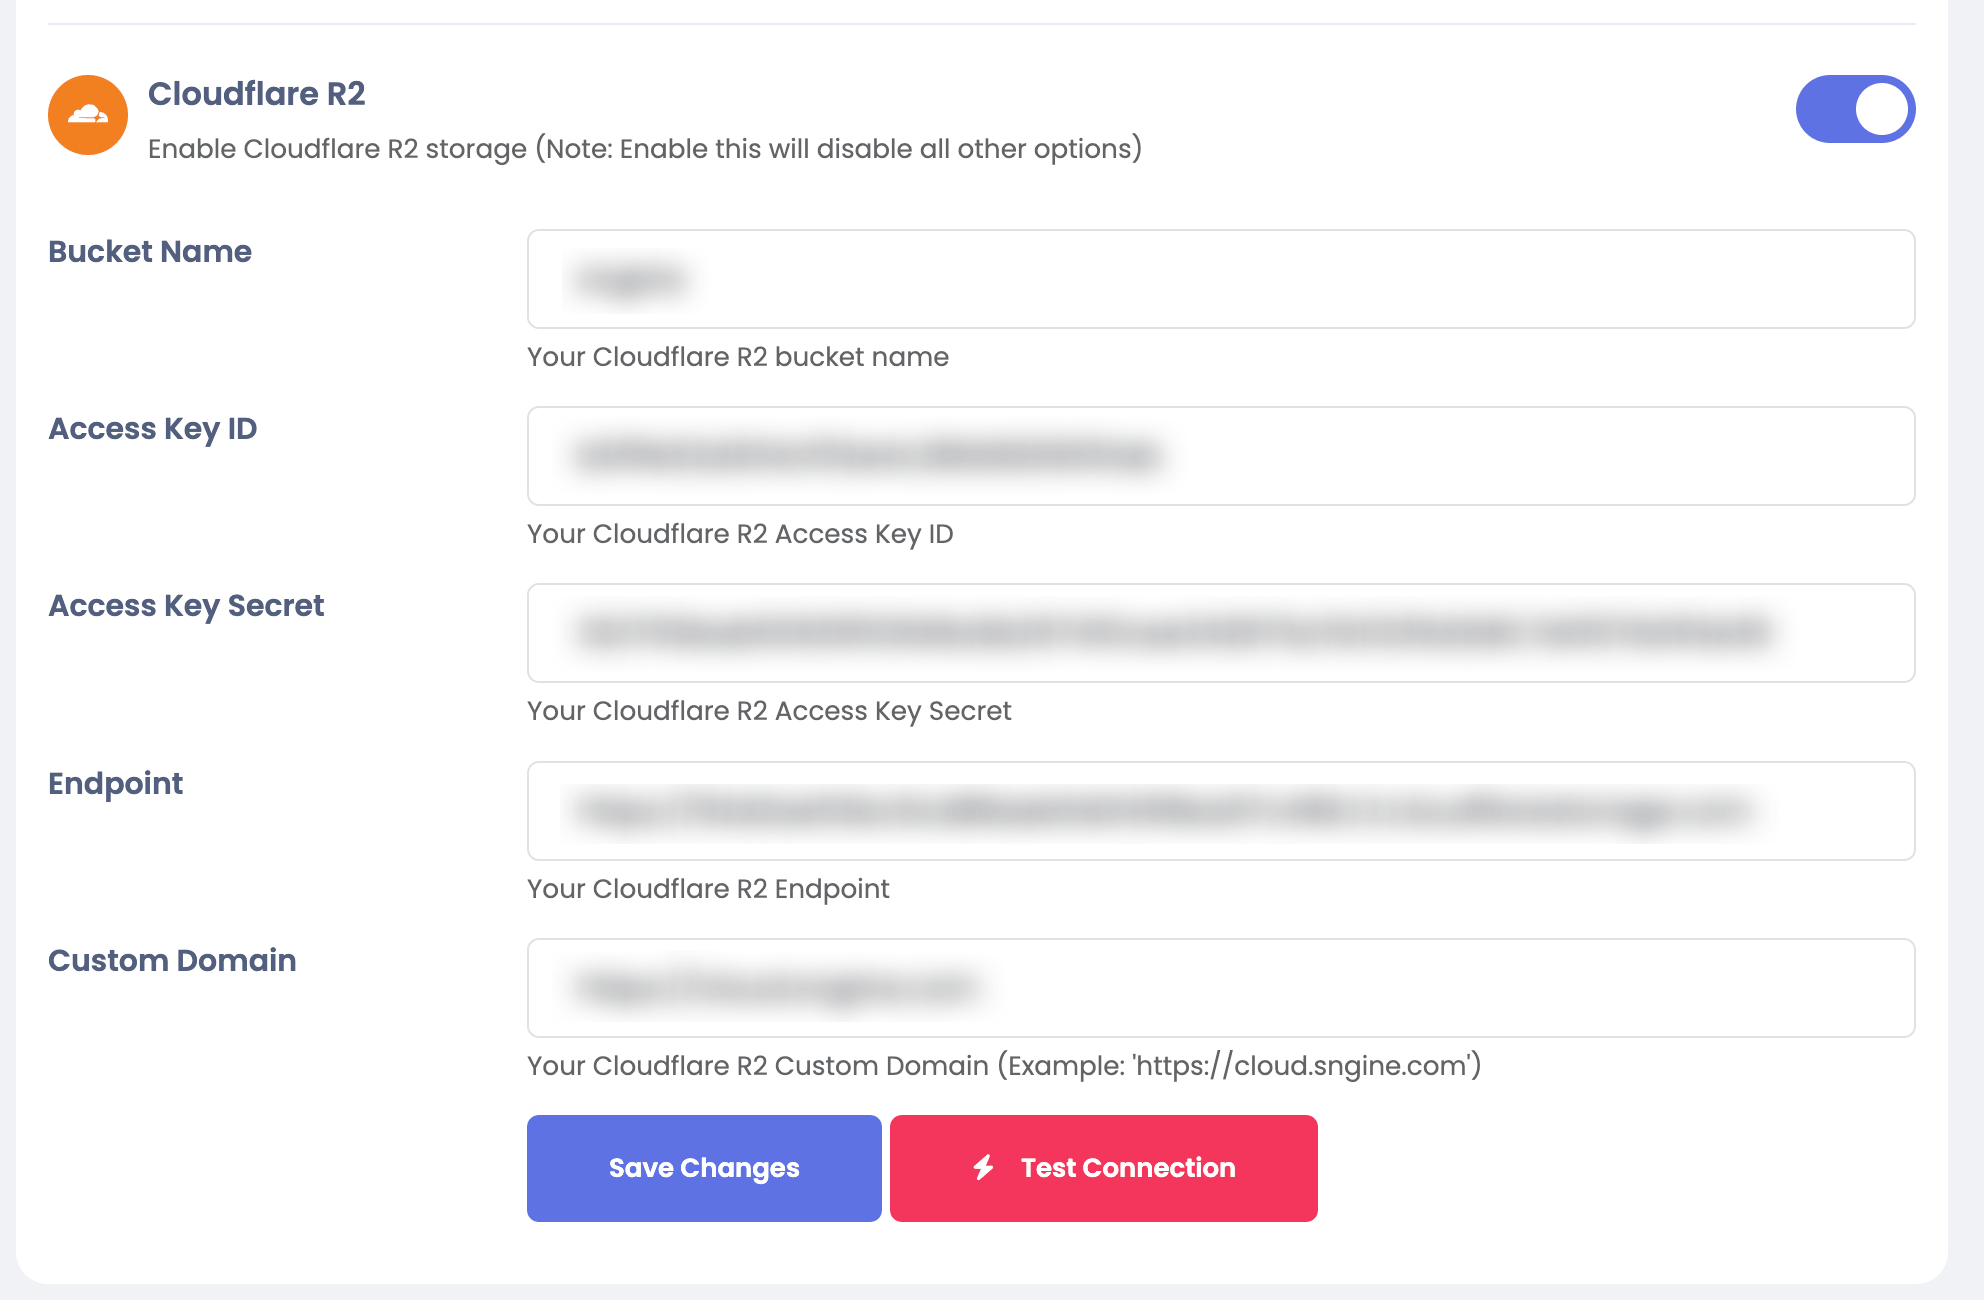


Cloudflare R2
Integrate Cloudflare R2 with Sngine in a few easy steps.
Create an API token
-
Go to https://dash.cloudflare.com/ and sign in with your Cloudflare account
-
Click R2 Object Storage
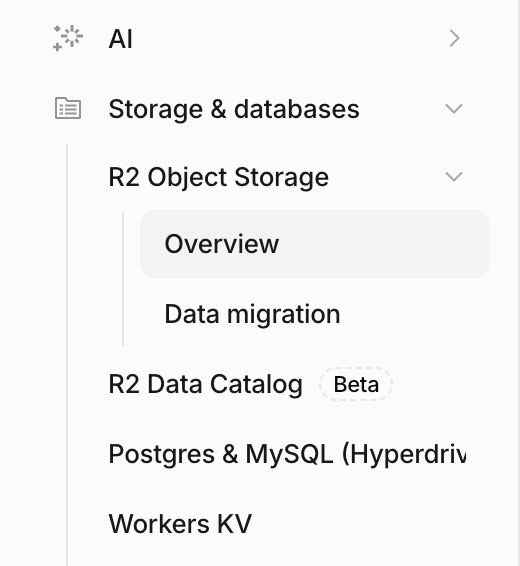
-
Click on API then click on Manage API Token
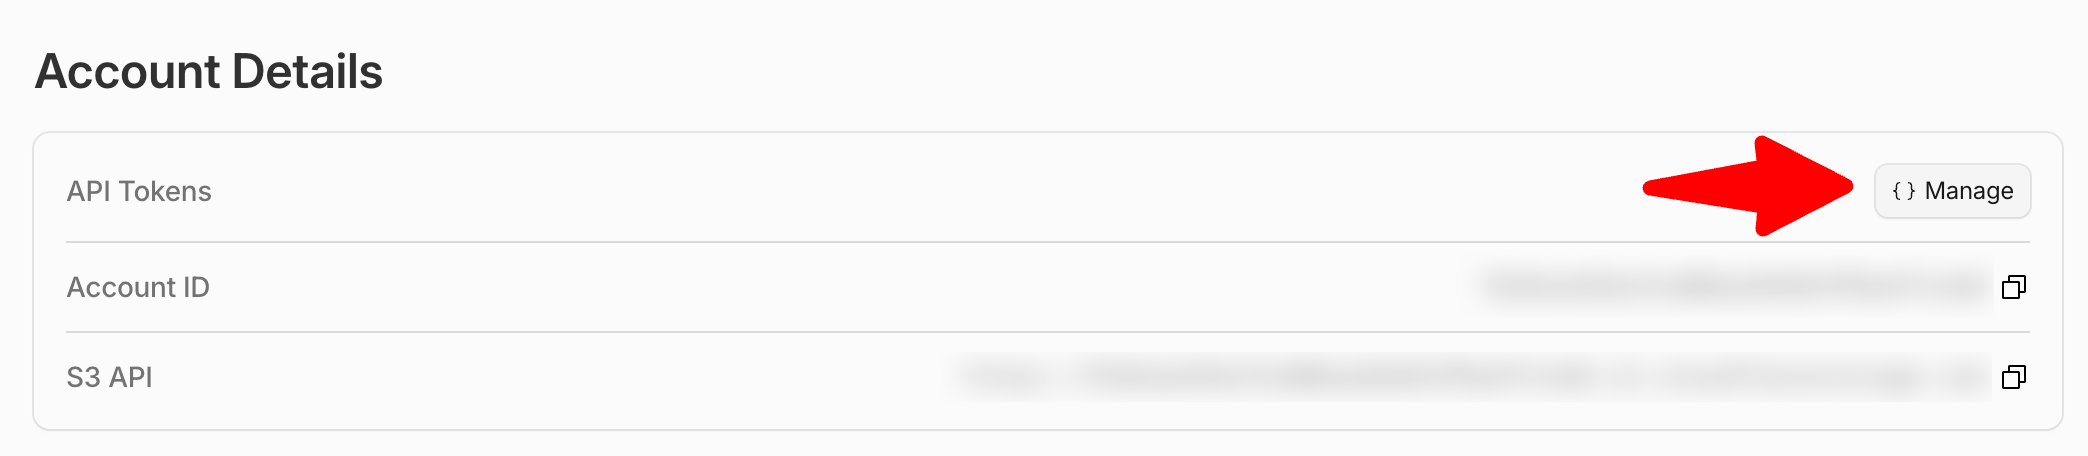
-
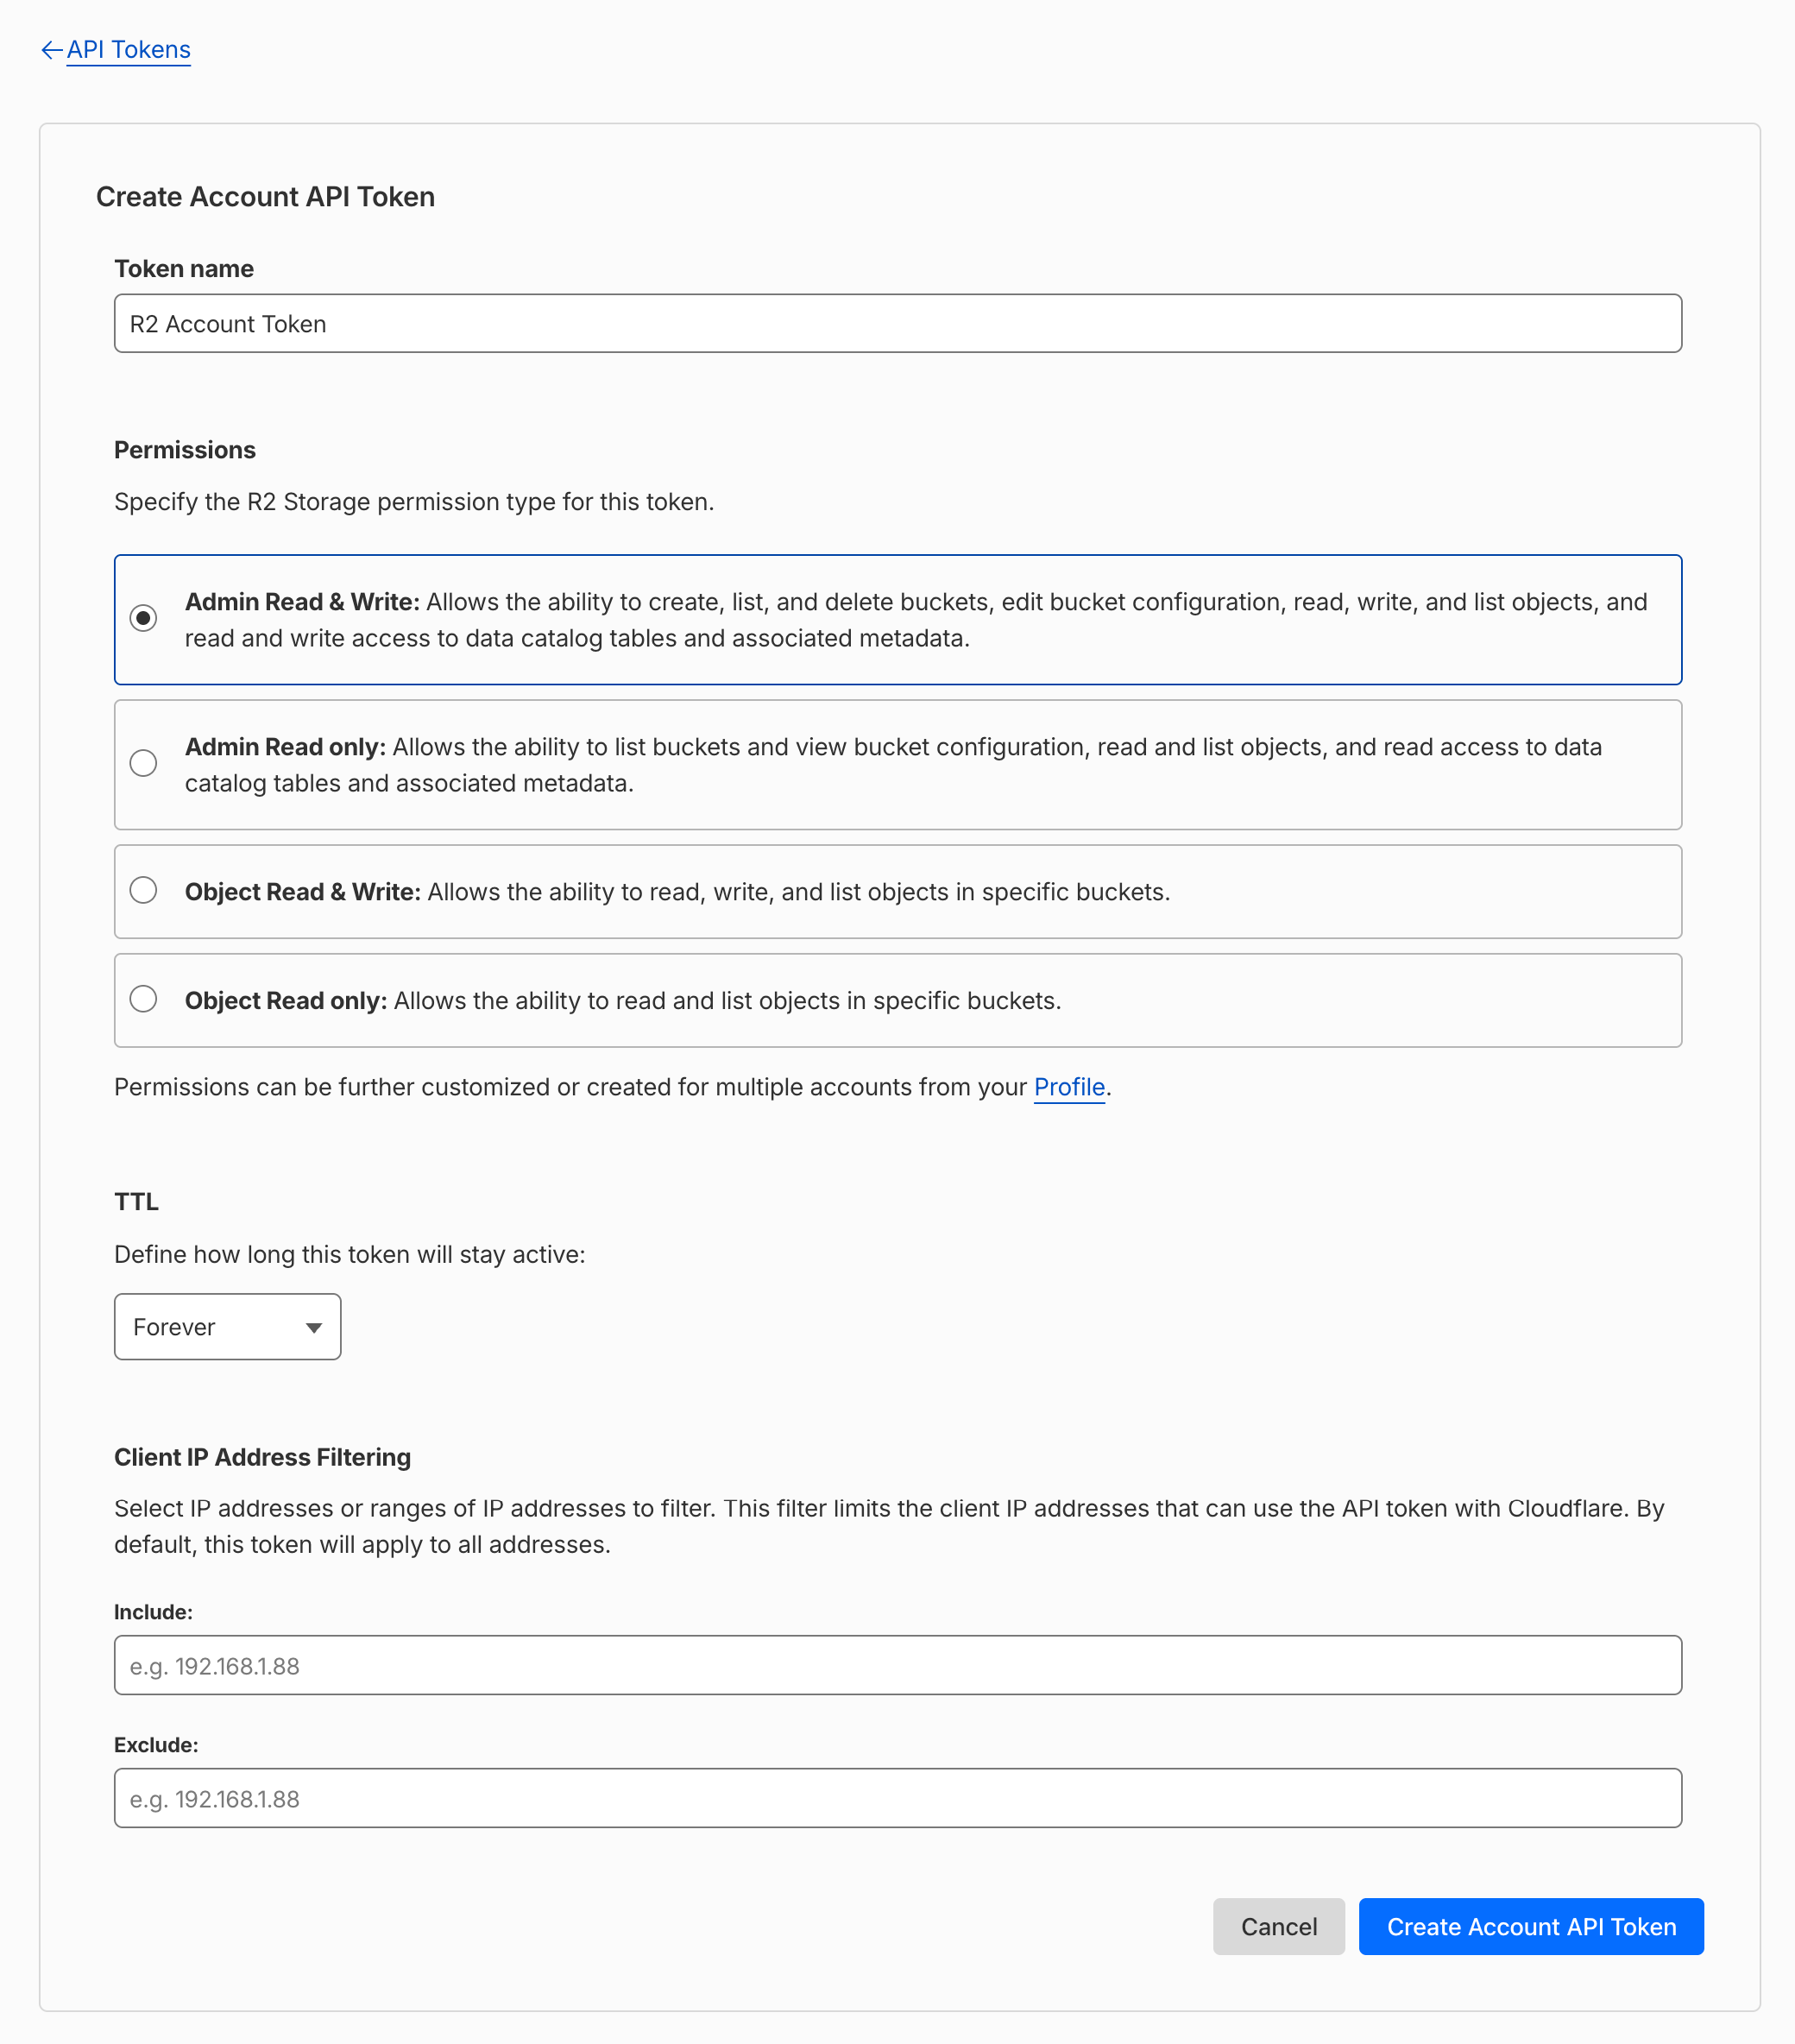
Click Create Account API Token
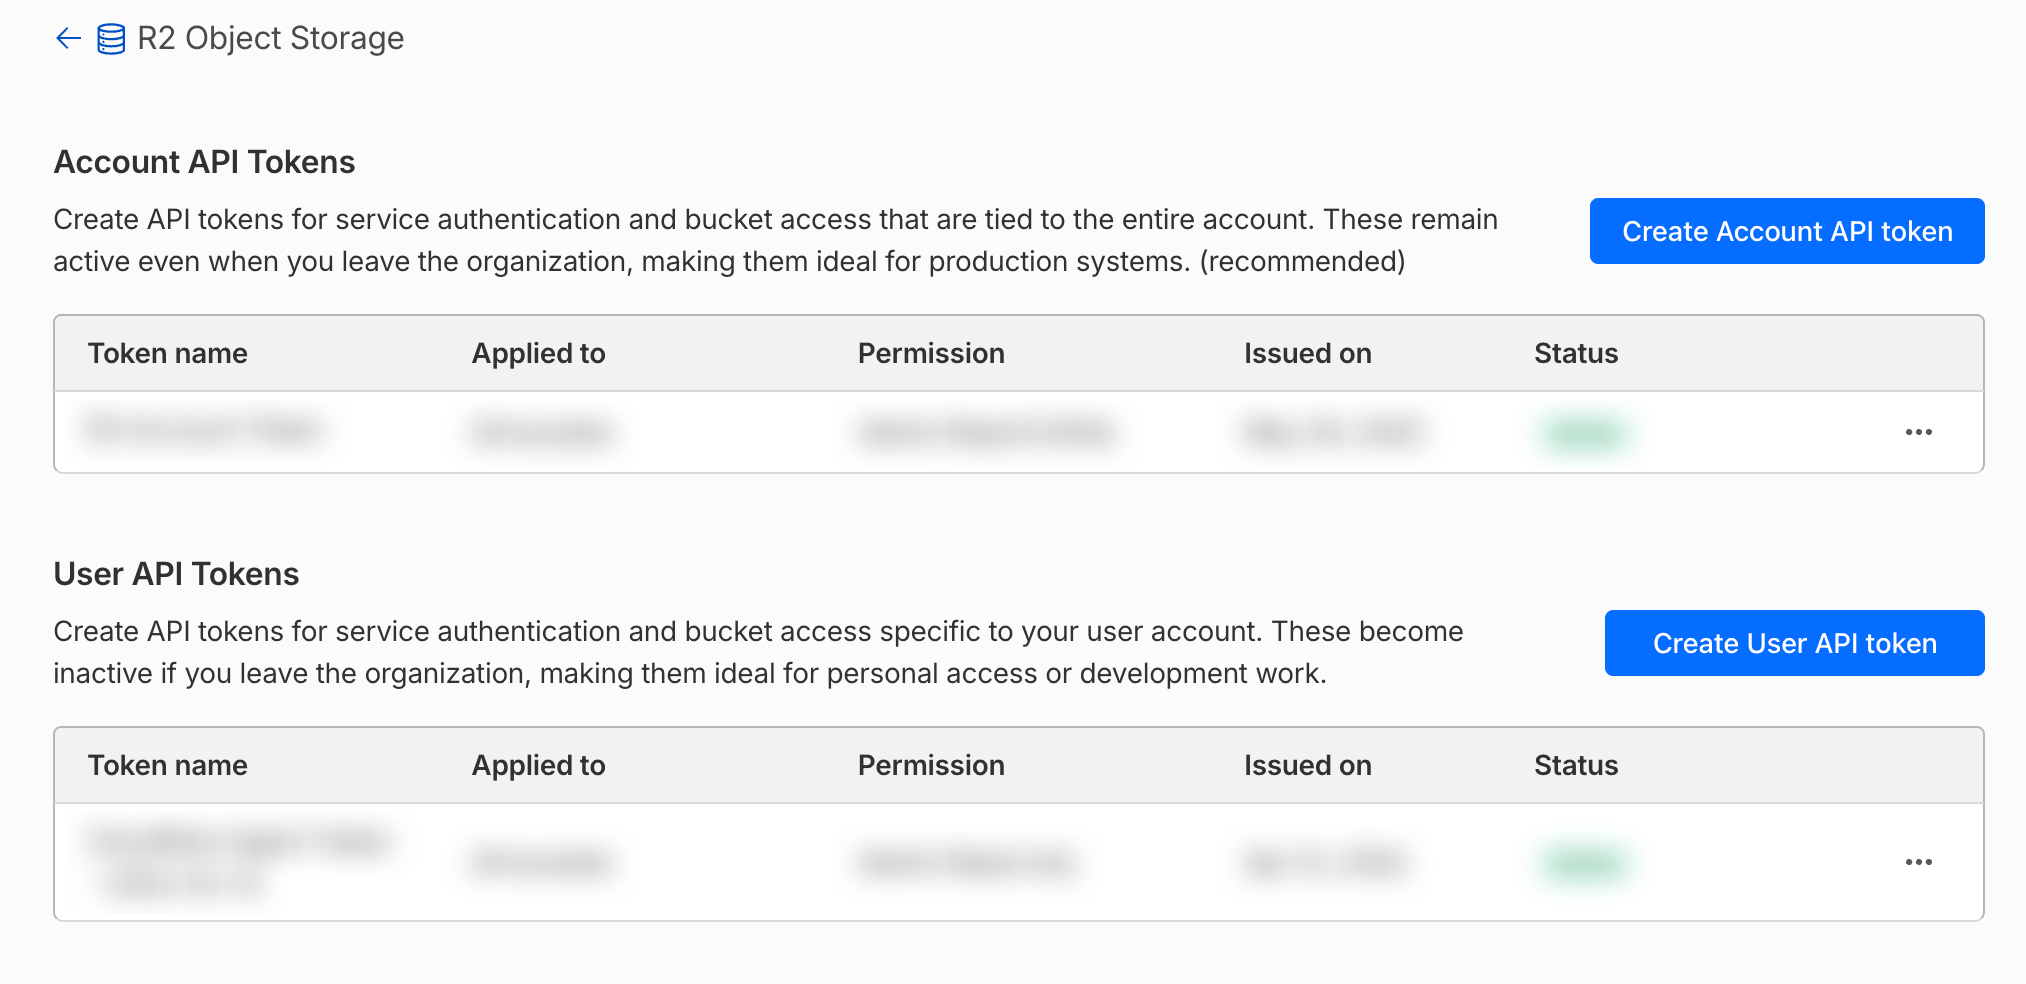
-
Create the token with the following permissions:
-
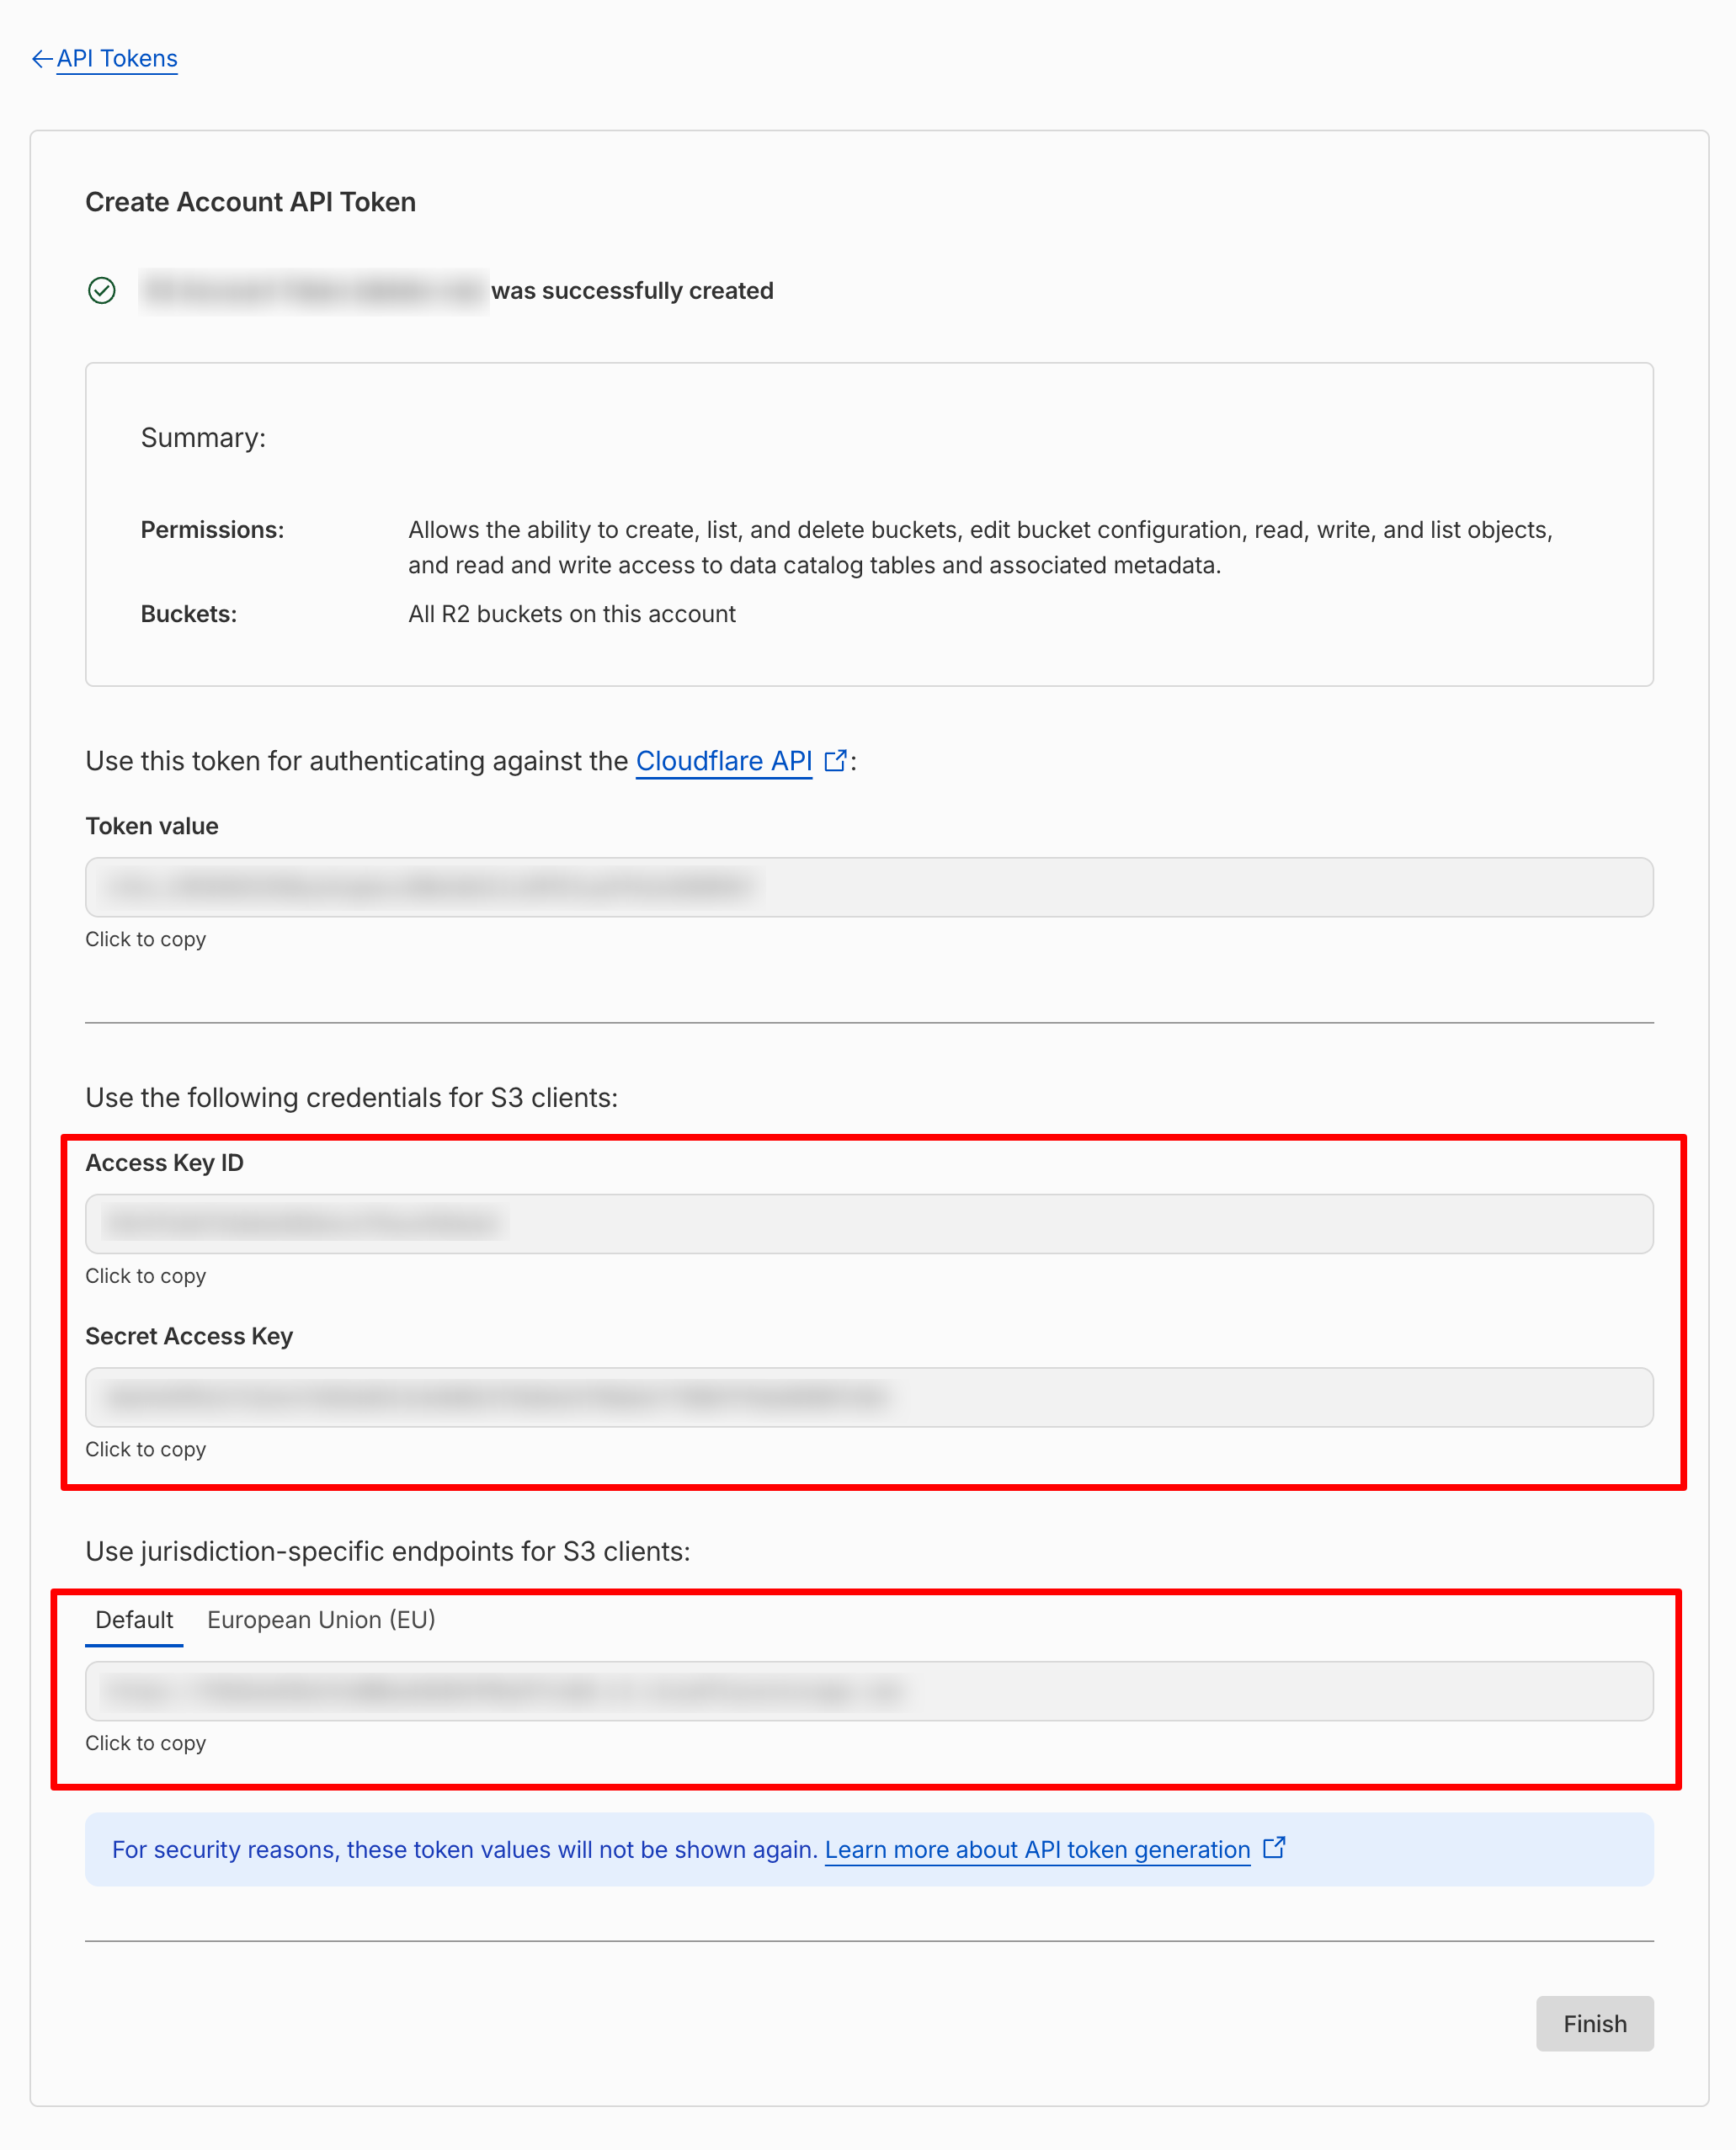
Copy the Access Key ID, Secret Access Key and S3 client endpoint — you will paste them into Sngine Admin Panel → Settings → Upload Settings
Create and configure the bucket
-
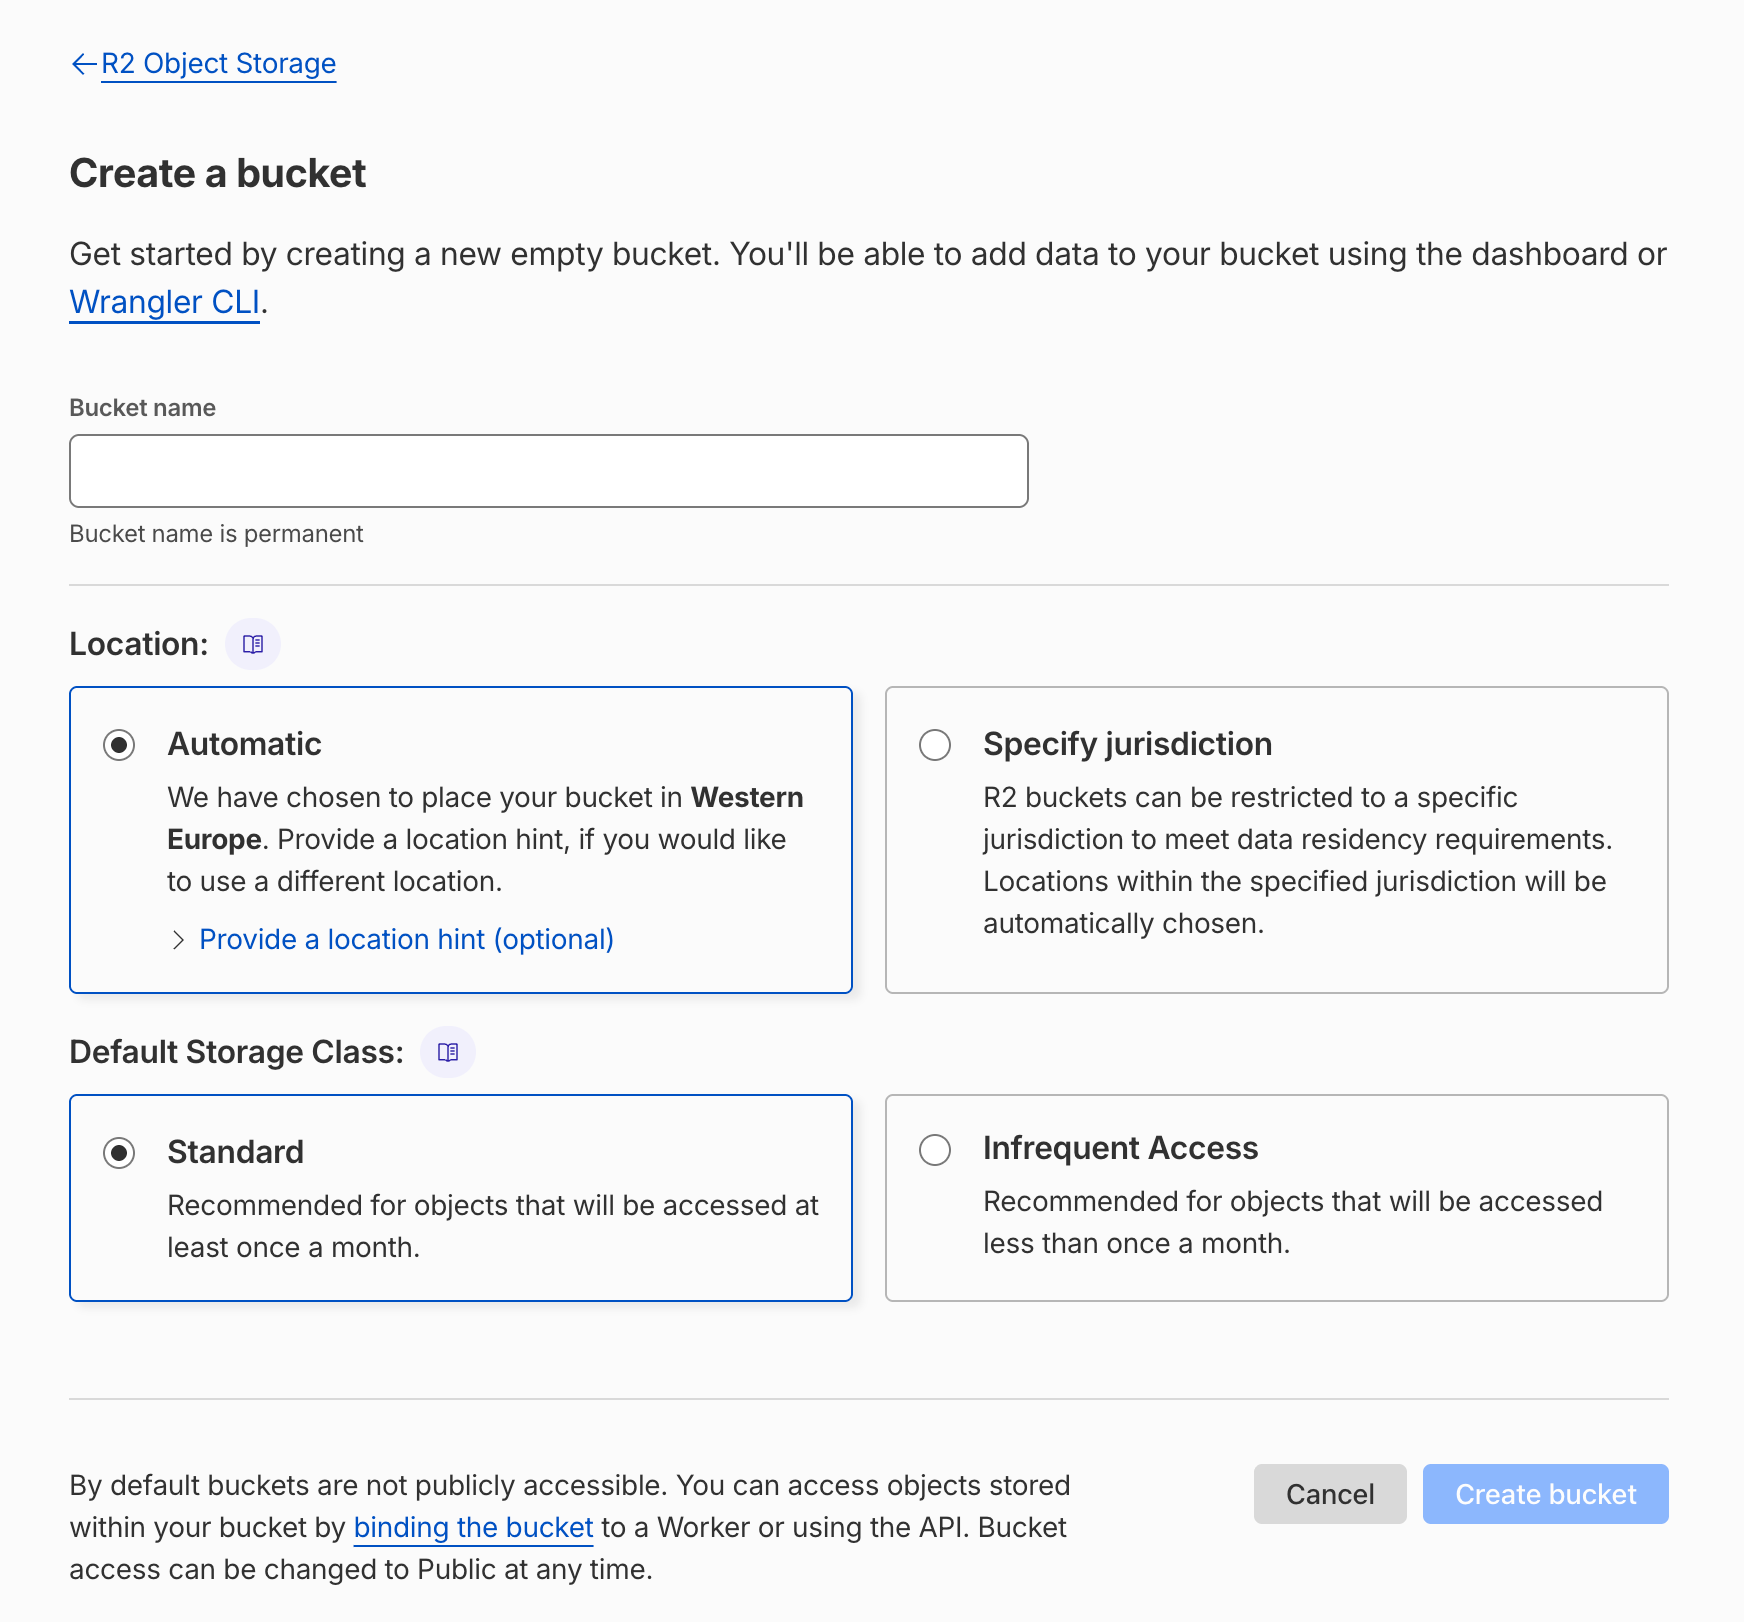
You will need to create a bucket, so click on Create bucket
-
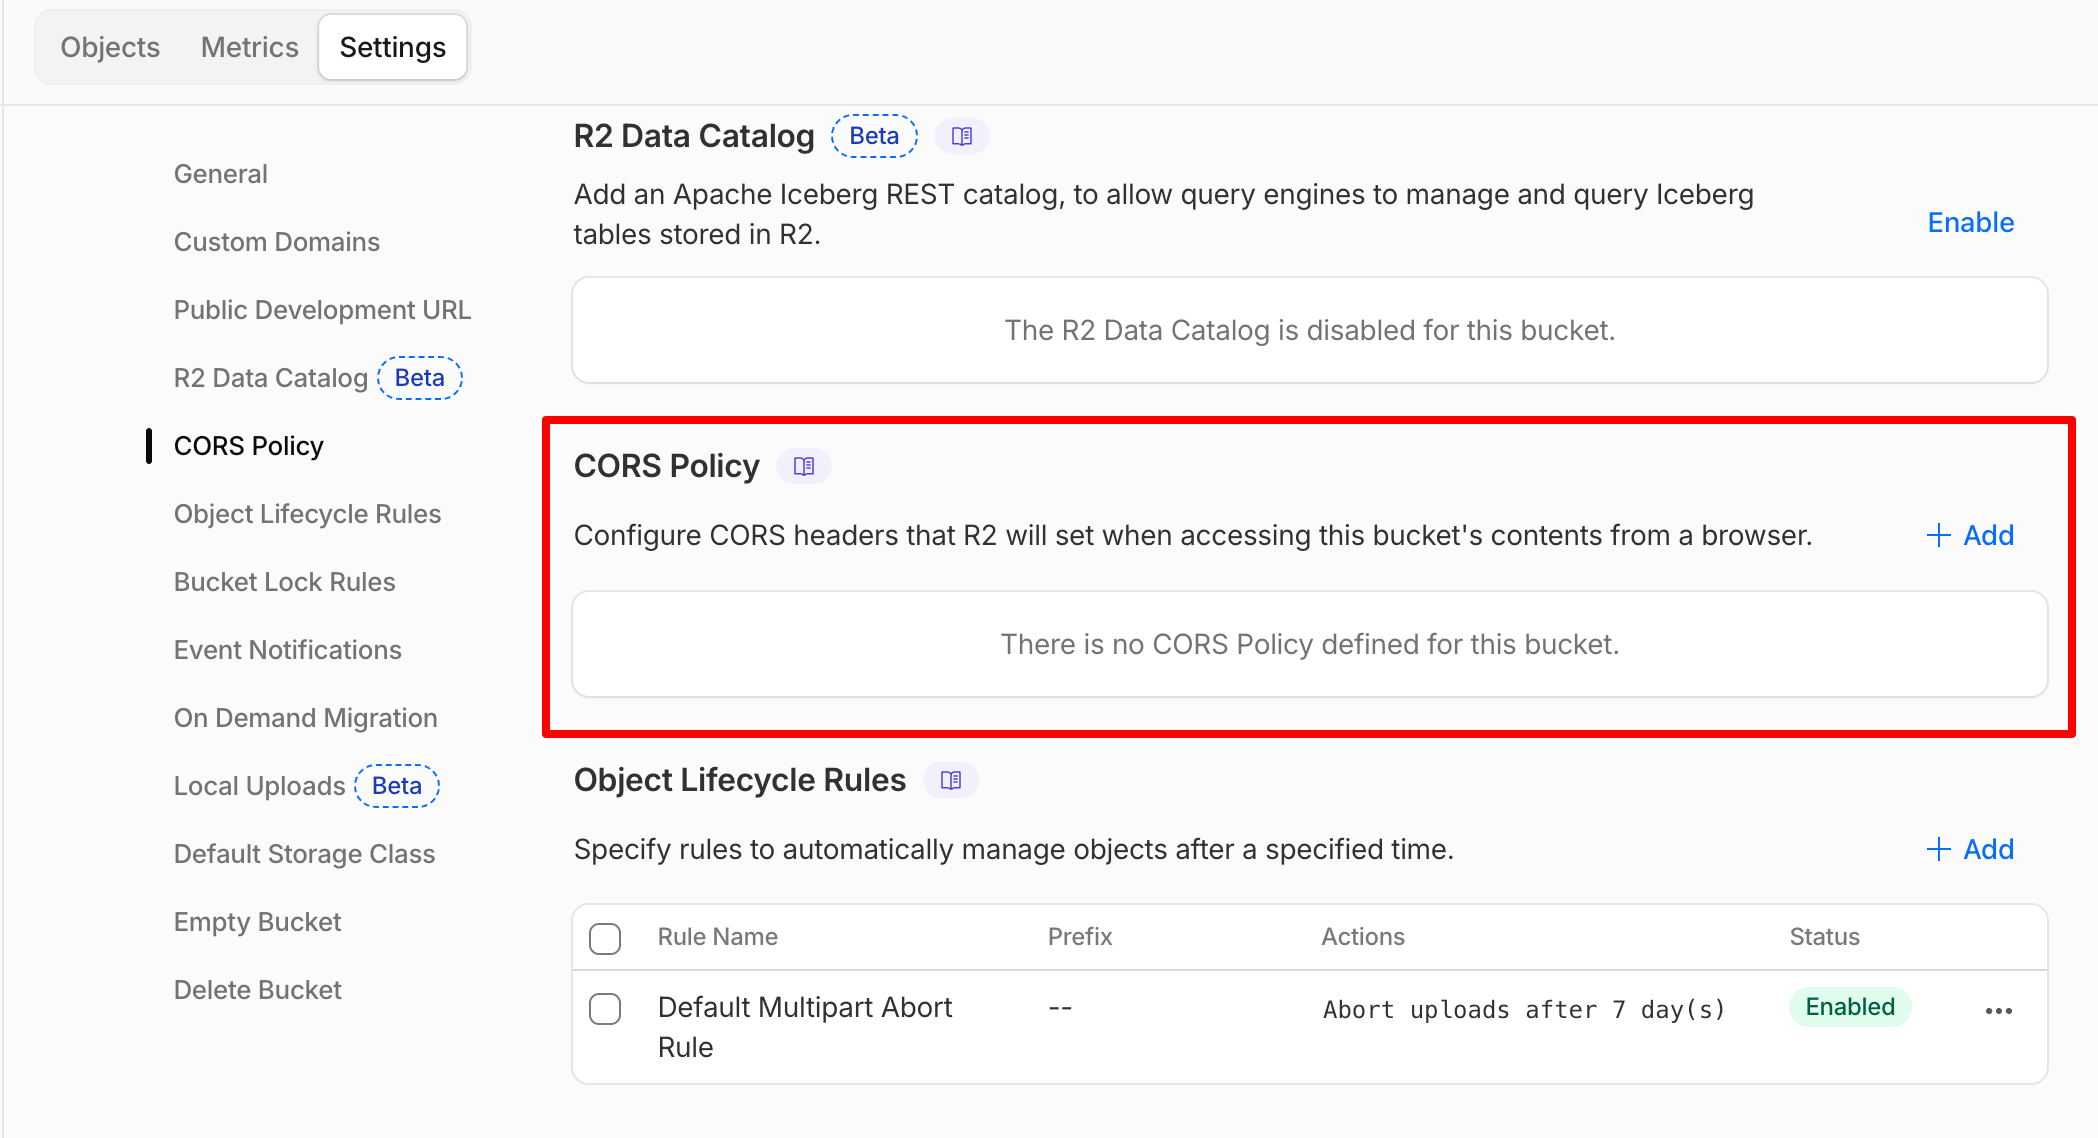
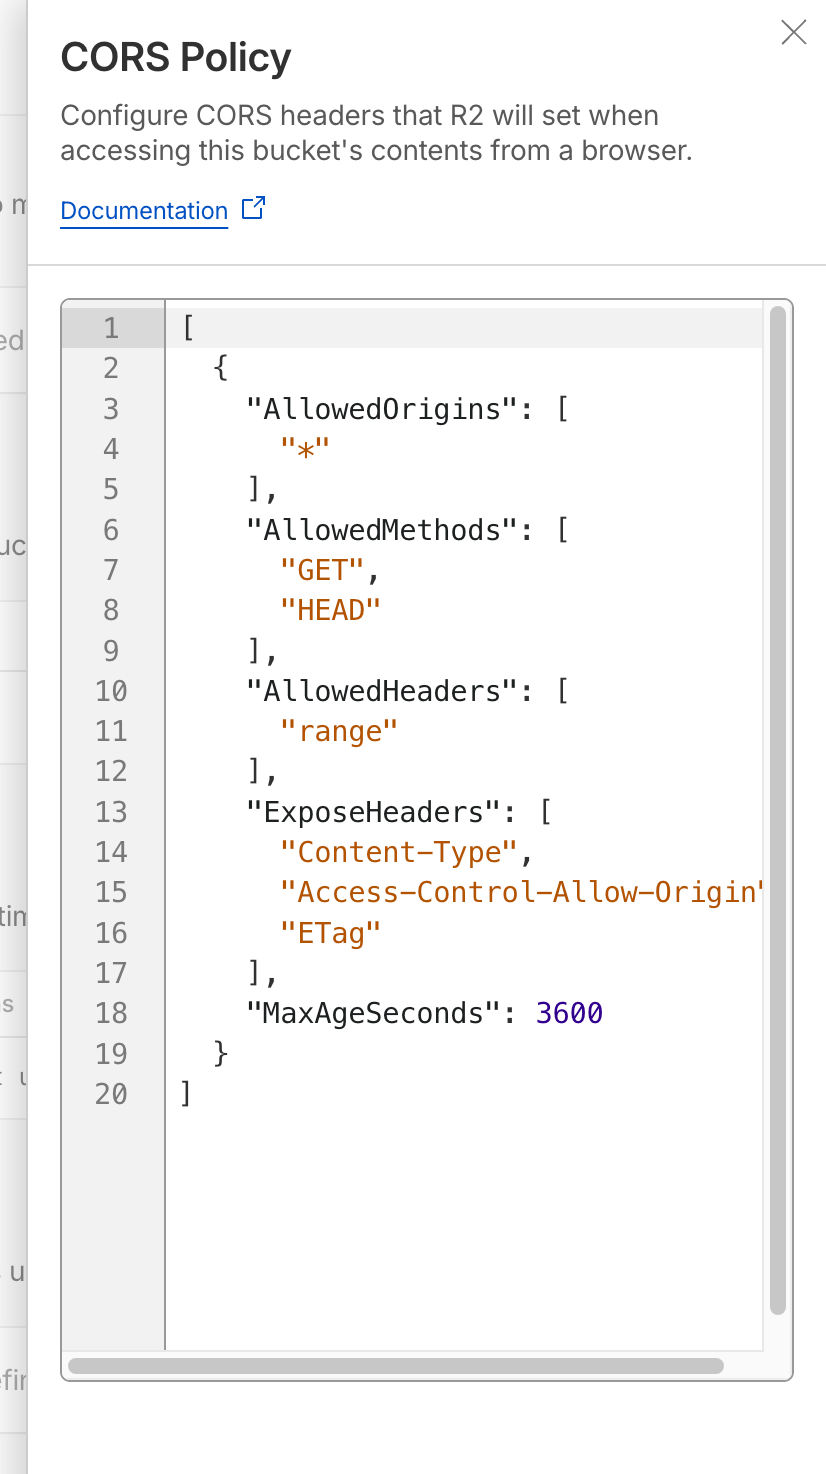
You will need to configure the bucket CORS policy, so click on Settings then from CORS Policy section click on Add
-
Add the following CORS policy:
[
  {
    "AllowedOrigins": ["*"],
    "AllowedMethods": ["GET", "HEAD"],
    "AllowedHeaders": ["range"],
    "ExposeHeaders": [
      "Content-Type",
      "Access-Control-Allow-Origin",
      "ETag"
    ],
    "MaxAgeSeconds": 3600
  }
]
-
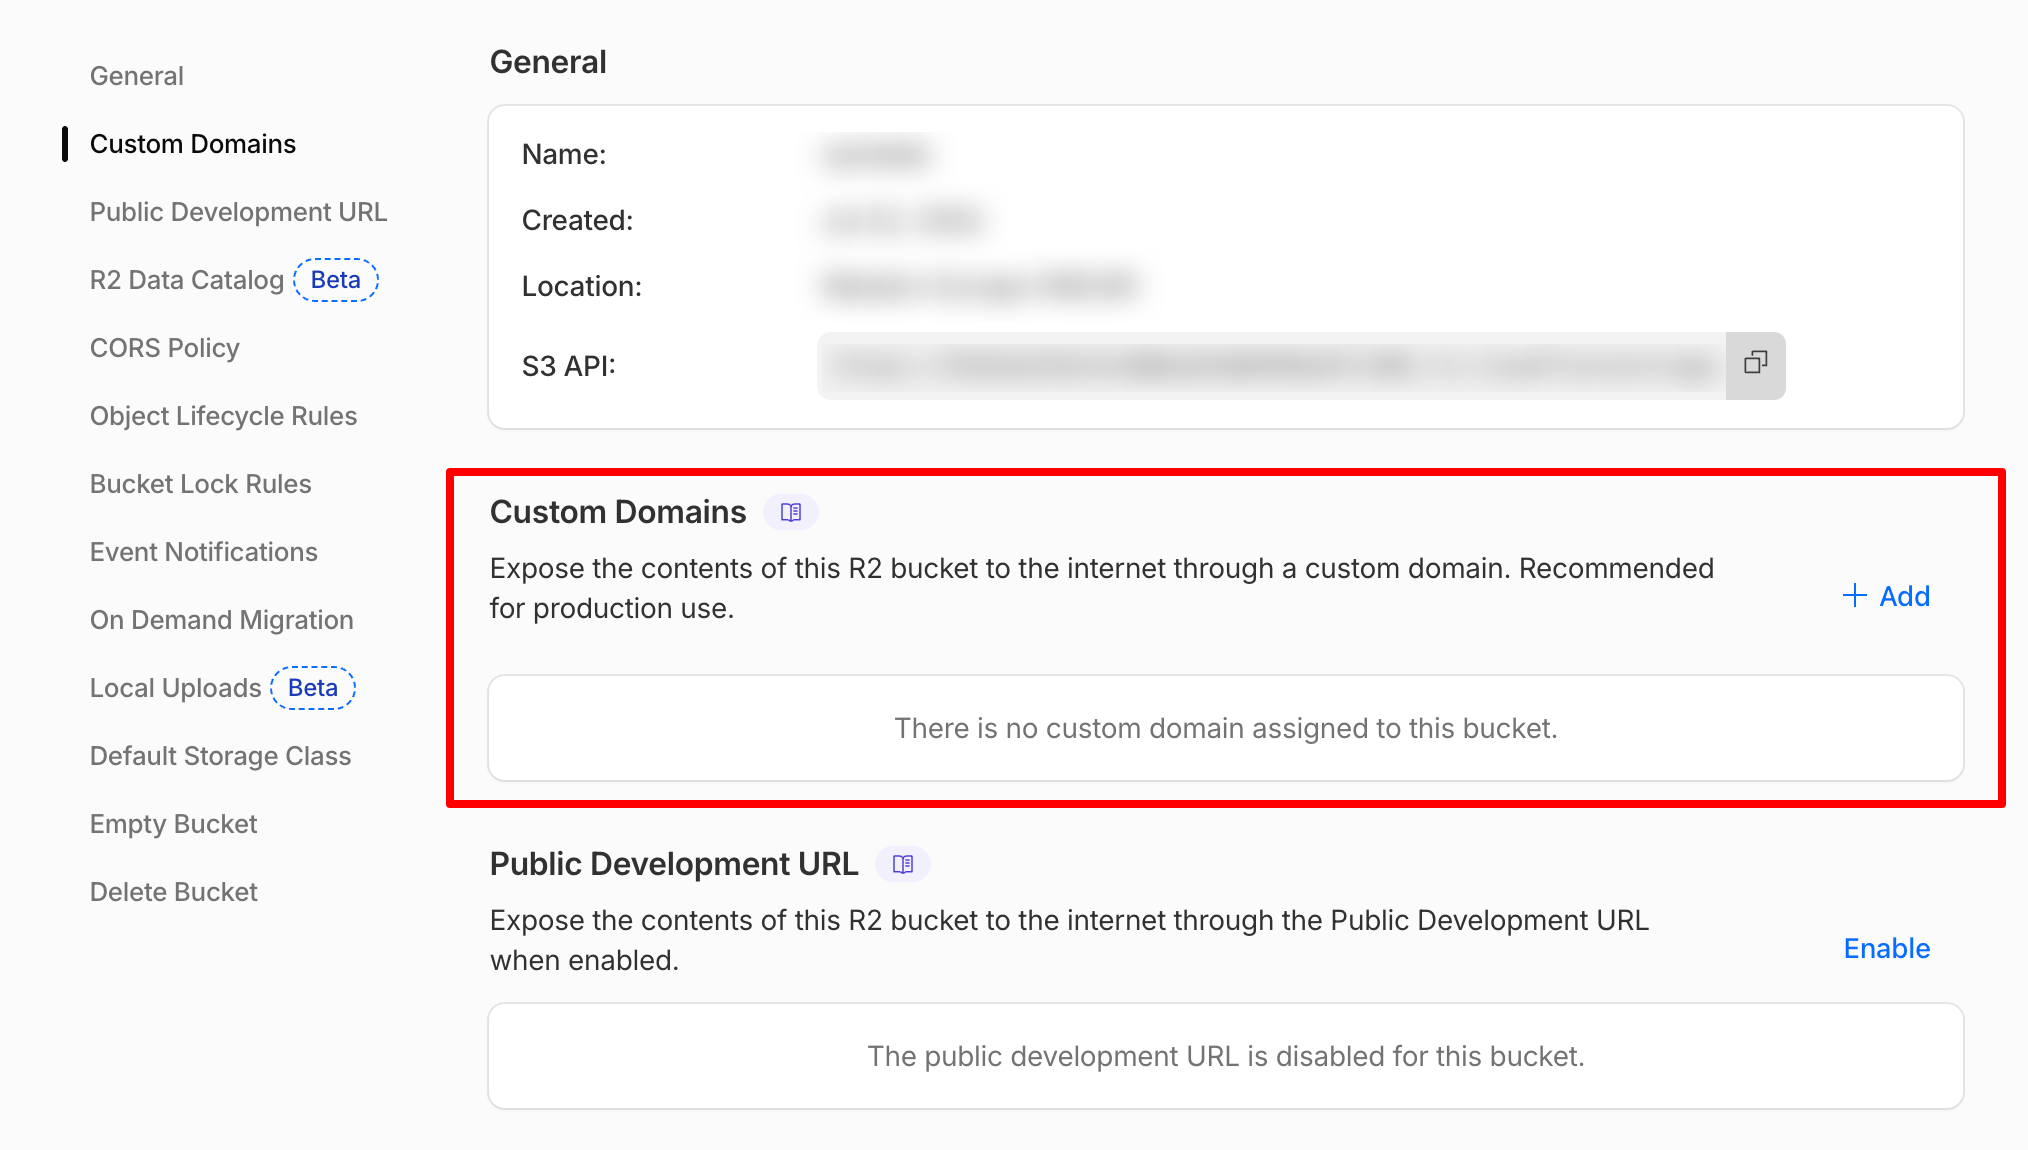
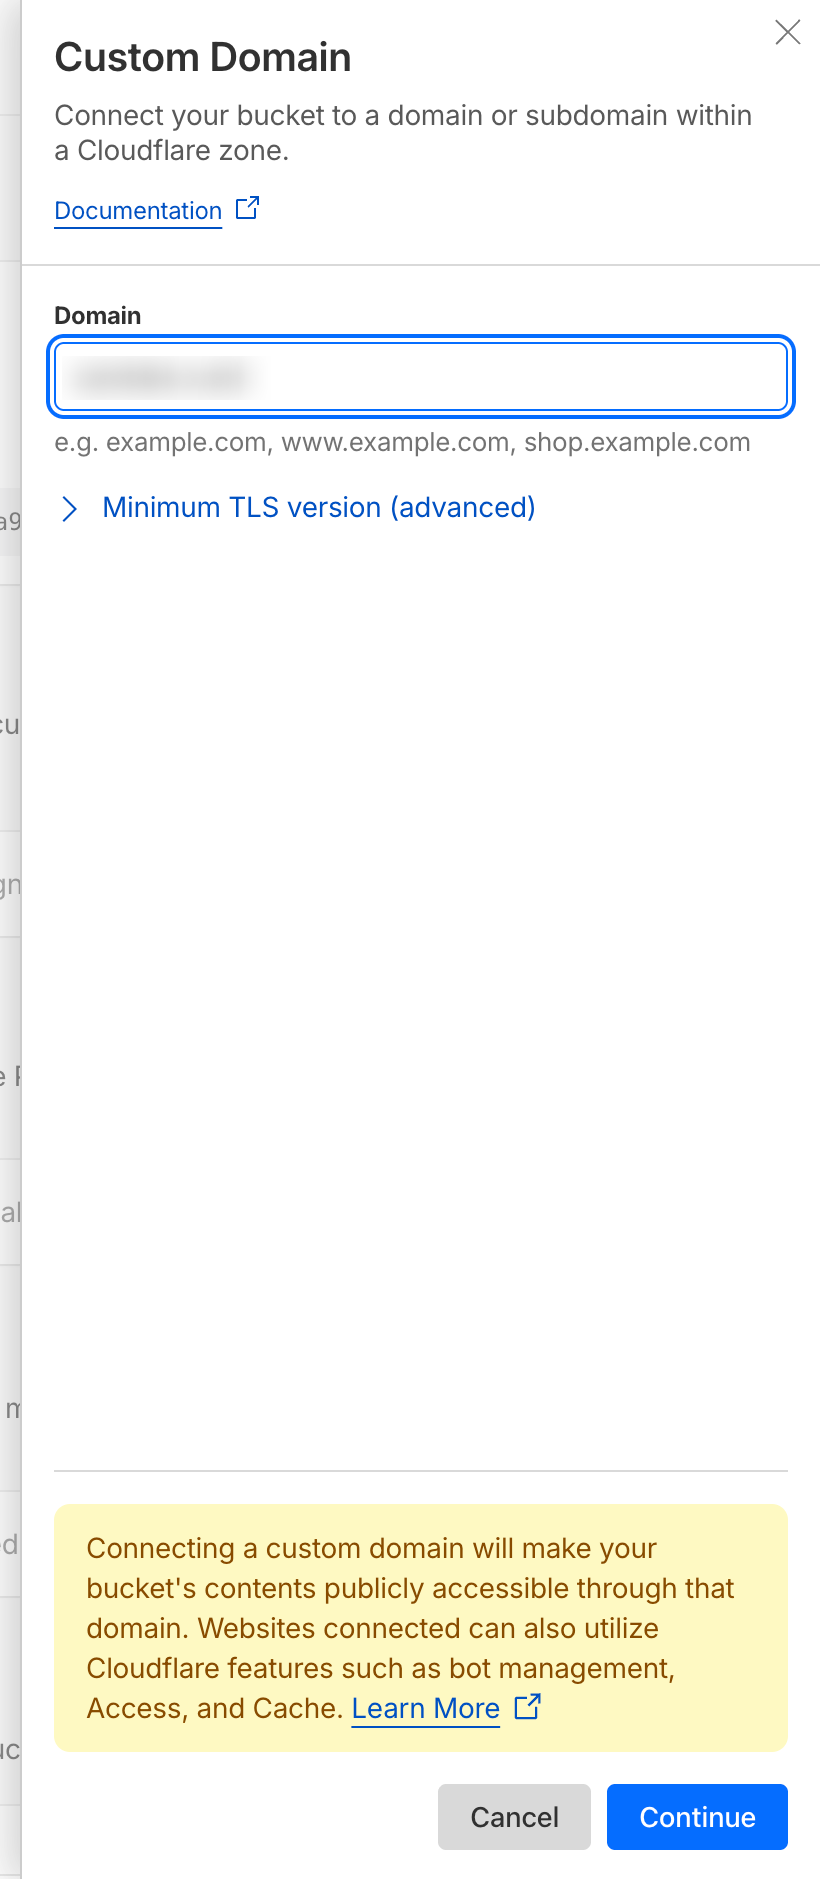
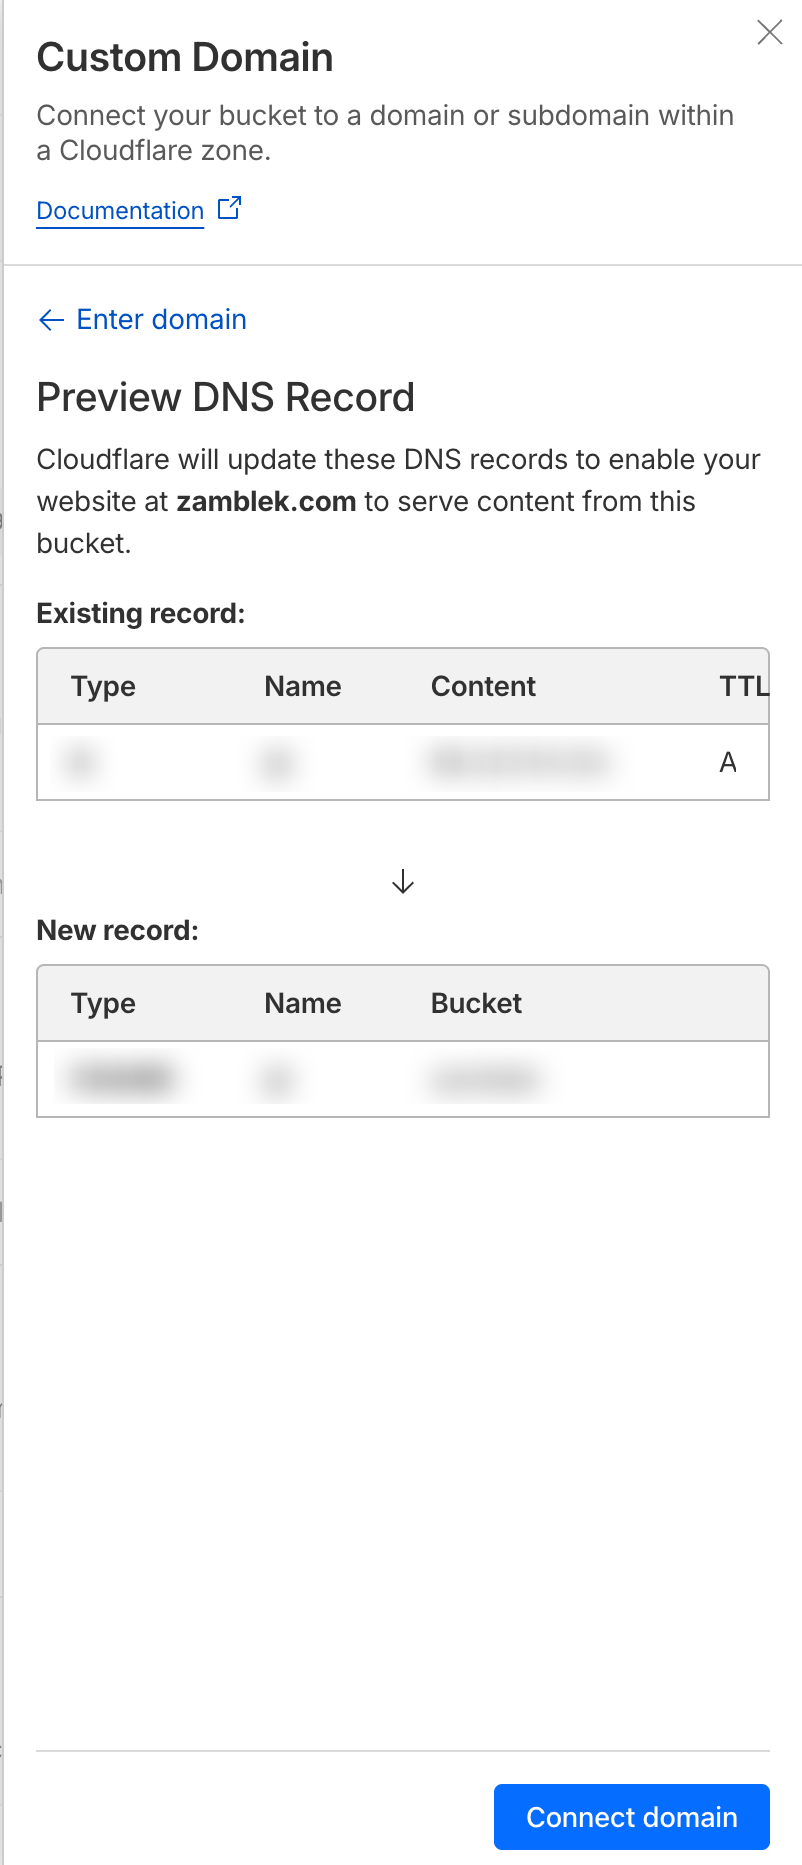
You will need to use Custom Domain so from Custom Domains section click on Add
Add the keys to Sngine
-
Finally you need to copy and paste the data in Sngine Admin Panel → Settings → Upload Settings