


Agora
Integrate Agora with Sngine in a few easy steps for live streaming.
Create the Agora project
-
Go to https://console.agora.io/ and sign in with your Agora account
-
Click Projects then Create New
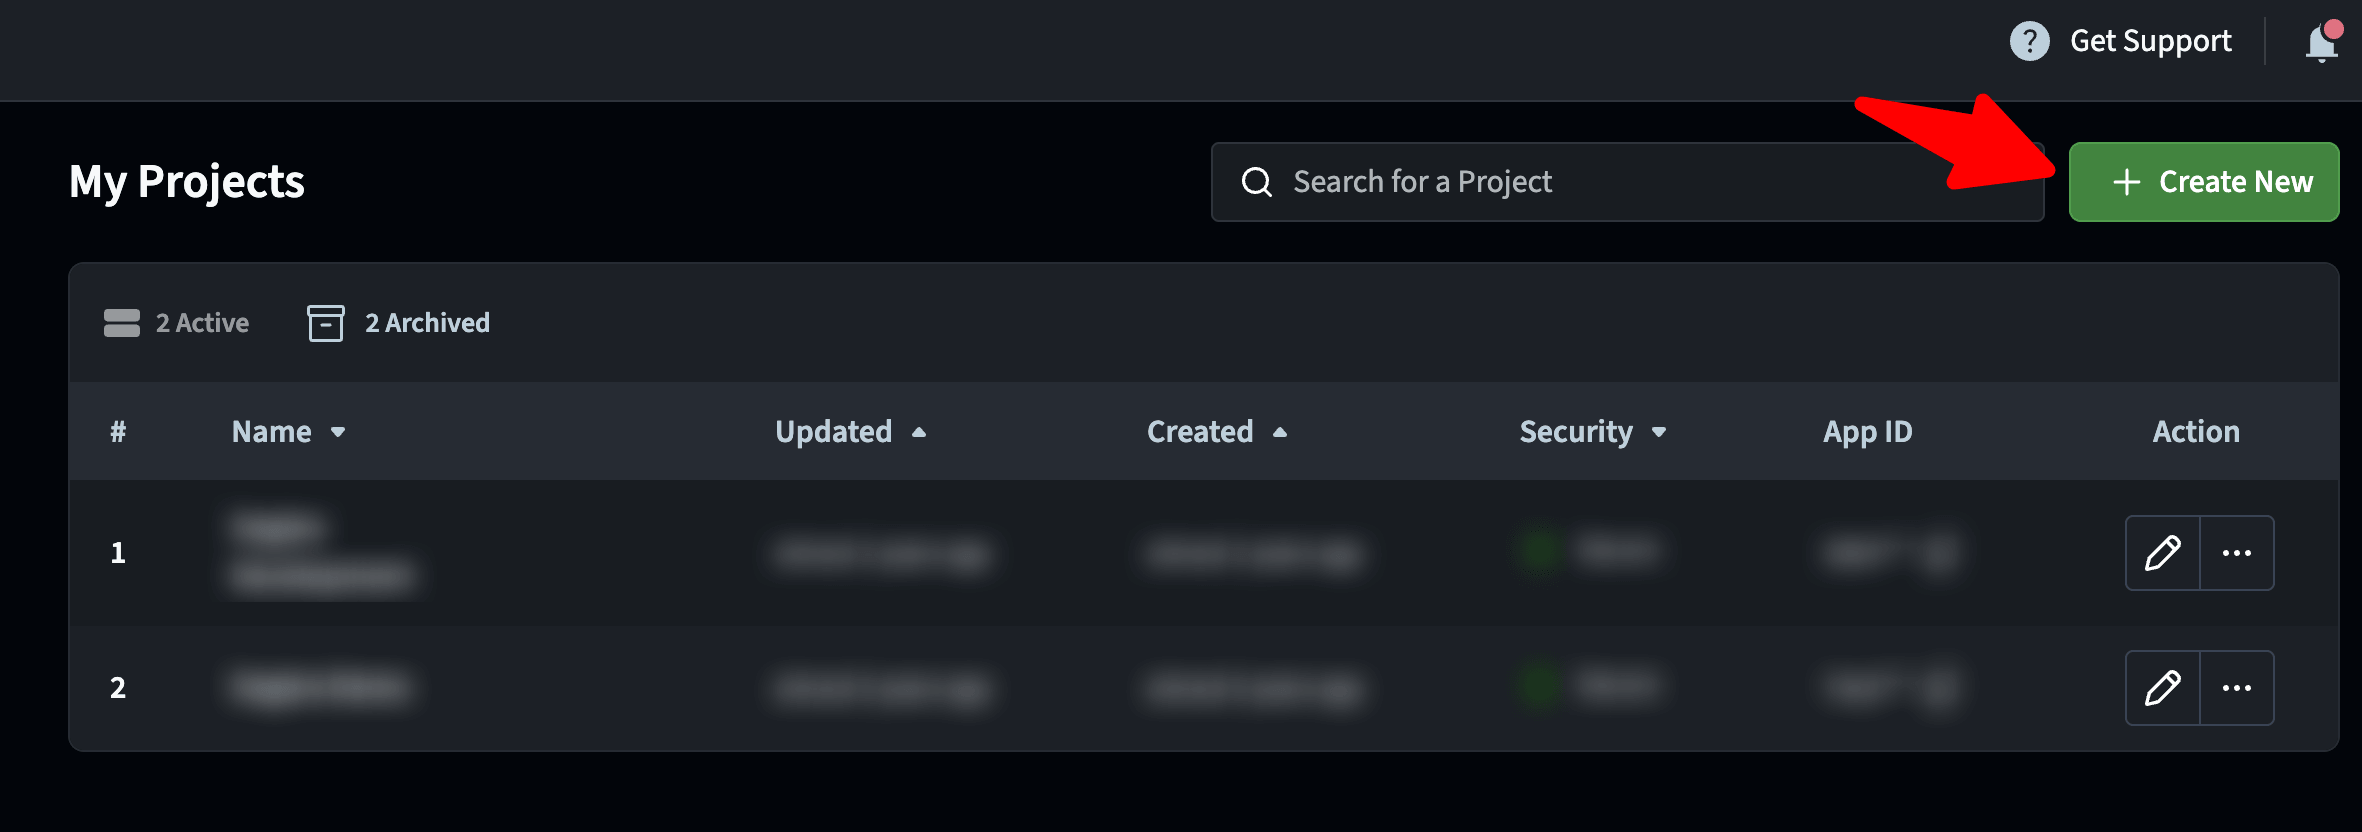
-
Select Secure Mode: APP ID + Token then enter your project name
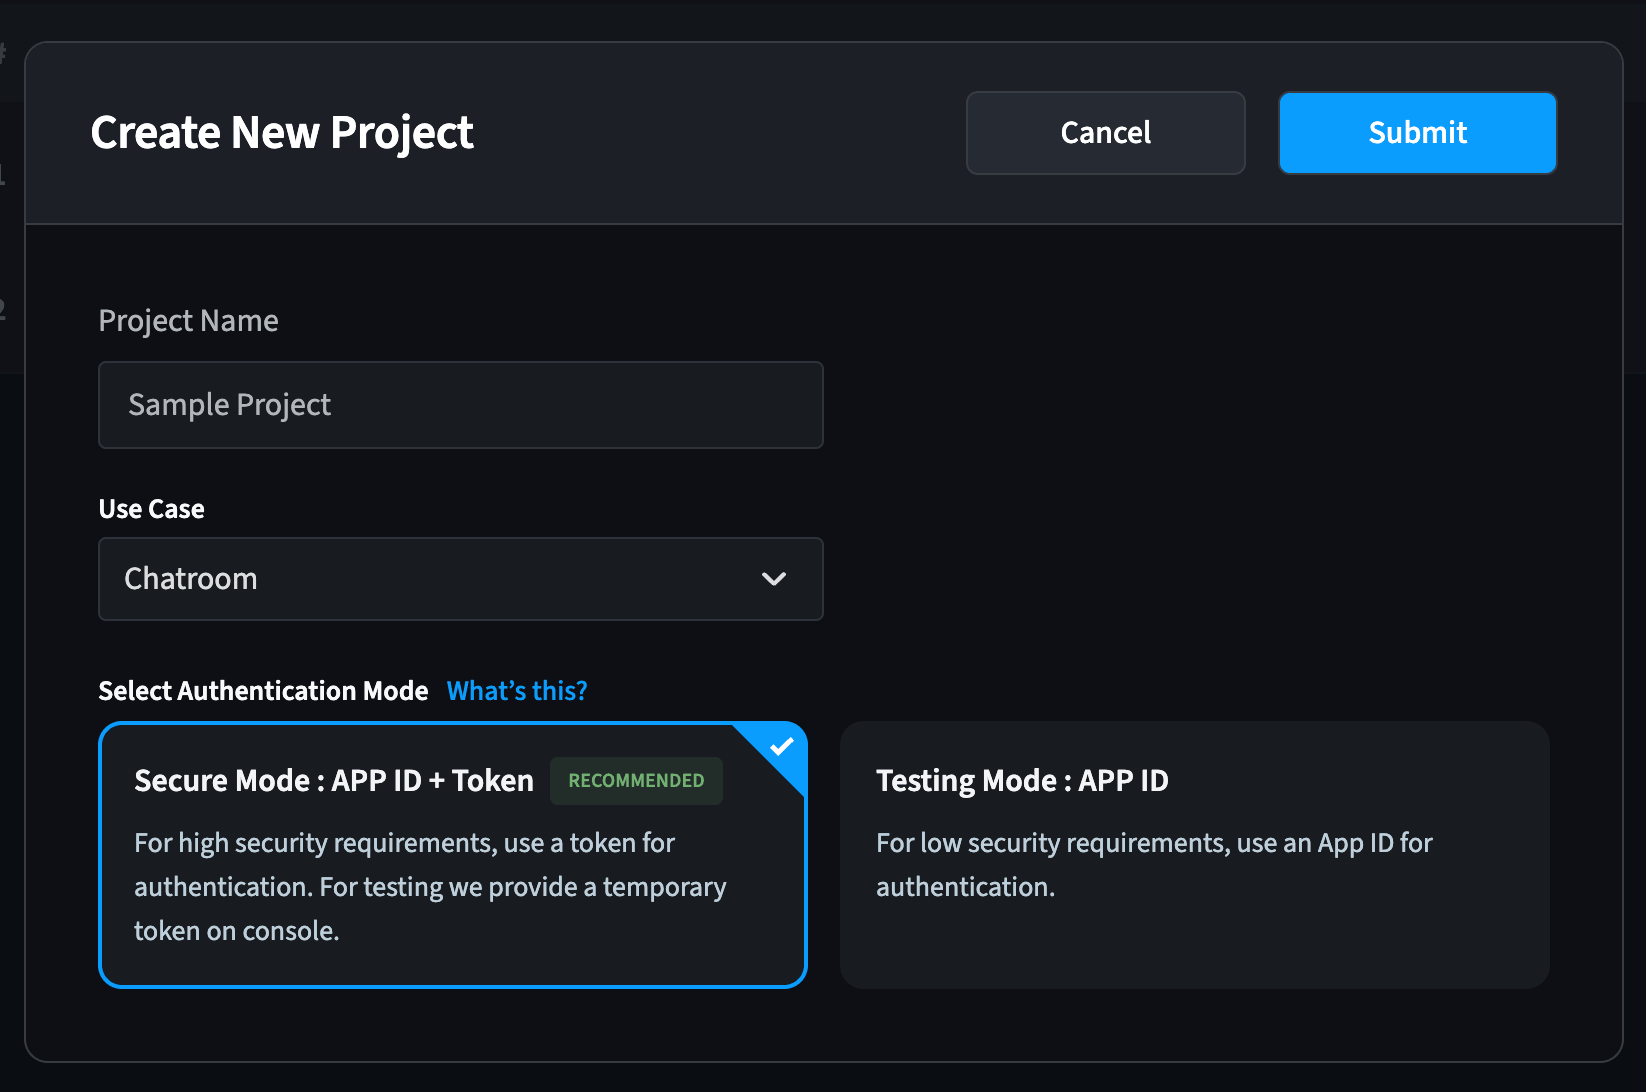
-
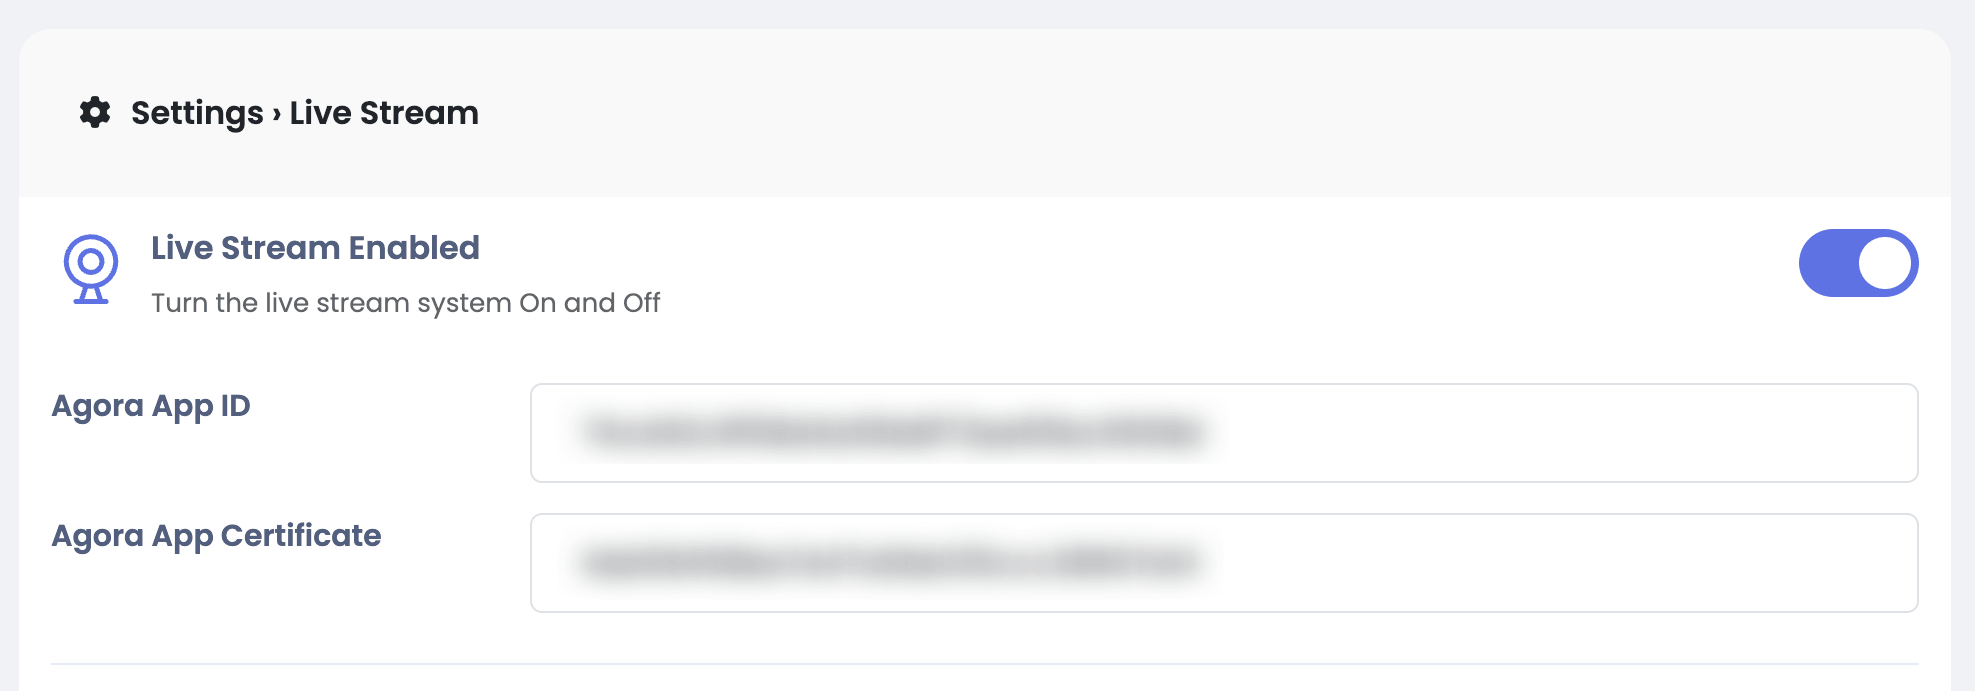
Copy both App ID and App Certificate and copy them to Sngine Admin Panel

Configure Sngine
-
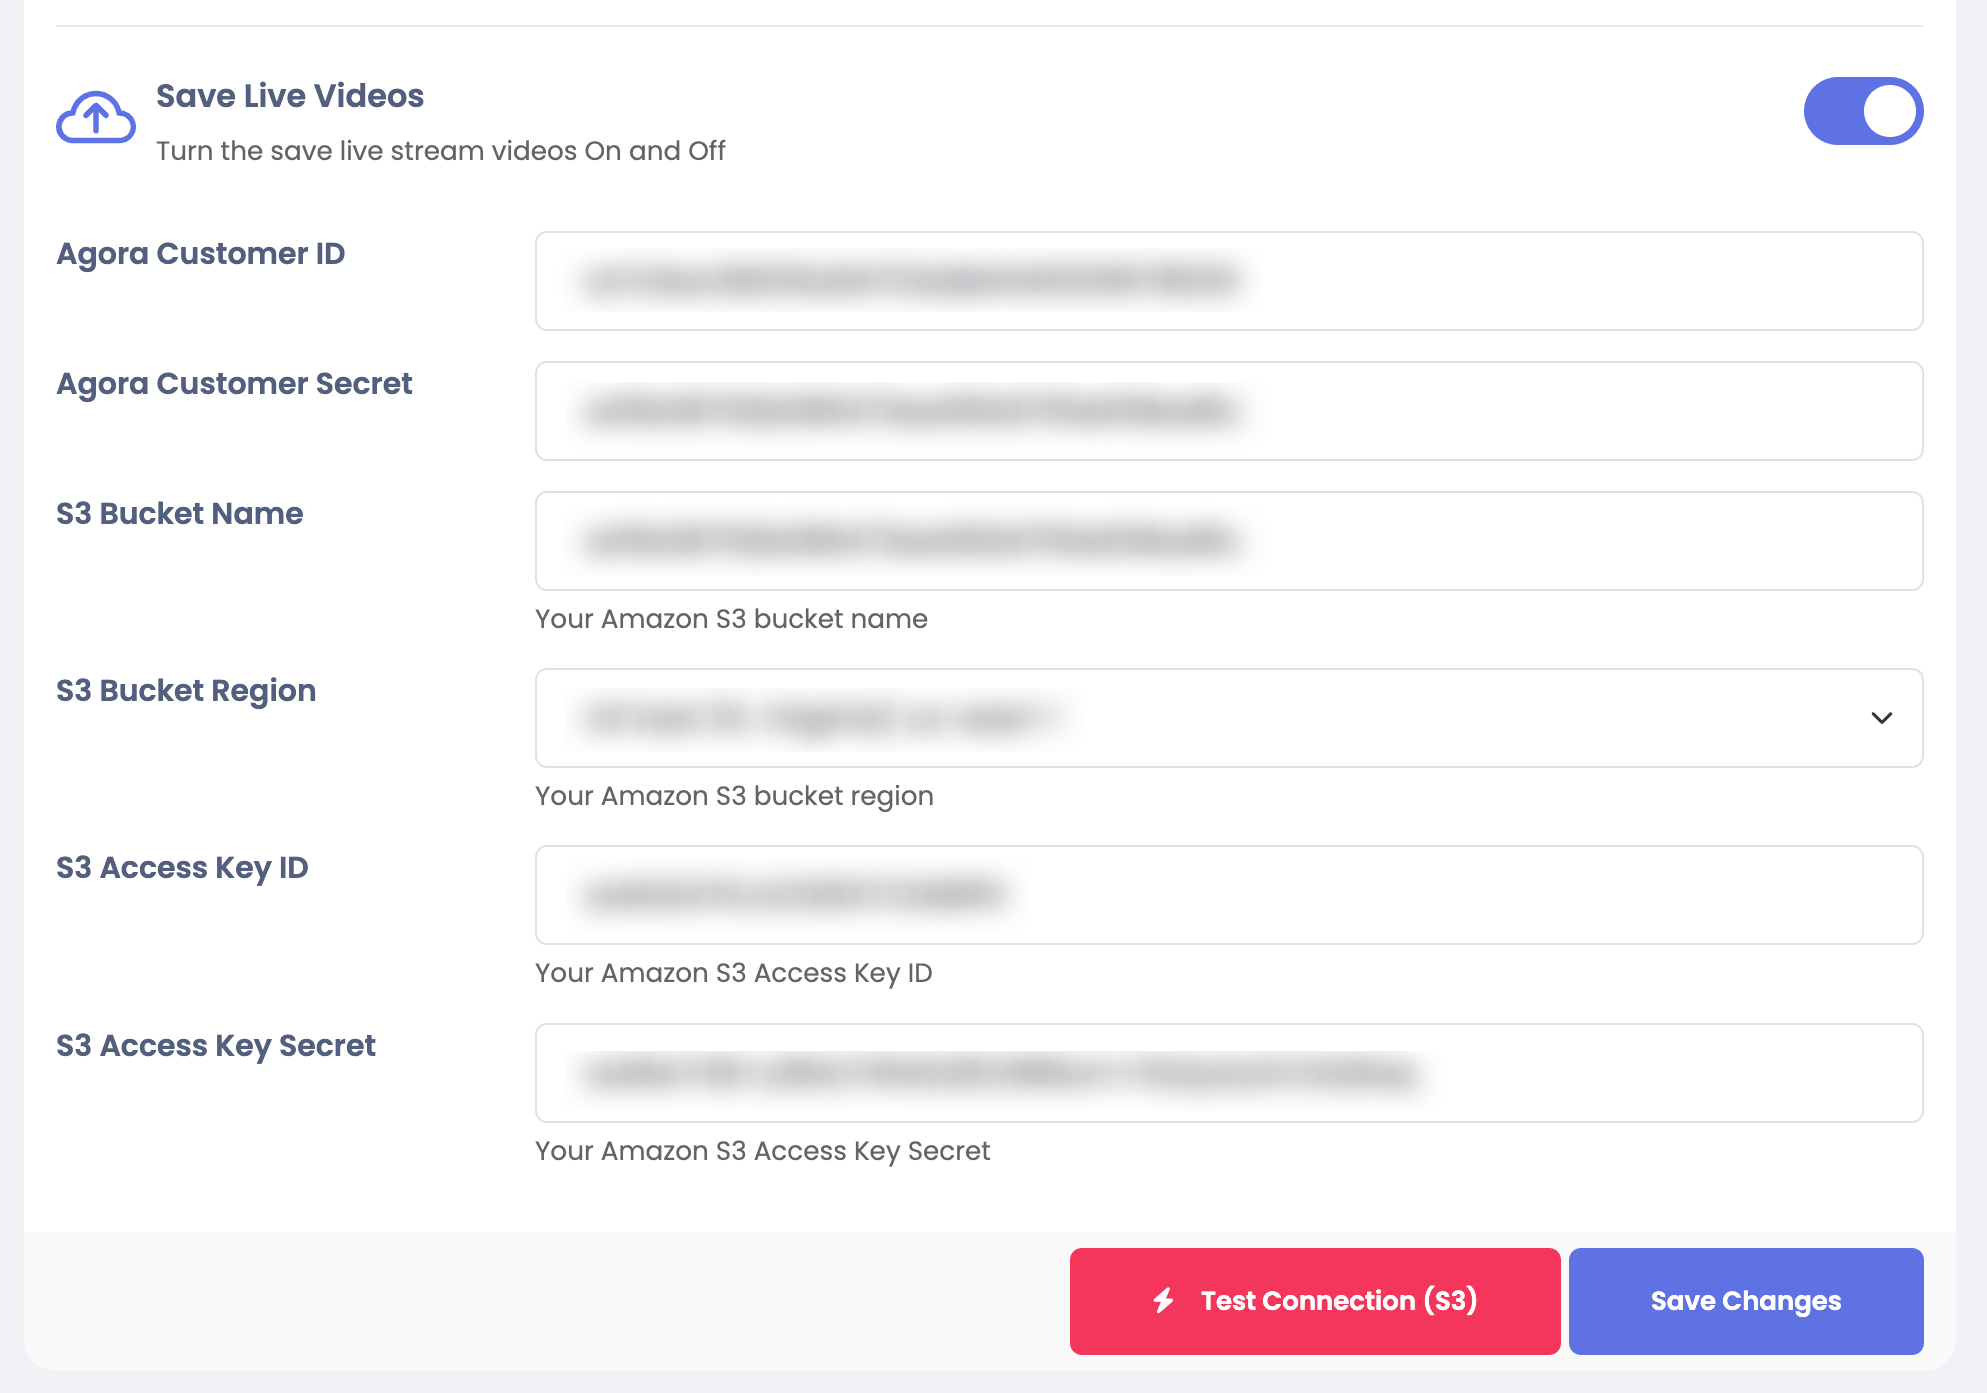
Now if you want to enable the Save Live Videos feature you will need to get your Agora Customer ID and Customer Certificate
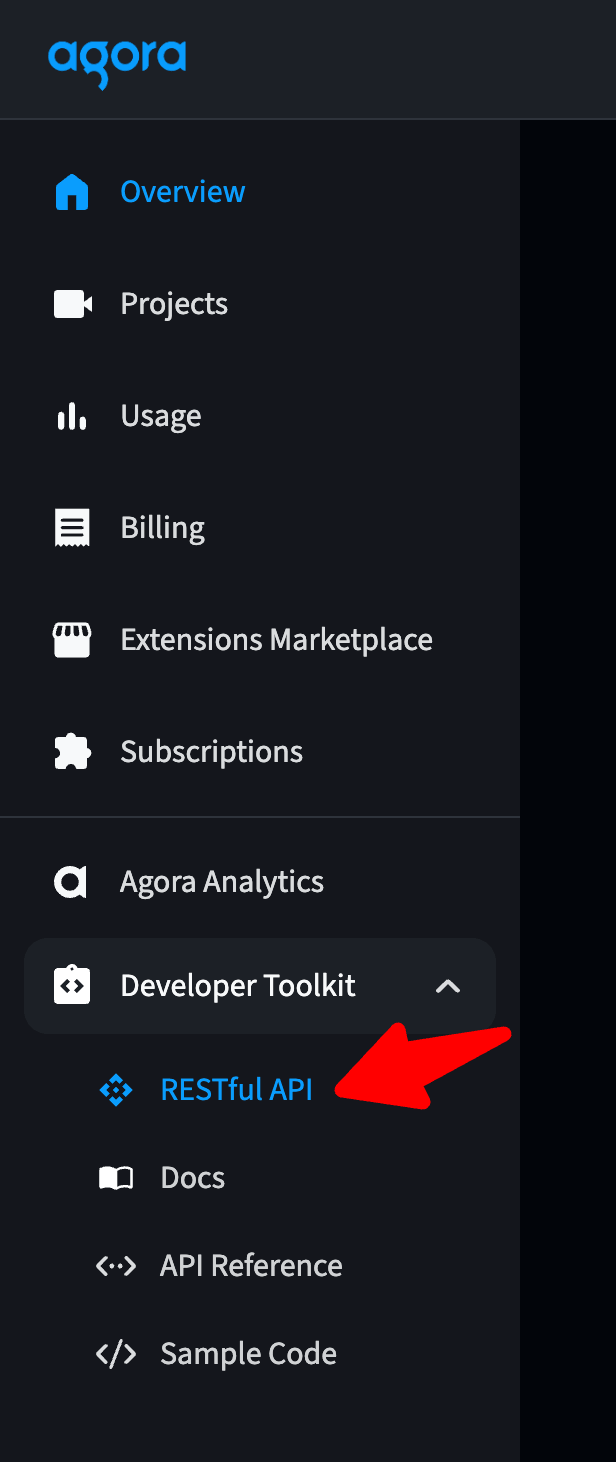

-
Go to Sngine Admin Panel → Settings → Live Stream Settings and paste both Agora Customer ID and Customer Certificate as shown
Enable cloud recording
-
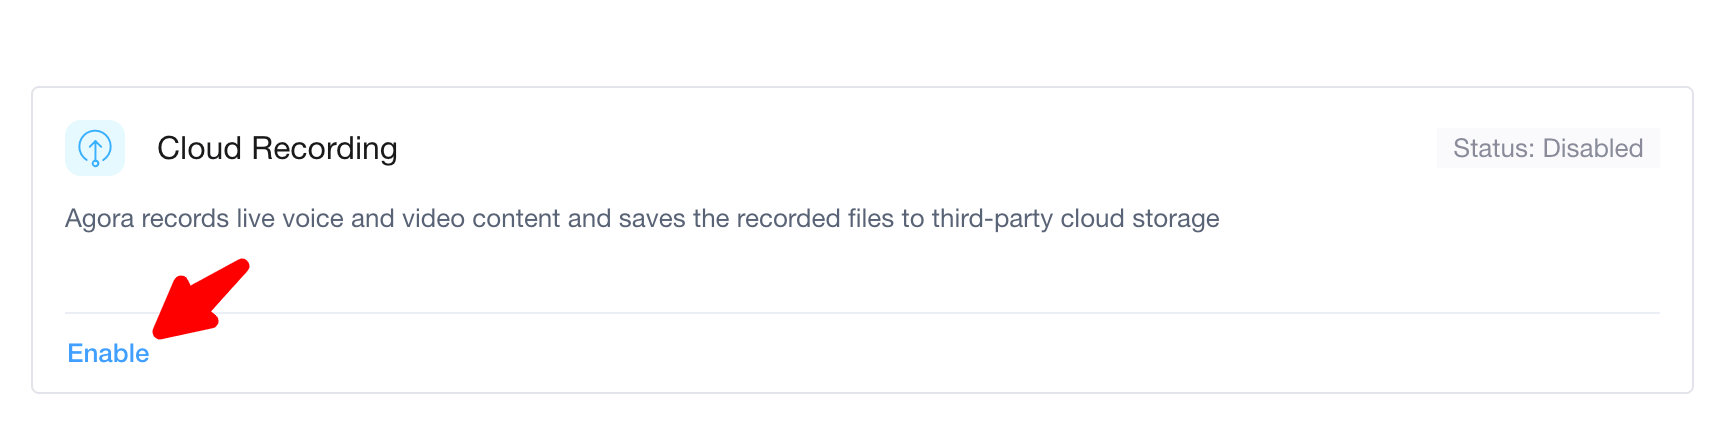
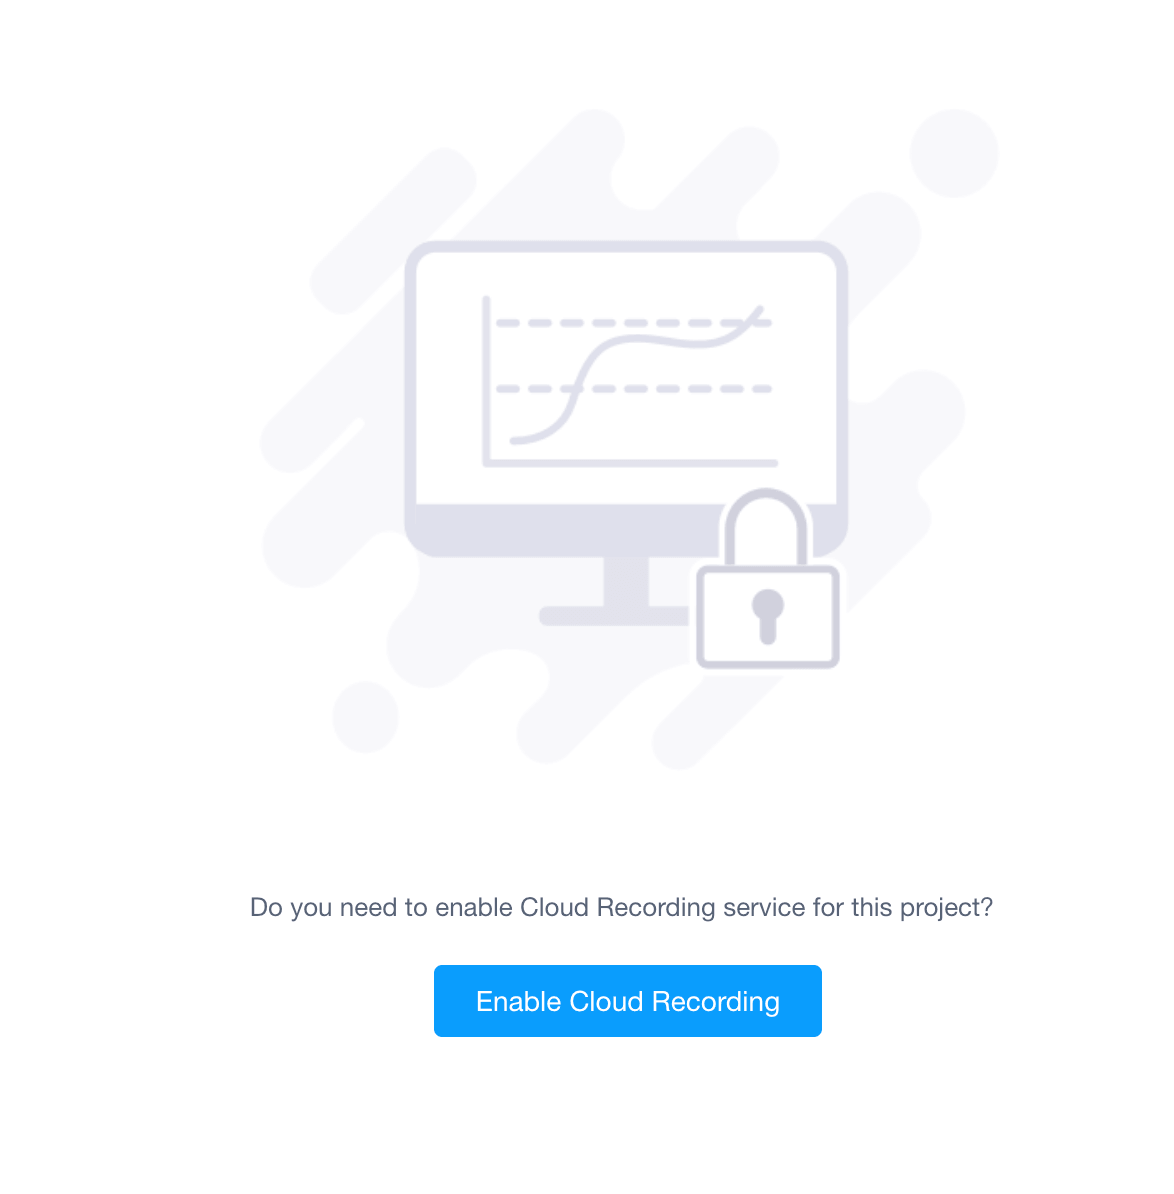
You need to enable Agora Cloud Recording for your project
-
The final step you will need to create a new AWS S3 Bucket to save your users live videos and you can simply follow the same steps Here and then enter your bucket info in Sngine Admin Panel → Settings → Live Settings